
From an empty table to a working Home Assistant dashboard. No programming knowledge needed, with your own username.
MechScript · Beginner's guide · Updated 28 October 2026
Perhaps you have never heard of a server, let alone installed one. You can still get Home Assistant running yourself. The trick is to avoid doing everything at once. We start with what you need, choose one installation route and then create the first user account.
The goal: you can open Home Assistant at home, see the first dashboard and sign in again after logging out using a username and password you chose yourself. We will leave smart lights, Zigbee, dashboard customization and automations for another guide.
Before you start — You do not need to know programming, Linux, Docker or networking. You do need to know how to install a program on your laptop and connect a network cable. Take your time; the first boot in particular can take a while.
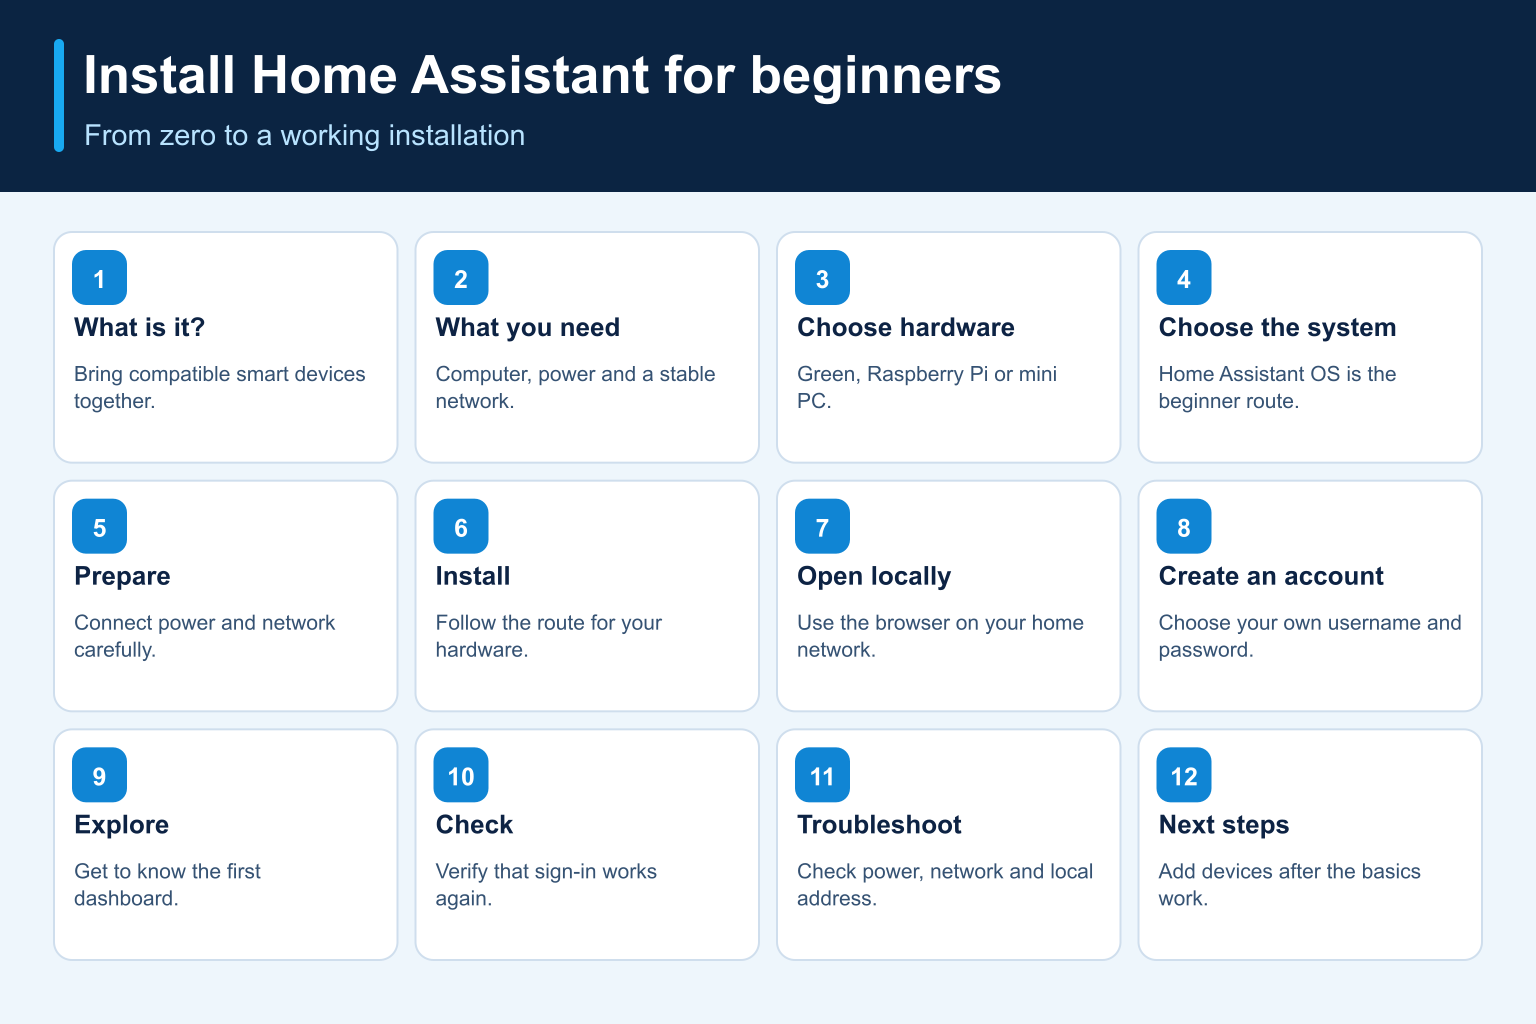
01 What is Home Assistant?
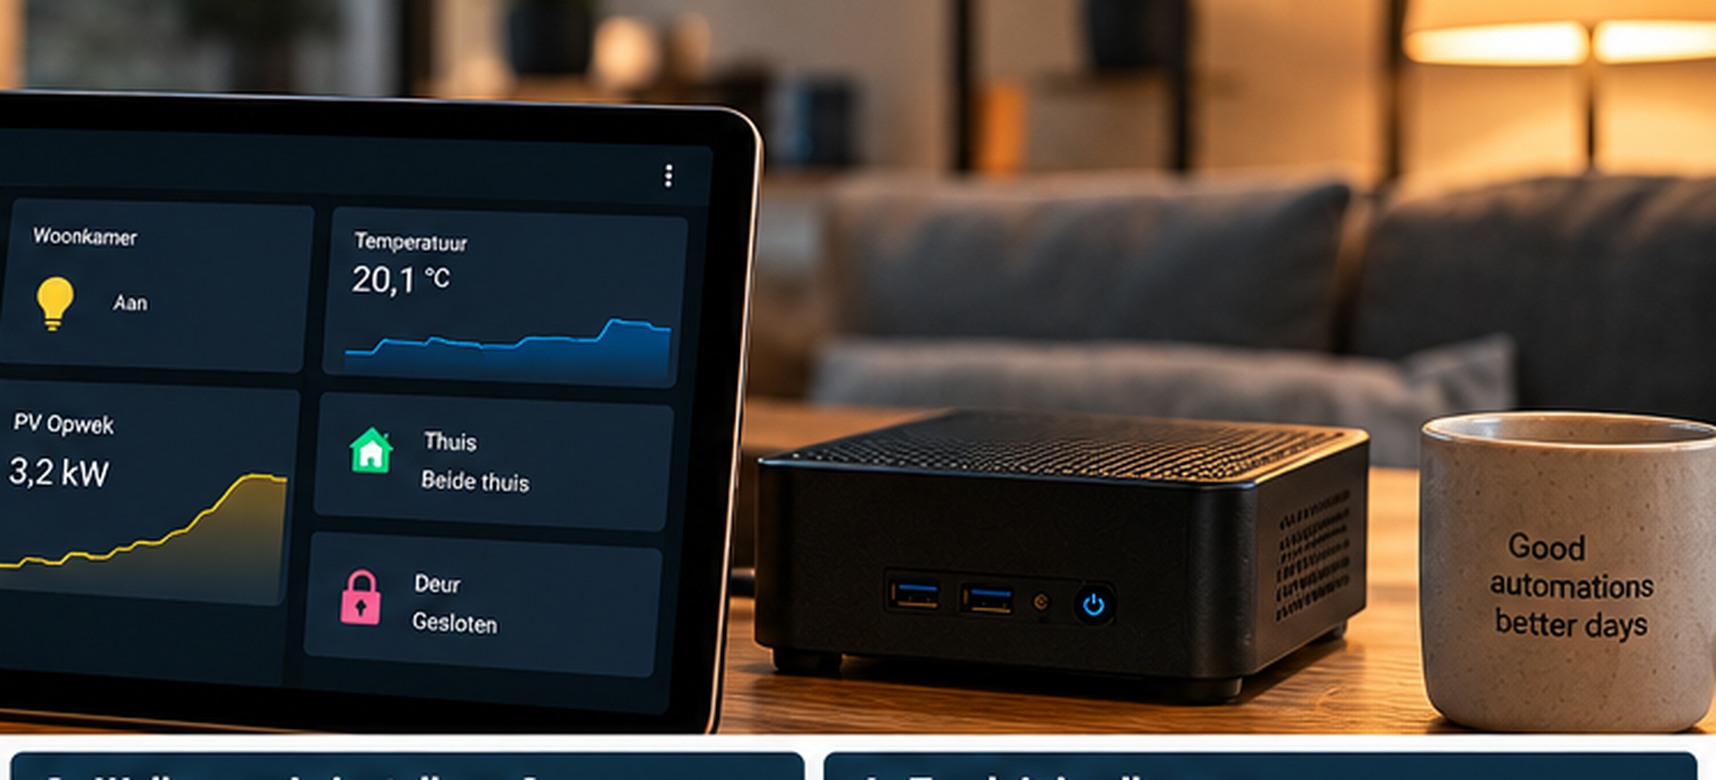
Imagine that you have a smart light controlled by one app, a thermostat from another brand and a smart plug that needs yet another app. Home Assistant can bring many of these devices together in one place. It gives you a central screen, the dashboard. Later, you can make devices work together: for example, turn off the lights when you leave or view an appliance's energy use.
Home Assistant is free, open-source software. It usually runs on a small computer in your home. That computer remains on even when you close your laptop. In this article, we call it the Home Assistant device. You control it through a browser such as Chrome, Edge, Firefox or Safari on your laptop, phone or tablet.
This distinction matters: you do not install Home Assistant as an ordinary program on your everyday laptop and then close it. You give Home Assistant its own device that remains available. You do not need smart lights, sensors or subscriptions for the first installation.
Three words you will often encounter:
| Word | What does it mean in everyday language? |
|---|---|
| Home Assistant | The software you use to control your smart home. |
| Server | The small computer that runs the software. It does not need to be a large computer. |
| Dashboard | The webpage where you see and control Home Assistant. |
A Home Assistant device does not need a screen or keyboard: later you control it from your normal computer or phone.
02 What exactly do you need?
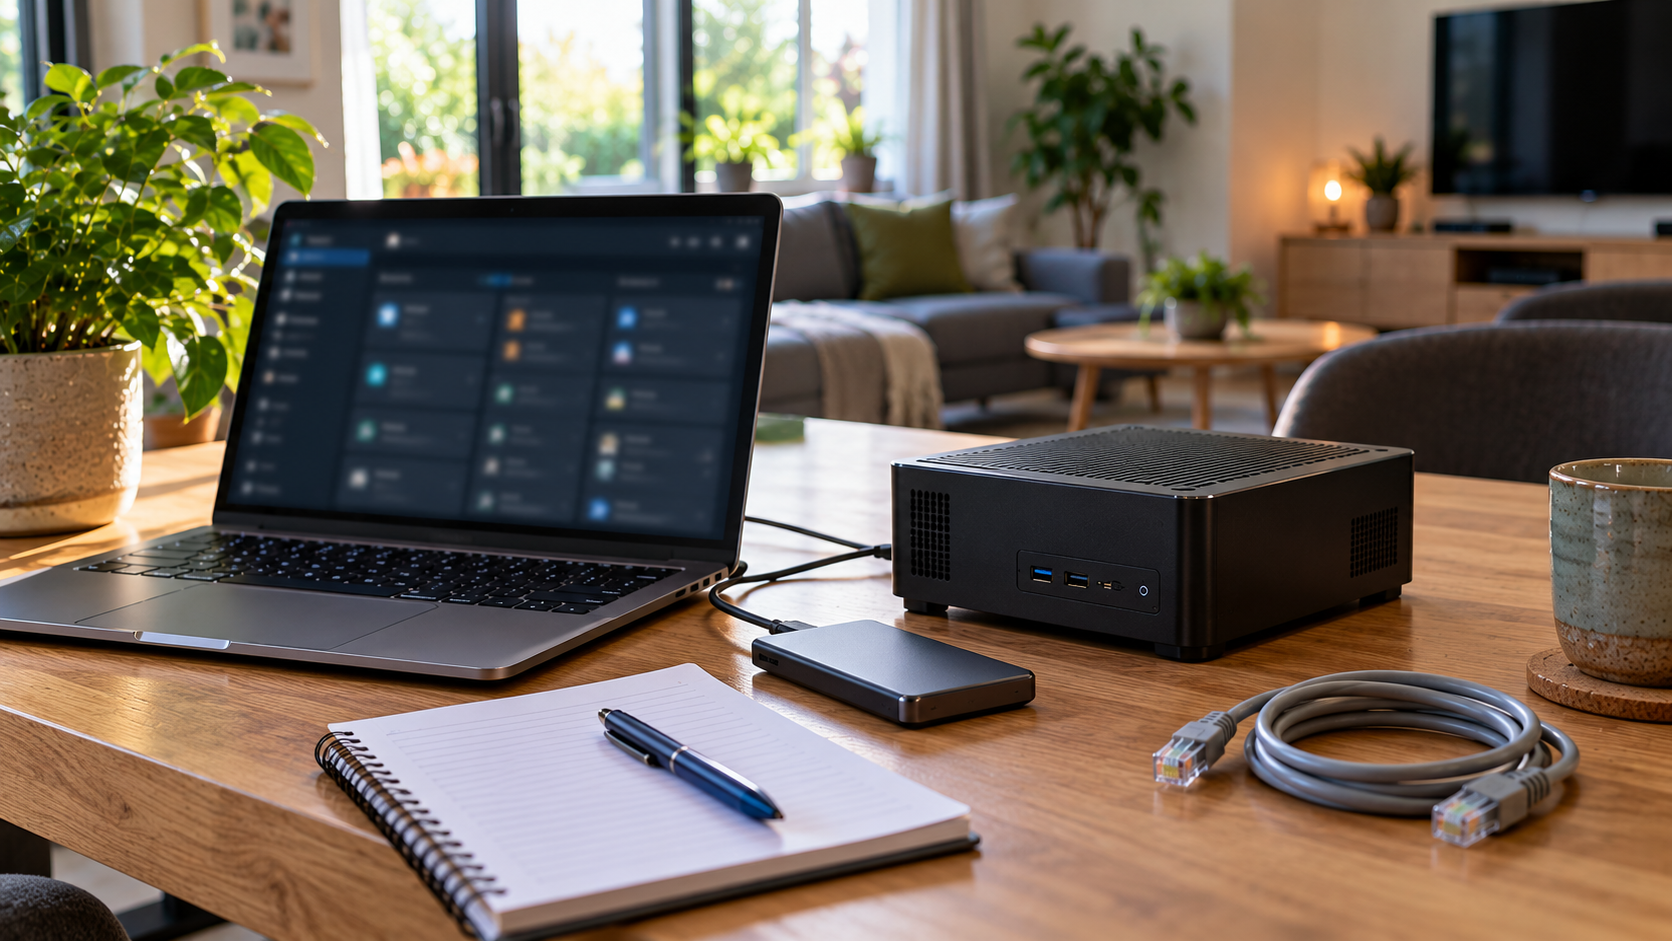
There are three essentials: hardware for Home Assistant, a connection to your home network and another device with a browser to follow the steps. You probably already have a normal internet router, perhaps supplied by Ziggo, KPN or Odido.
First, the shopping list
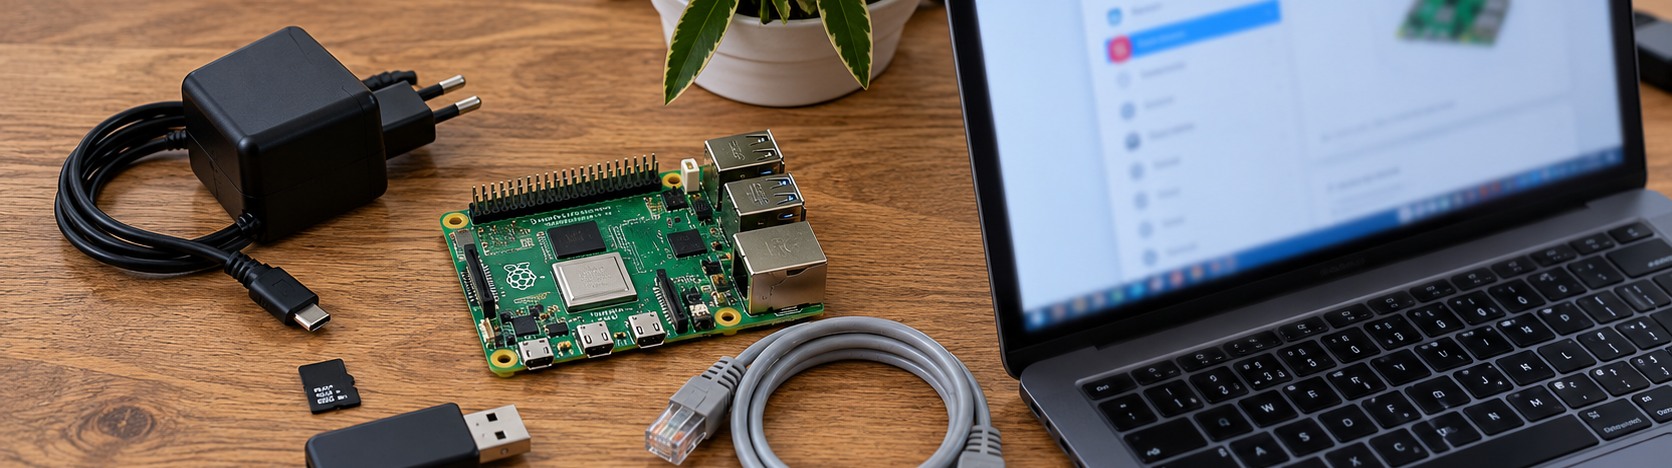
For everyone: a device on which Home Assistant will run; its power supply; one network cable with an RJ45 plug; a free port on your router or network switch; and a laptop or PC with internet for the initial setup.
For a Raspberry Pi, you also need a good microSD card of at least 32 GB, preferably A2, and a card reader. For a mini PC, you will normally need an empty USB stick of at least 8 GB, a keyboard and a temporary monitor to start installation. Home Assistant Green includes the main necessities in the box.
Which computer should you choose?
| Option | Who is it for? | What else must you do? | Our advice |
|---|---|---|---|
| Home Assistant Green | You want to start without technical preparation. | Connect it, start it, create an account. | Best choice for an absolute beginner. |
| Raspberry Pi 4 or 5 | You already have one or enjoy installing things yourself. | Write Home Assistant OS to a microSD card. | A very good learning route. |
| Mini PC / NUC | You have an old mini PC or want to expand considerably later. | Check boot settings and put Home Assistant OS on its internal drive. | A good choice, but the most difficult installation route. |
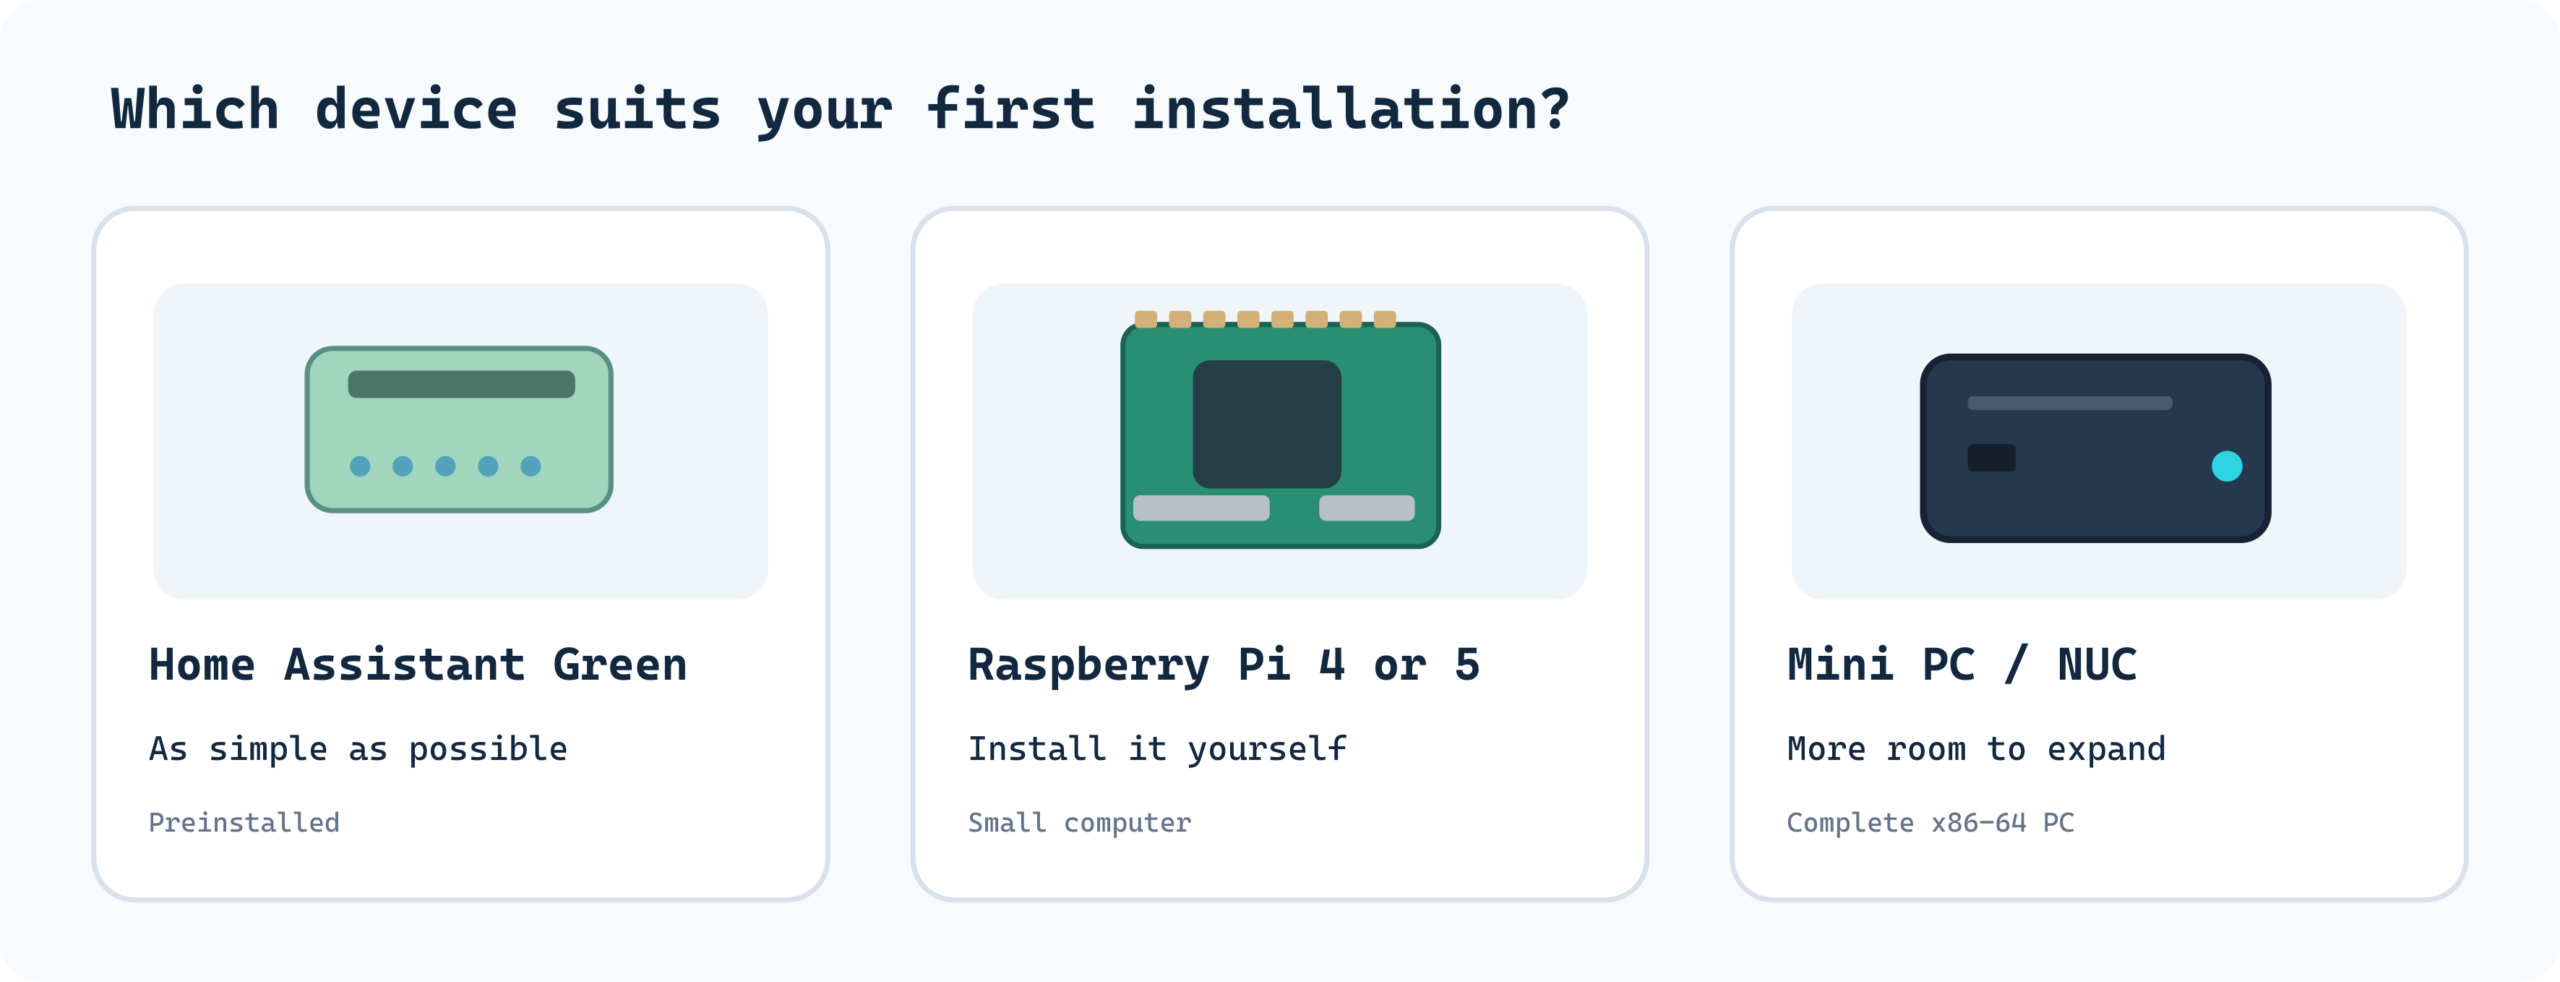
Still unsure? — Do not buy extra hardware without a reason. If you have nothing and want simplicity, choose Green. If you already own a Pi 4 or Pi 5, start with that. A mini PC may be more powerful, but you do not need that power just to create your first account.
What is a Raspberry Pi?
A Raspberry Pi is a small circuit board that functions as a computer. It has a processor, memory, USB ports and a network cable socket. It often sits in a case. You install the operating system yourself; we will do that with a microSD card.
A microSD card is a small memory card, about the size of a fingernail. It holds Home Assistant OS and, later, your Home Assistant data. Installation completely replaces its contents. Do not use a card that still contains photos you want to keep.
If you use a Raspberry Pi, prepare the power supply, memory card, card reader, network cable and laptop in advance. Exact connections vary by Pi model.
What is a mini PC or Intel NUC?
A mini PC is a small but complete computer. It may have Windows installed. In our installation, that existing system on the chosen internal drive is erased. A mini PC that still holds your personal files is therefore not a good practice machine. A suitable mini PC has a 64-bit Intel or AMD processor, UEFI boot support and an appropriate internal SSD or drive.
An SSD is a storage drive that holds files. BIOS/UEFI is the settings menu in which the computer chooses the device from which it starts. You do not need to understand that yet; route C explains it.
03 What are you installing: Home Assistant OS?
Online, you will encounter different names: Home Assistant OS, Container, Docker and virtual machine. That can be confusing. For this guide we choose just one option: Home Assistant Operating System, abbreviated HAOS.
Think of HAOS as a complete package: the operating system, Home Assistant itself and tools to manage updates, backups and additional apps. Green already includes it. On a Pi or mini PC, we put it on the storage ourselves.
A Docker container or virtual machine is also possible, but requires more knowledge of the existing computer system. Those options make the path unnecessarily long for someone who only wants a first working installation.
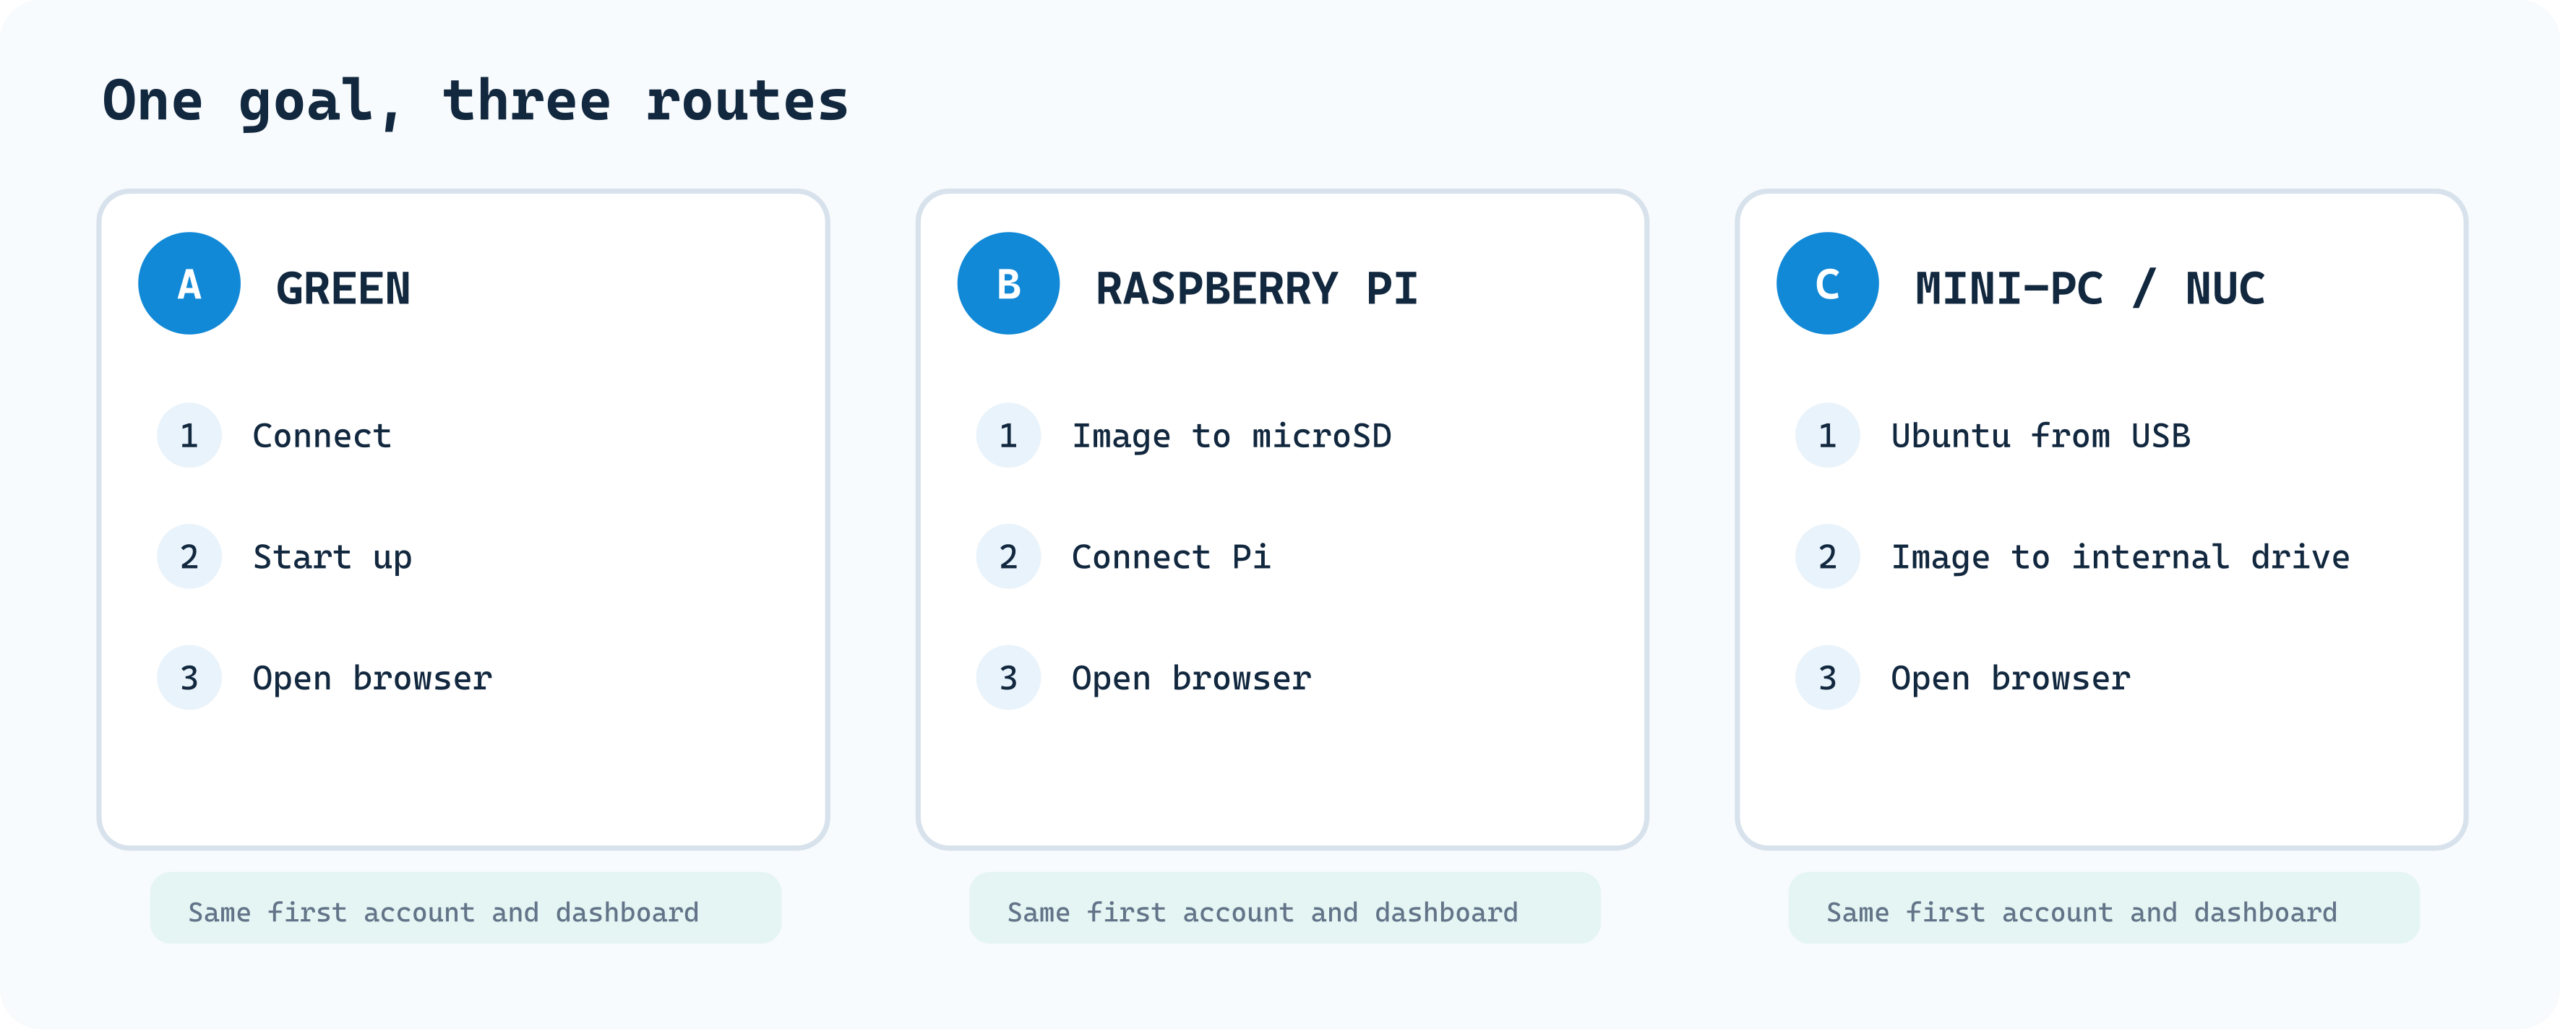
In short: Green = HAOS is already installed. Raspberry Pi = put HAOS on the microSD card. Mini PC = put HAOS on the internal drive.
04 Connect and prepare without complicated networking
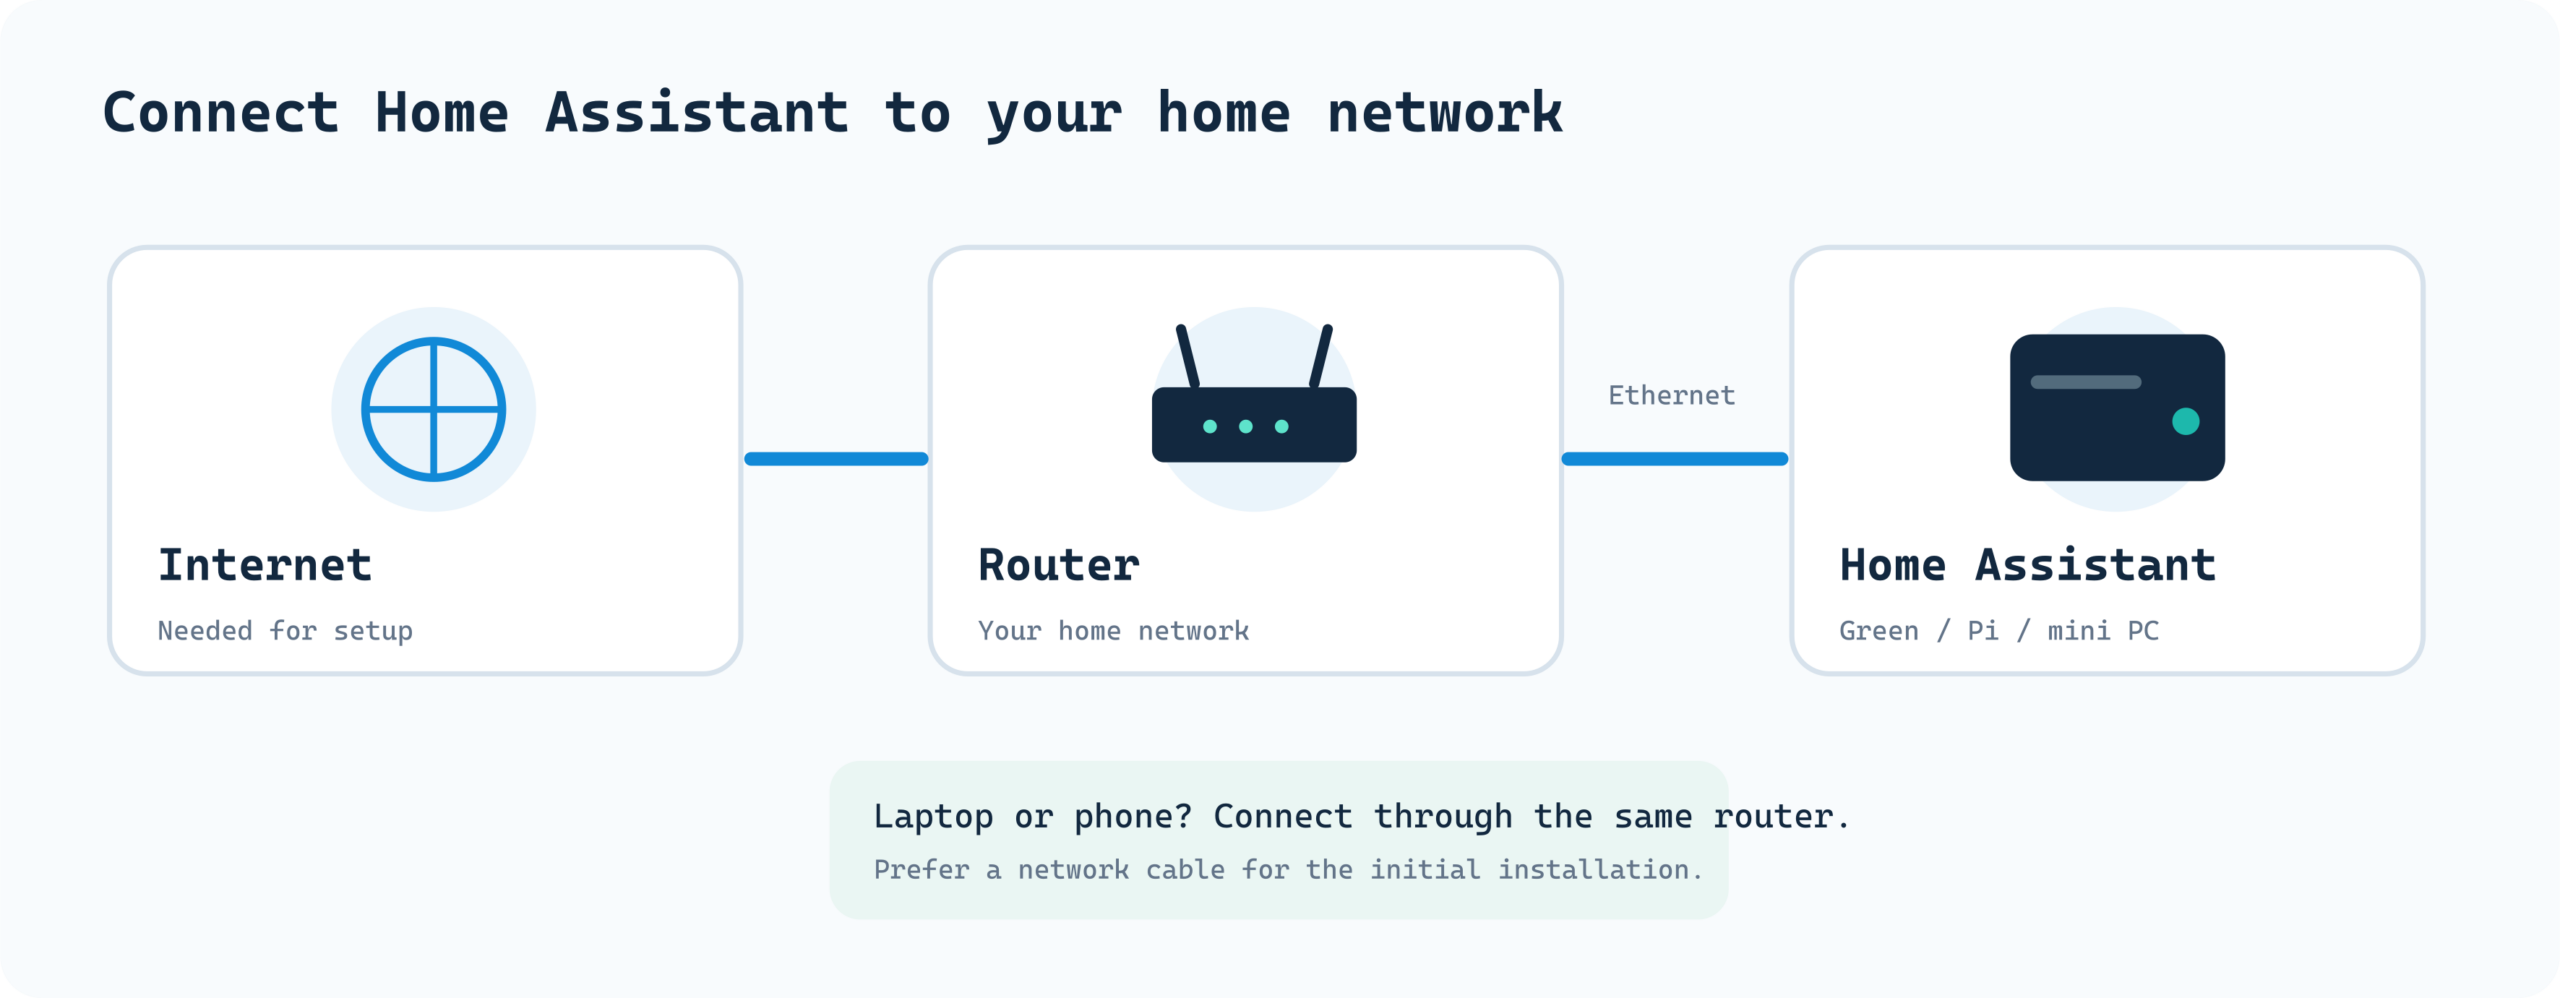
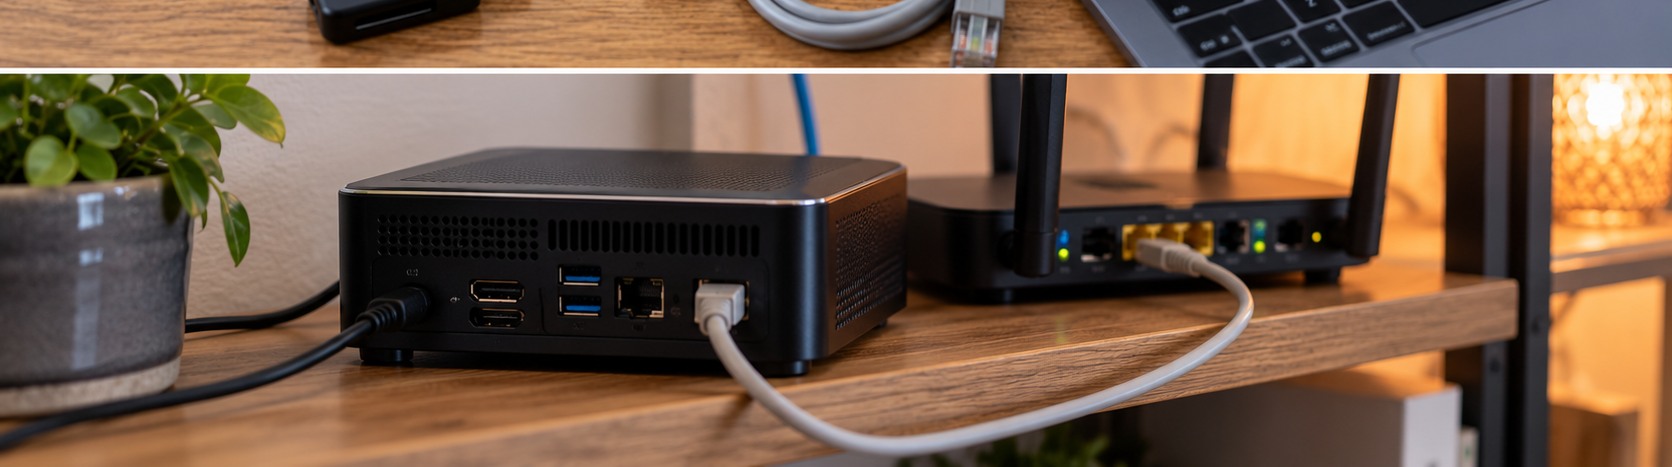
The router is the box that runs your home network. Sometimes it also provides Wi-Fi. Connect a network cable to an ordinary LAN port on the router, usually marked LAN or with a number. Have a separate switch? Home Assistant may connect to that as long as the switch connects to your home router.
For your first installation, preferably use a cable rather than Wi-Fi. You then need not enter a Wi-Fi password into Home Assistant and avoid a range of connection problems. Your laptop may still use Wi-Fi, provided it is on the same normal home network.
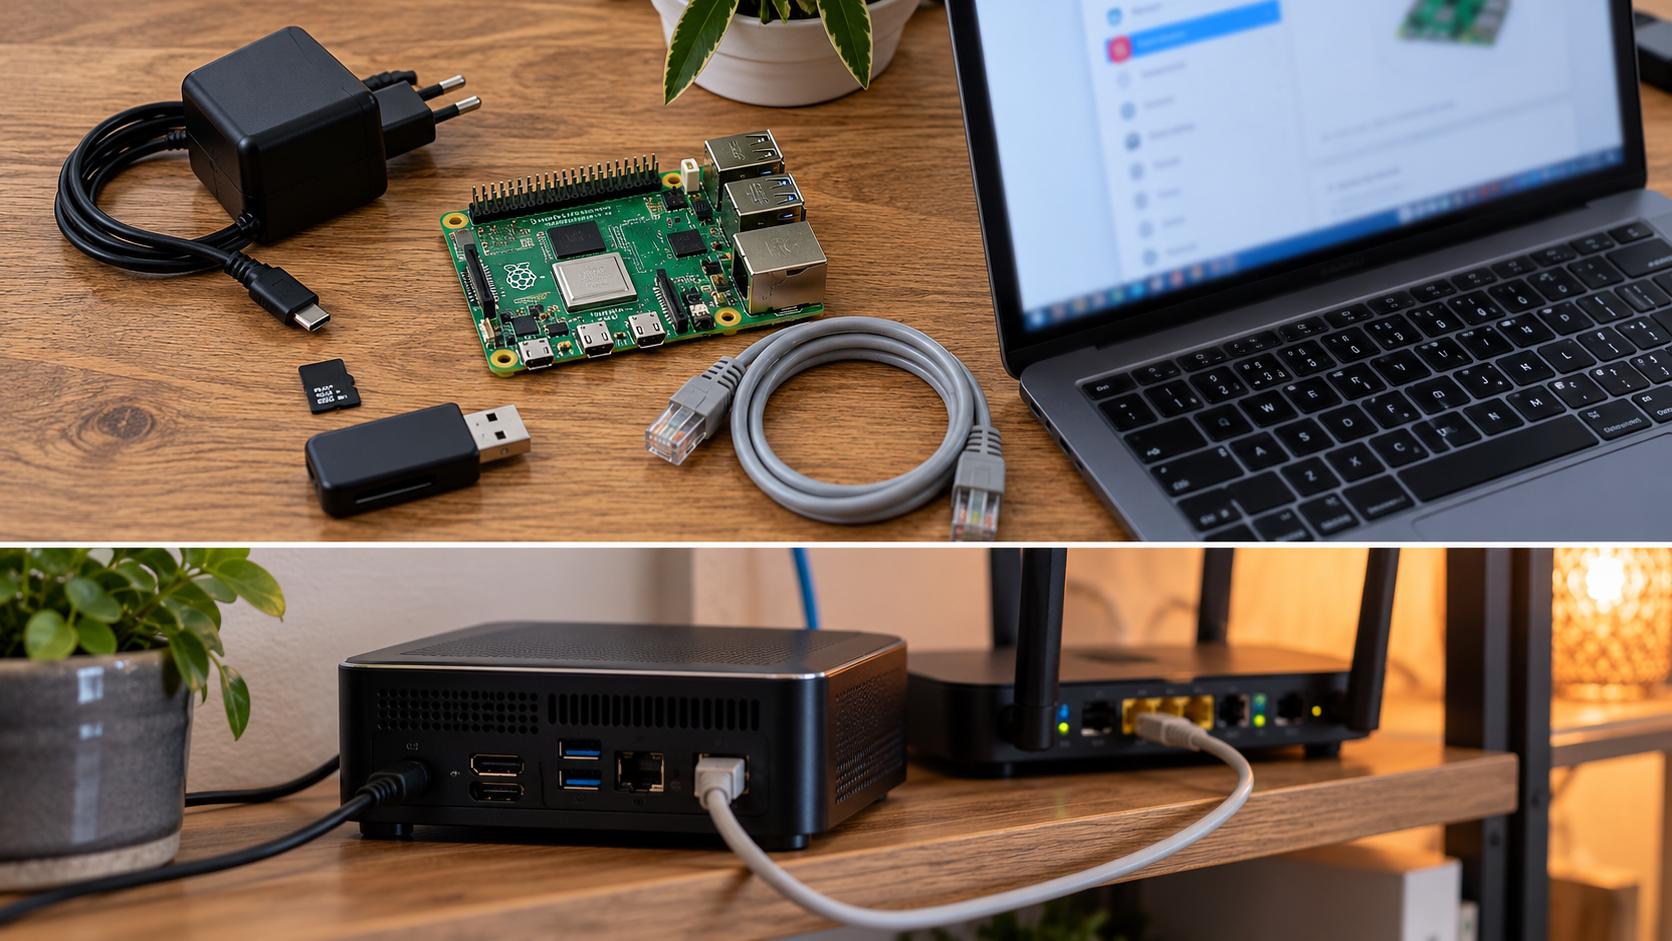
What does “the same home network” mean?
If your phone is on your regular Wi-Fi and Home Assistant is connected by cable to the same home router, they can usually find each other. Watch out for guest Wi-Fi, which can isolate devices from one another. Make the first connection from your normal home Wi-Fi, not a guest network.
For the first installation, the Home Assistant device generally needs internet access to download required components. Later, much of your smart home will continue to work locally if your internet connection fails.
What you emphatically do NOT do: you do not have to open router ports, buy a domain, install Cloudflare Tunnel or reach Home Assistant using mobile data. Start safely and simply on your own home network.
Check these five things before starting
- You have the correct power supply for your chosen device; a random phone charger may not be suitable for a Pi.
- The network cable is firmly connected to the router or switch.
- The laptop or phone you use for setup is on your normal home network.
- You have enough time for the first preparation to finish.
- You know which storage card or drive you may erase if you chose a Pi or mini PC.
05 Installation: choose ONE of these three routes
This matters: routes A, B and C are different ways of reaching the same end point. You do not carry out all three. Have a Green? Do A only. Have a Pi? Do B only. Have a mini PC? Do C only. Everyone then continues at chapter 6.
Route A: Home Assistant Green — the simplest option
Green is built specifically to run Home Assistant. HAOS is already installed on it. You do not need to download a program or prepare a memory card.
- Unpack the device. Put Green, its supplied network cable and power supply on the table.
- Find a free LAN port. That is a network socket on your router or switch.
- Connect the network cable first. One end goes into the router, the other into Green's Ethernet port.
- Now connect power. Use the supplied adapter. Green begins to boot.
- Wait patiently. Indicator lights may change during startup; that does not immediately mean something is wrong.
- Open Home Assistant later on your laptop. Continue at chapter 6, which shows the address to type into your browser.
Common question: must I connect a monitor to Green? — No. Its HDMI port is not meant for an ordinary desktop. Use a laptop, tablet or phone to open Home Assistant over the network.
Checkpoint A: power is connected, the network cable is secure and Green is on. Now go to chapter 6.
Route B: Raspberry Pi 4 or 5 — prepare the memory card yourself
Home Assistant is not yet on the Raspberry Pi's memory card. We will put it there with Raspberry Pi Imager, a free program for Windows, macOS and Linux. You need a Pi 4 or 5 with at least 2 GB RAM, a suitable power supply, a microSD card of at least 32 GB, a card reader and a network cable. The official guide recommends an A2-rated microSD card.
Do the first half on your normal laptop:
- Go to https://www.raspberrypi.com/software/ and download Raspberry Pi Imager for your computer.
- Install and open Imager. Insert the microSD card into your card reader.
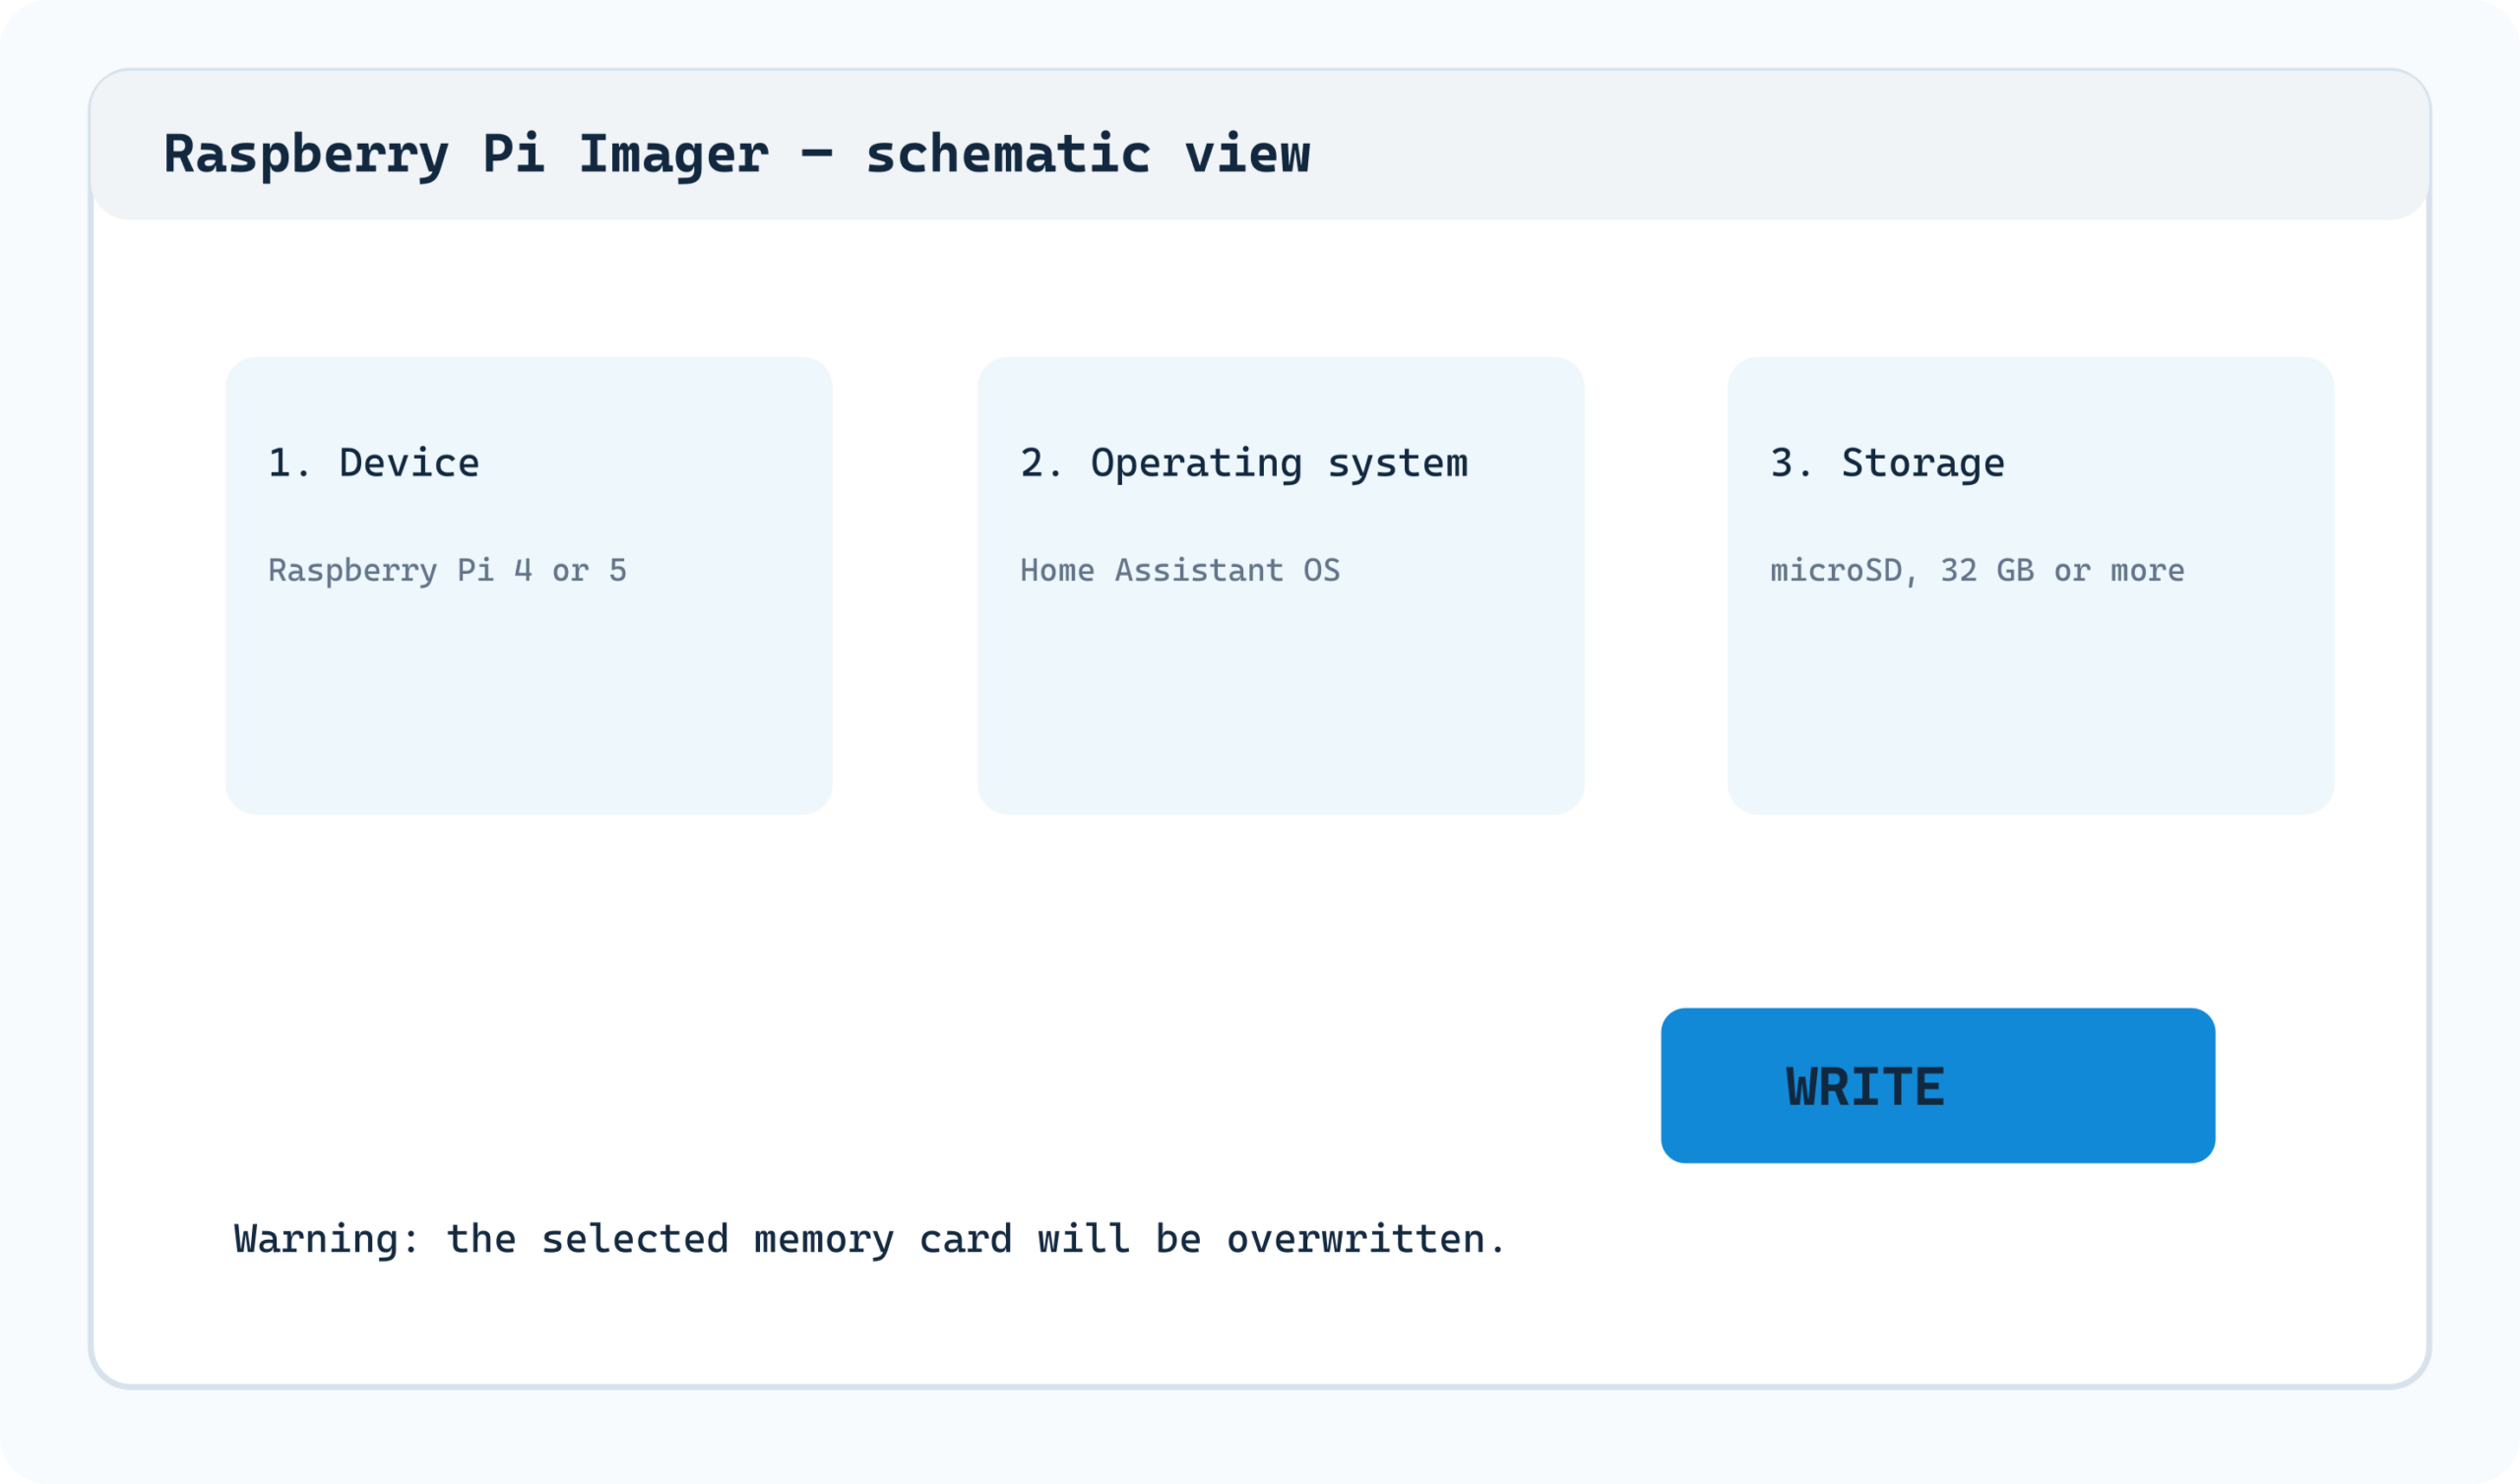
- Select your Raspberry Pi 4 or Raspberry Pi 5 as the device. It must match your own model.
- Go to the operating system selection. Find Other specific-purpose OS → Home automation → Home Assistant and select the HAOS version for your Pi. Exact button labels may vary between Imager versions.
- Select the microSD card as storage. Carefully check its name and capacity. Unsure which drive it is? Stop, remove the card and insert it again to see which drive appears.
- Click Write and confirm. Imager removes existing files from the card and writes Home Assistant OS. Wait for writing and any verification to finish.
- Safely remove the microSD card from the reader.
If uncertain, follow the current instructions and screen examples on the official Home Assistant website.
Then go to the Raspberry Pi:
- Insert the prepared microSD card into the powered-off Pi.
- Connect the Pi to your router or switch with a network cable.
- Connect an officially suitable power supply. The Pi begins to boot.
- Give Home Assistant time to prepare the first files. You do not need a keyboard or monitor connected to the Pi.
- Continue with your laptop at chapter 6.
If something goes wrong, start with the power supply and memory card. A Pi with an unsuitable USB power supply or a poor microSD card can produce unexplained errors. If Imager does not offer the operating system, consult the current official Pi installation page; its menus sometimes change.
For more about storage, cases and expansion, MechScript has a separate detailed Raspberry Pi guide.
Route C: mini PC / Intel NUC — for those who want to try more
A mini PC installation really does involve more steps than Green. That is fine, but if you have no experience with this, Green is the simpler starting point. Use this route only with a separate mini PC dedicated entirely to Home Assistant. It needs a 64-bit Intel/AMD system with UEFI and a suitable internal drive.
Warning — the internal drive will be erased. Is Windows, your documents or your photos still on this mini PC? Make a good backup or use another empty drive. The steps below overwrite the selected storage.
We follow the official beginner route: temporarily boot Ubuntu Desktop from USB without installing Ubuntu, then write the Home Assistant OS image to the internal drive.
- Prepare: an empty USB stick of at least 8 GB, another computer to prepare it, a monitor, keyboard, network cable and the mini PC.
- Prepare the Ubuntu USB stick. Download Ubuntu Desktop from the official Ubuntu website and follow its instructions to make a bootable USB stick. Only this USB stick is prepared in this step; do not accidentally select another drive.
- Open the mini PC's boot menu. Start the mini PC and immediately press the key used by its manufacturer several times, often F2, Del, F10 or F12. The menu includes boot order. It is called BIOS or UEFI.
- Check UEFI and Secure Boot. Home Assistant OS expects UEFI; the official generic x86-64 instructions say to disable Secure Boot. Save your changes.
- Boot from the Ubuntu USB stick. Select the USB stick in the boot options. Choose Try Ubuntu, NOT Install Ubuntu. Installation is unnecessary here.
- Open a browser in Ubuntu and visit https://www.home-assistant.io/installation/generic-x86-64. Download the current Generic x86-64 Home Assistant OS disk image. Do not copy an old pinned version link from an arbitrary tutorial.
- Open Disks in Ubuntu. Connected storage devices appear on the left. Select the mini PC's internal SSD. Compare the model and capacity: this is the riskiest choice.
- Use the three-dot menu and choose Restore Disk Image… Select the downloaded HAOS image and confirm writing it back.
- Wait until writing finishes. Do not interrupt power or remove the USB stick during the restoration process.
- Shut the mini PC down completely. Then remove the Ubuntu USB stick.
- Connect the network cable and restart the mini PC. It should now boot Home Assistant OS from its internal drive.
- Use your laptop or phone to open Home Assistant. Continue at chapter 6.
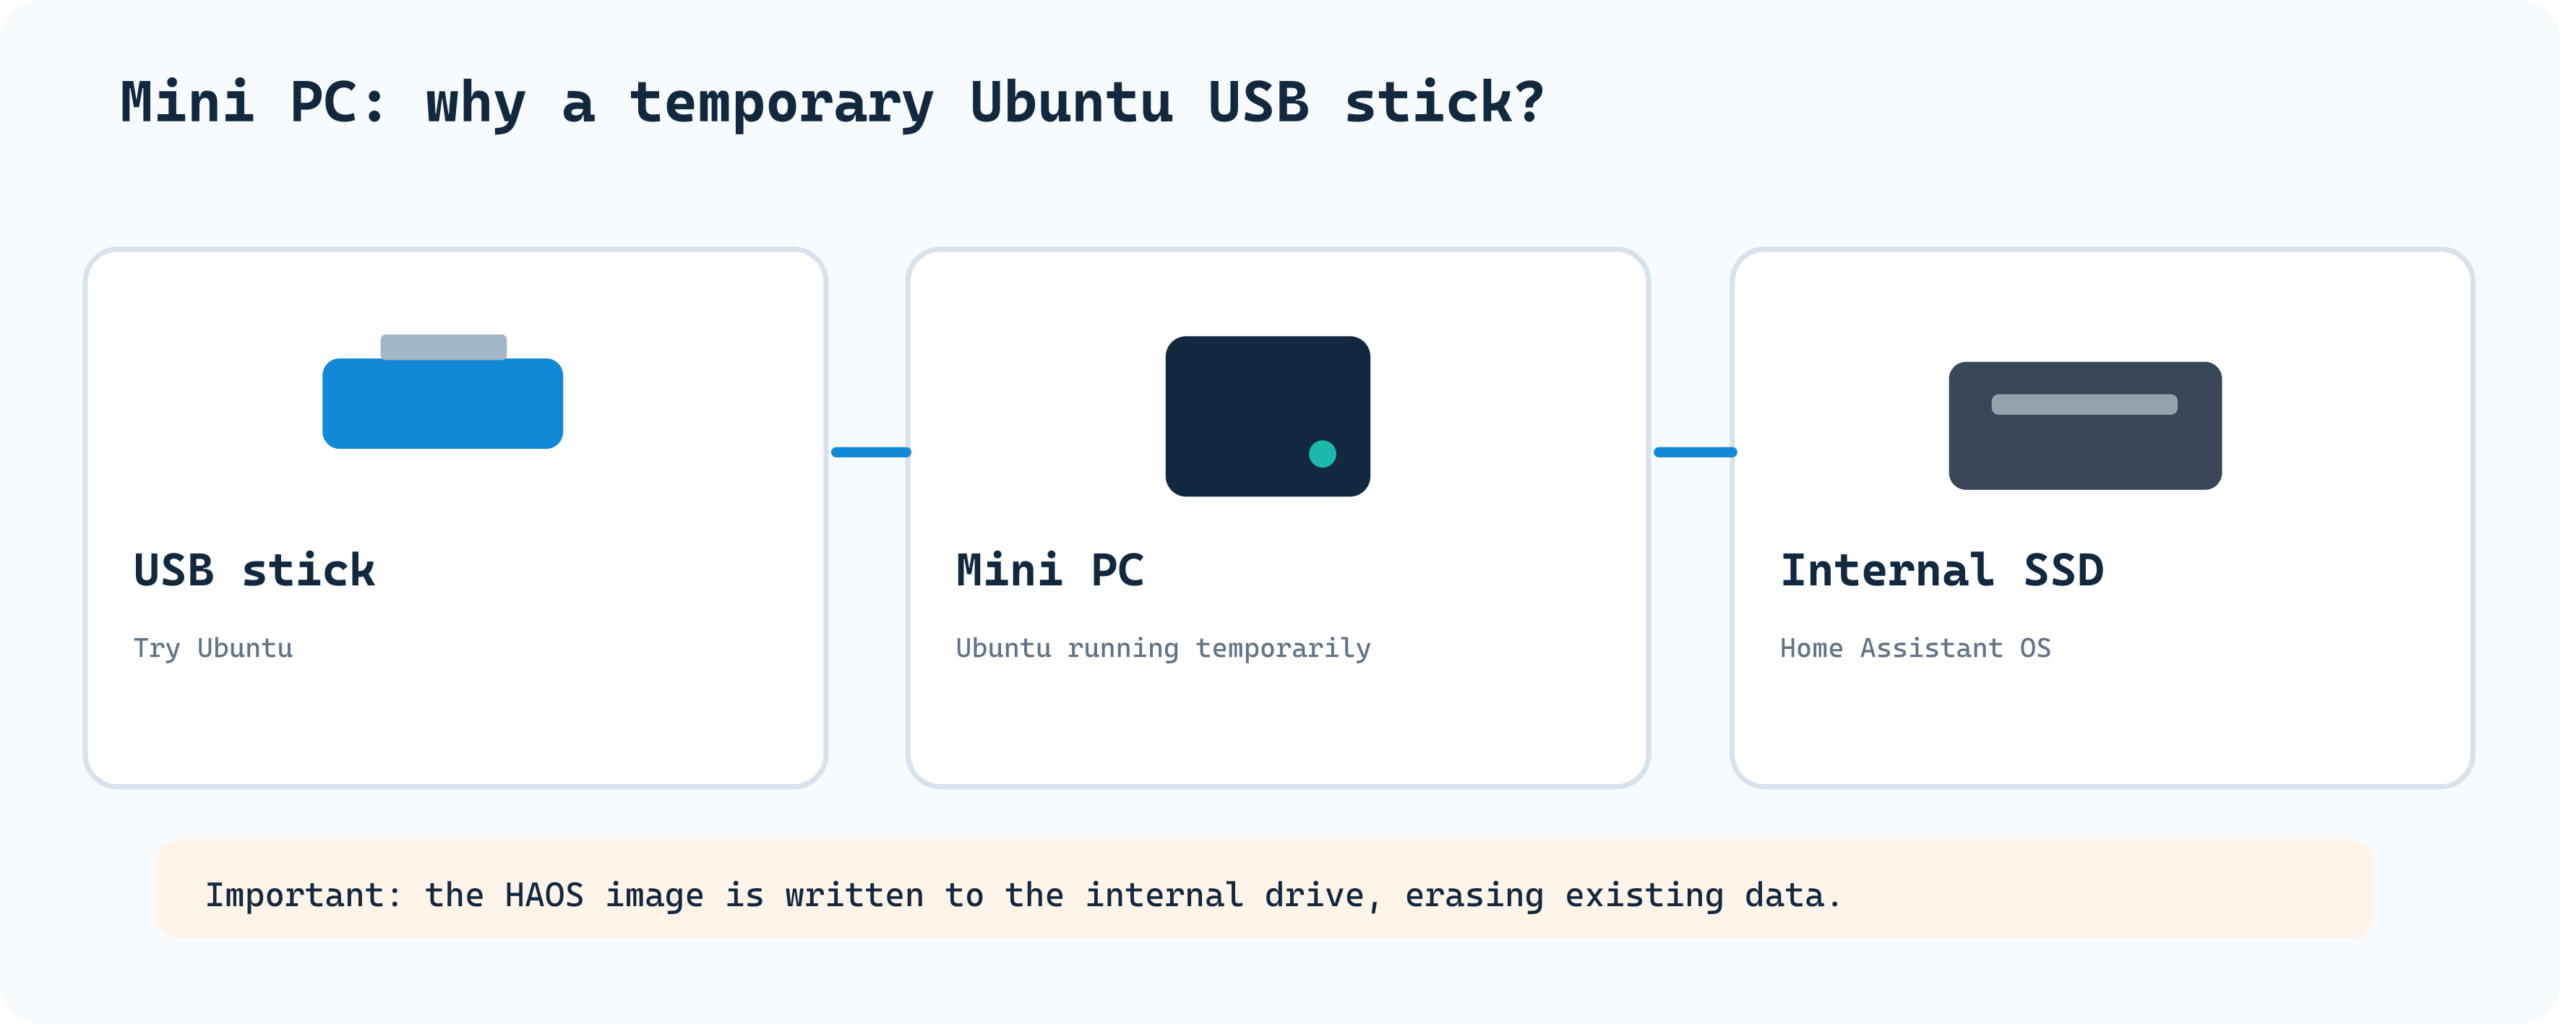
Why is this more involved than a normal Windows installation? — The HAOS image contains a ready-made disk layout. The generic mini PC version does not have a normal installer that selects the drive for you. You therefore write the image directly to the selected SSD. If uncertain, stop before pressing “Restore”.
Checkpoint C: after shutdown, the temporary Ubuntu USB stick is removed, the network cable is connected and Home Assistant boots from the internal drive. Then go to chapter 6.
06 Open Home Assistant for the first time
You now have a Green, Pi or mini PC that has booted. Home Assistant works through a webpage. You need not sit at the mini PC or attach a monitor to the Pi. Take the laptop connected to your normal home network and open Safari, Chrome, Edge or Firefox.
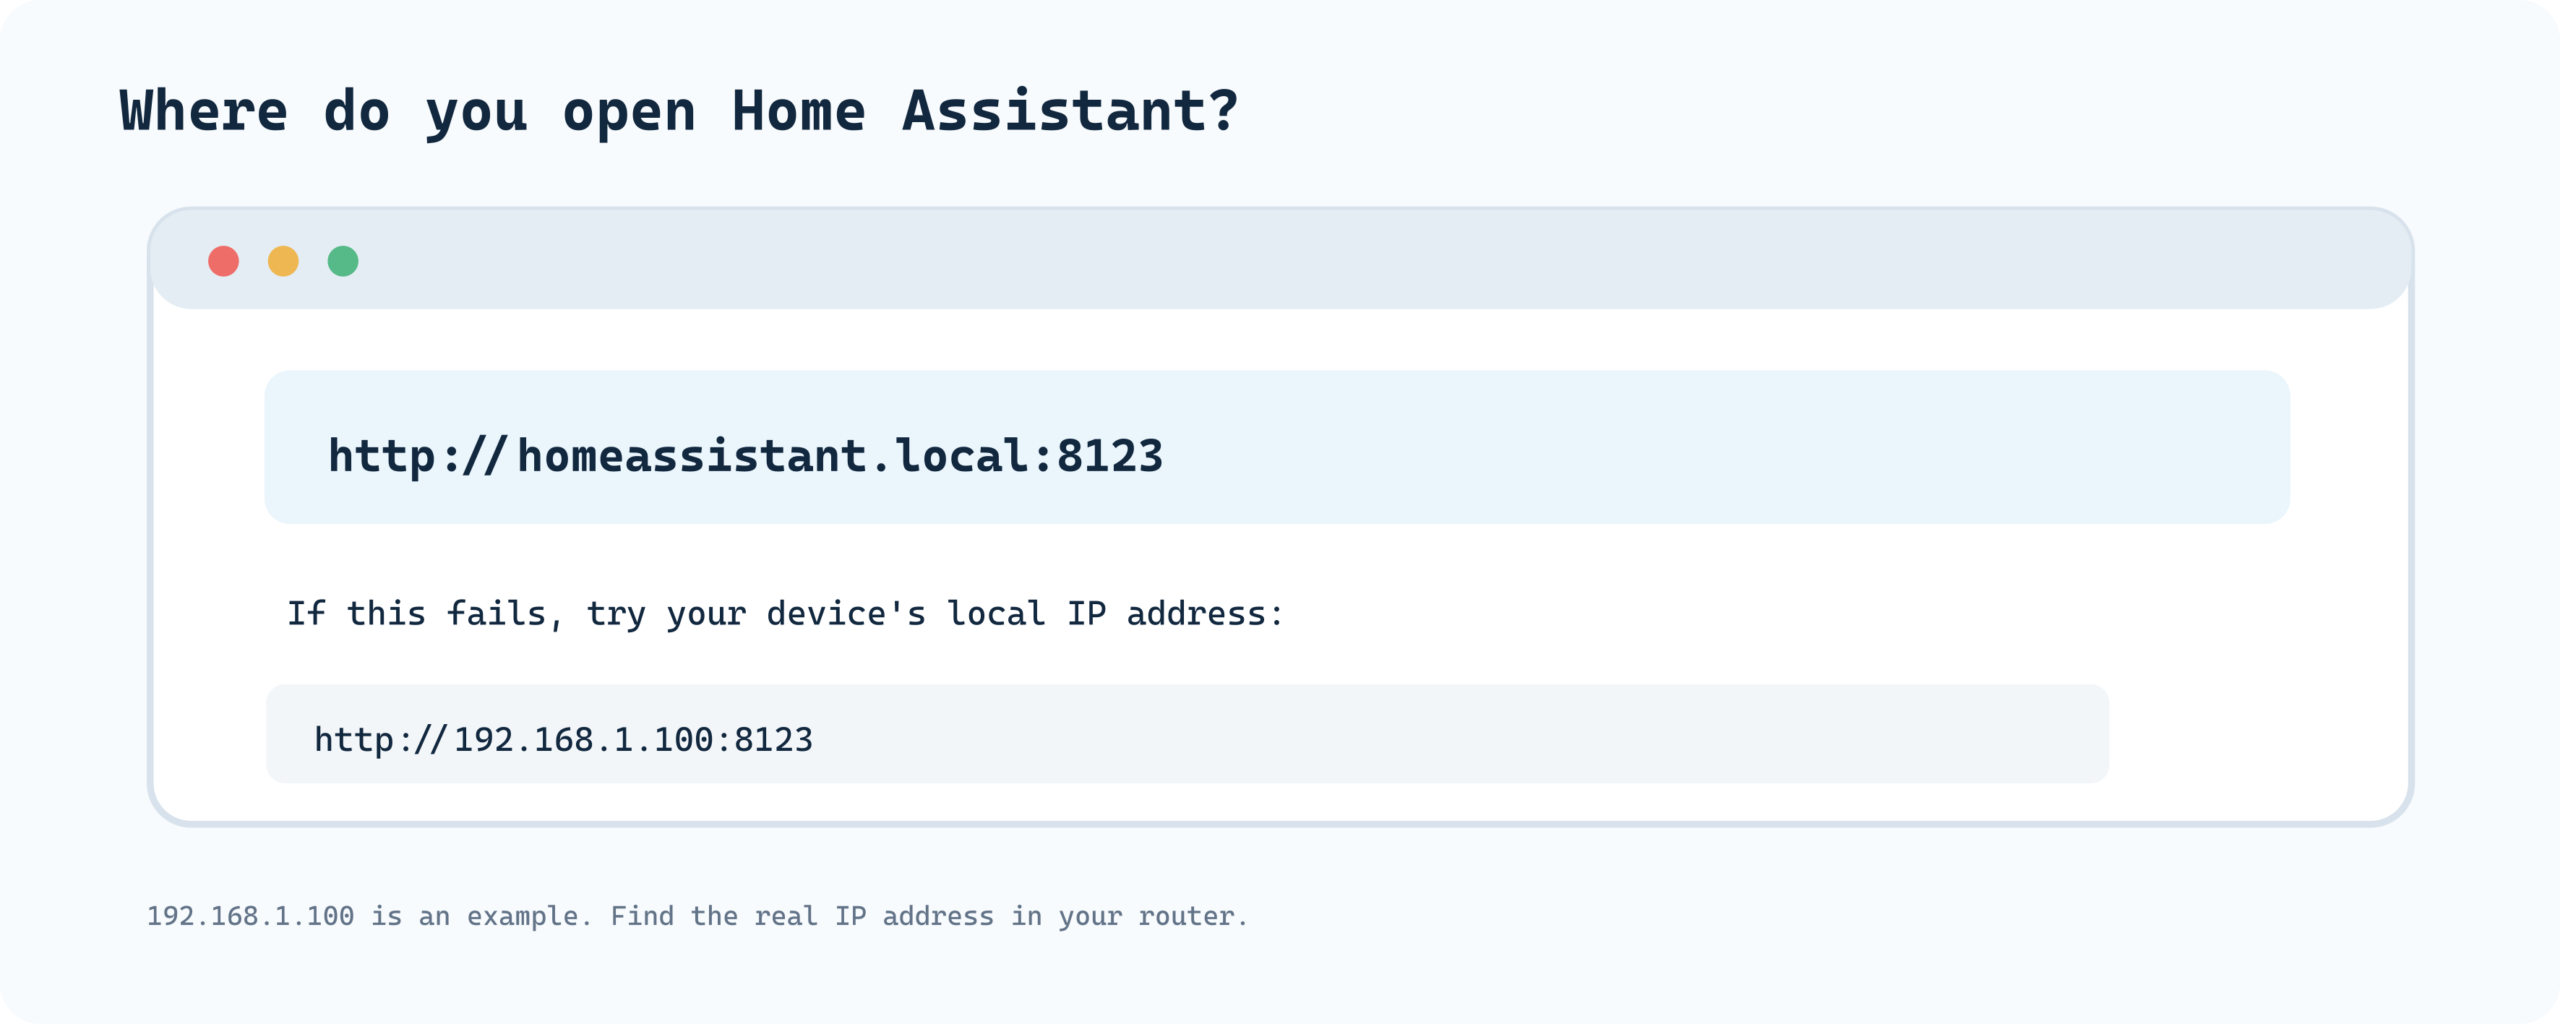
First type this address in the address bar (not in a Google search field):
http://homeassistant.local/
If that does not work, try:
http://homeassistant.local:8123/
homeassistant.local is the local name of your Home Assistant device. 8123 is the port where the Home Assistant web interface is normally available. That number follows the colon. On some HAOS installations, the address without a port works immediately; on others you need port 8123.
What happens on the first boot?
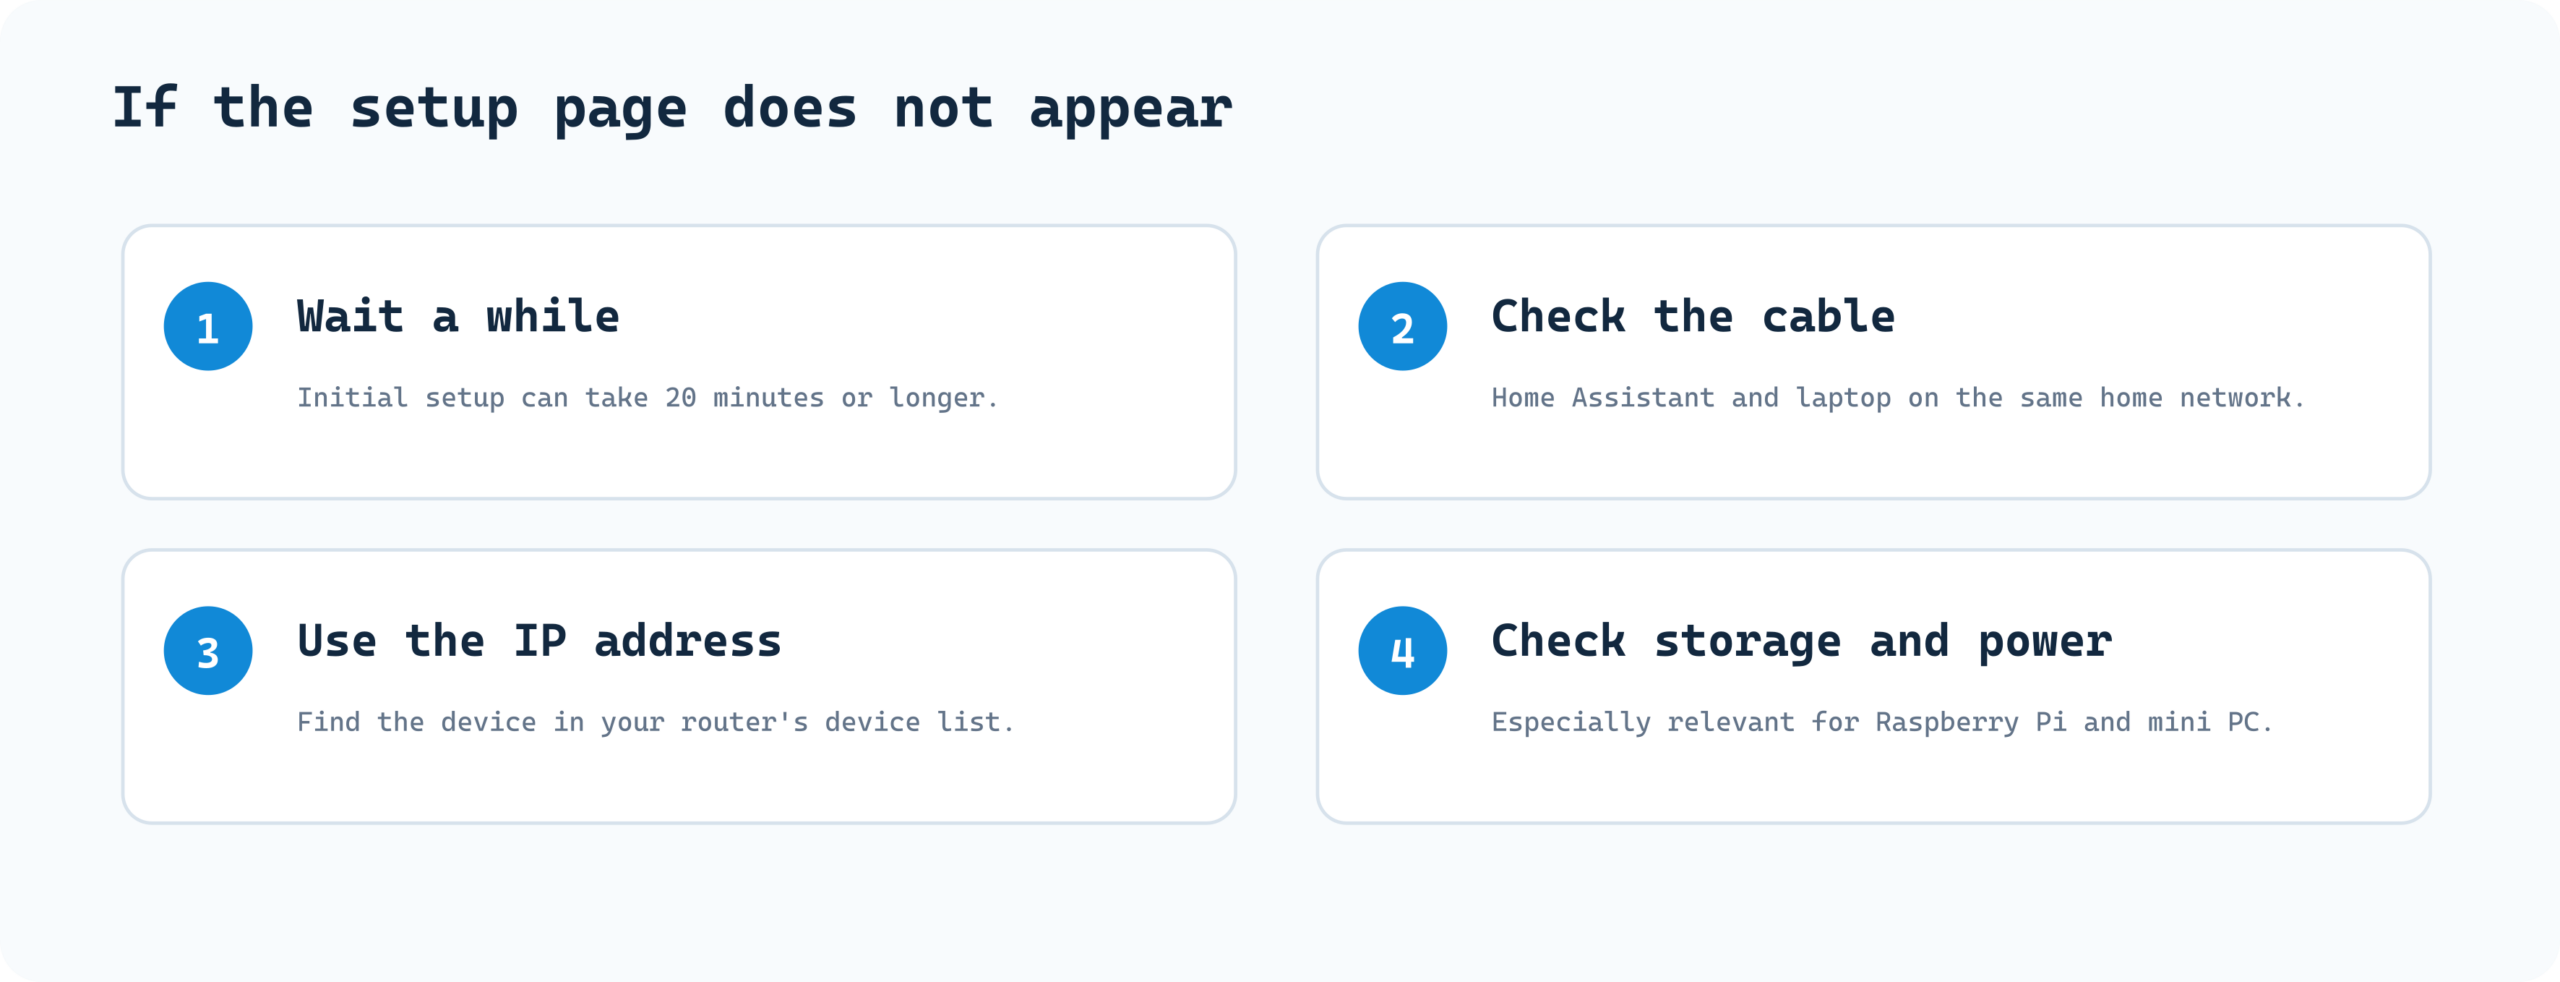
You may first see Preparing Home Assistant. Home Assistant is still downloading and installing the required components. According to the official documentation, this can take 20 minutes or longer. The screen has not automatically “frozen” just because it does not change immediately. Keep the device powered and connected to the internet.
When preparation finishes, you see the welcome screen. That proves the device is reachable. You can now create the first account. Still no welcome screen? See chapter 10.
No connection? Try the IP address
Some computers do not resolve names ending in .local reliably. That need not mean Home Assistant itself has a problem. Your router has usually assigned the device a local IP address. Think of it as a house number inside your network, such as 192.168.1.100. That is only an example; yours may differ.
- Open your router's management webpage or app.
- Look for Connected devices, Clients, Devices, DHCP or Network overview.
- Find Home Assistant Green, the Raspberry Pi, the NUC or a new/unknown device with a wired connection.
- Note the IP address and open, for example,
http://192.168.1.100:8123/, replacing192.168.1.100with the actual address.
Use http here, not https. You are working only on your local home network. A custom domain and HTTPS for access from outside come later.
07 Create your own username and password
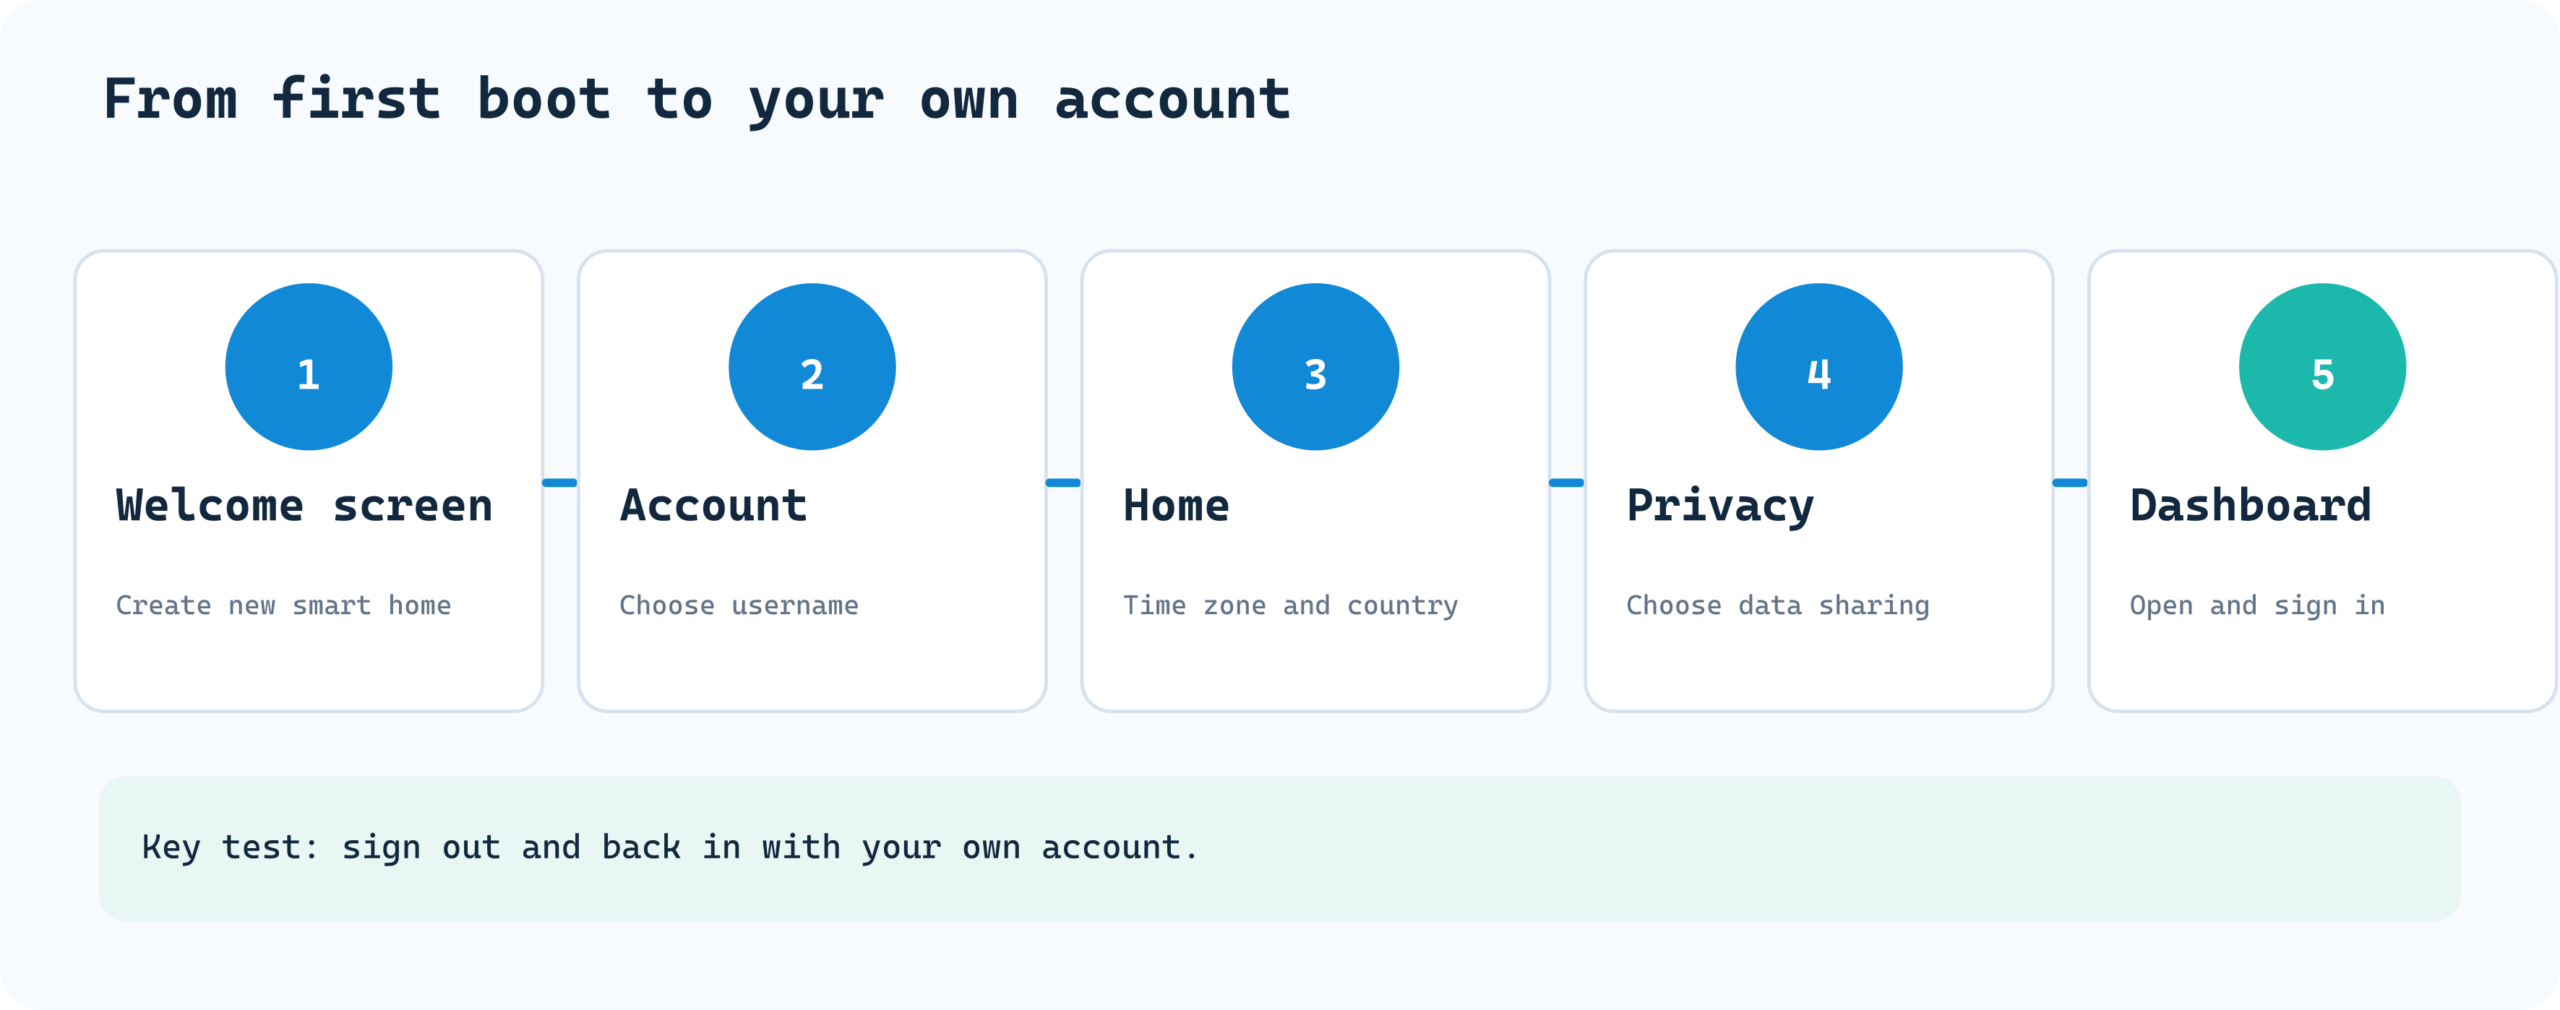
This is the part the guide has been leading to. On the welcome screen, choose Create my smart home (the label may differ in another language). Do not choose Restore from backup: that button is for someone who used Home Assistant before and wants to restore a backup.
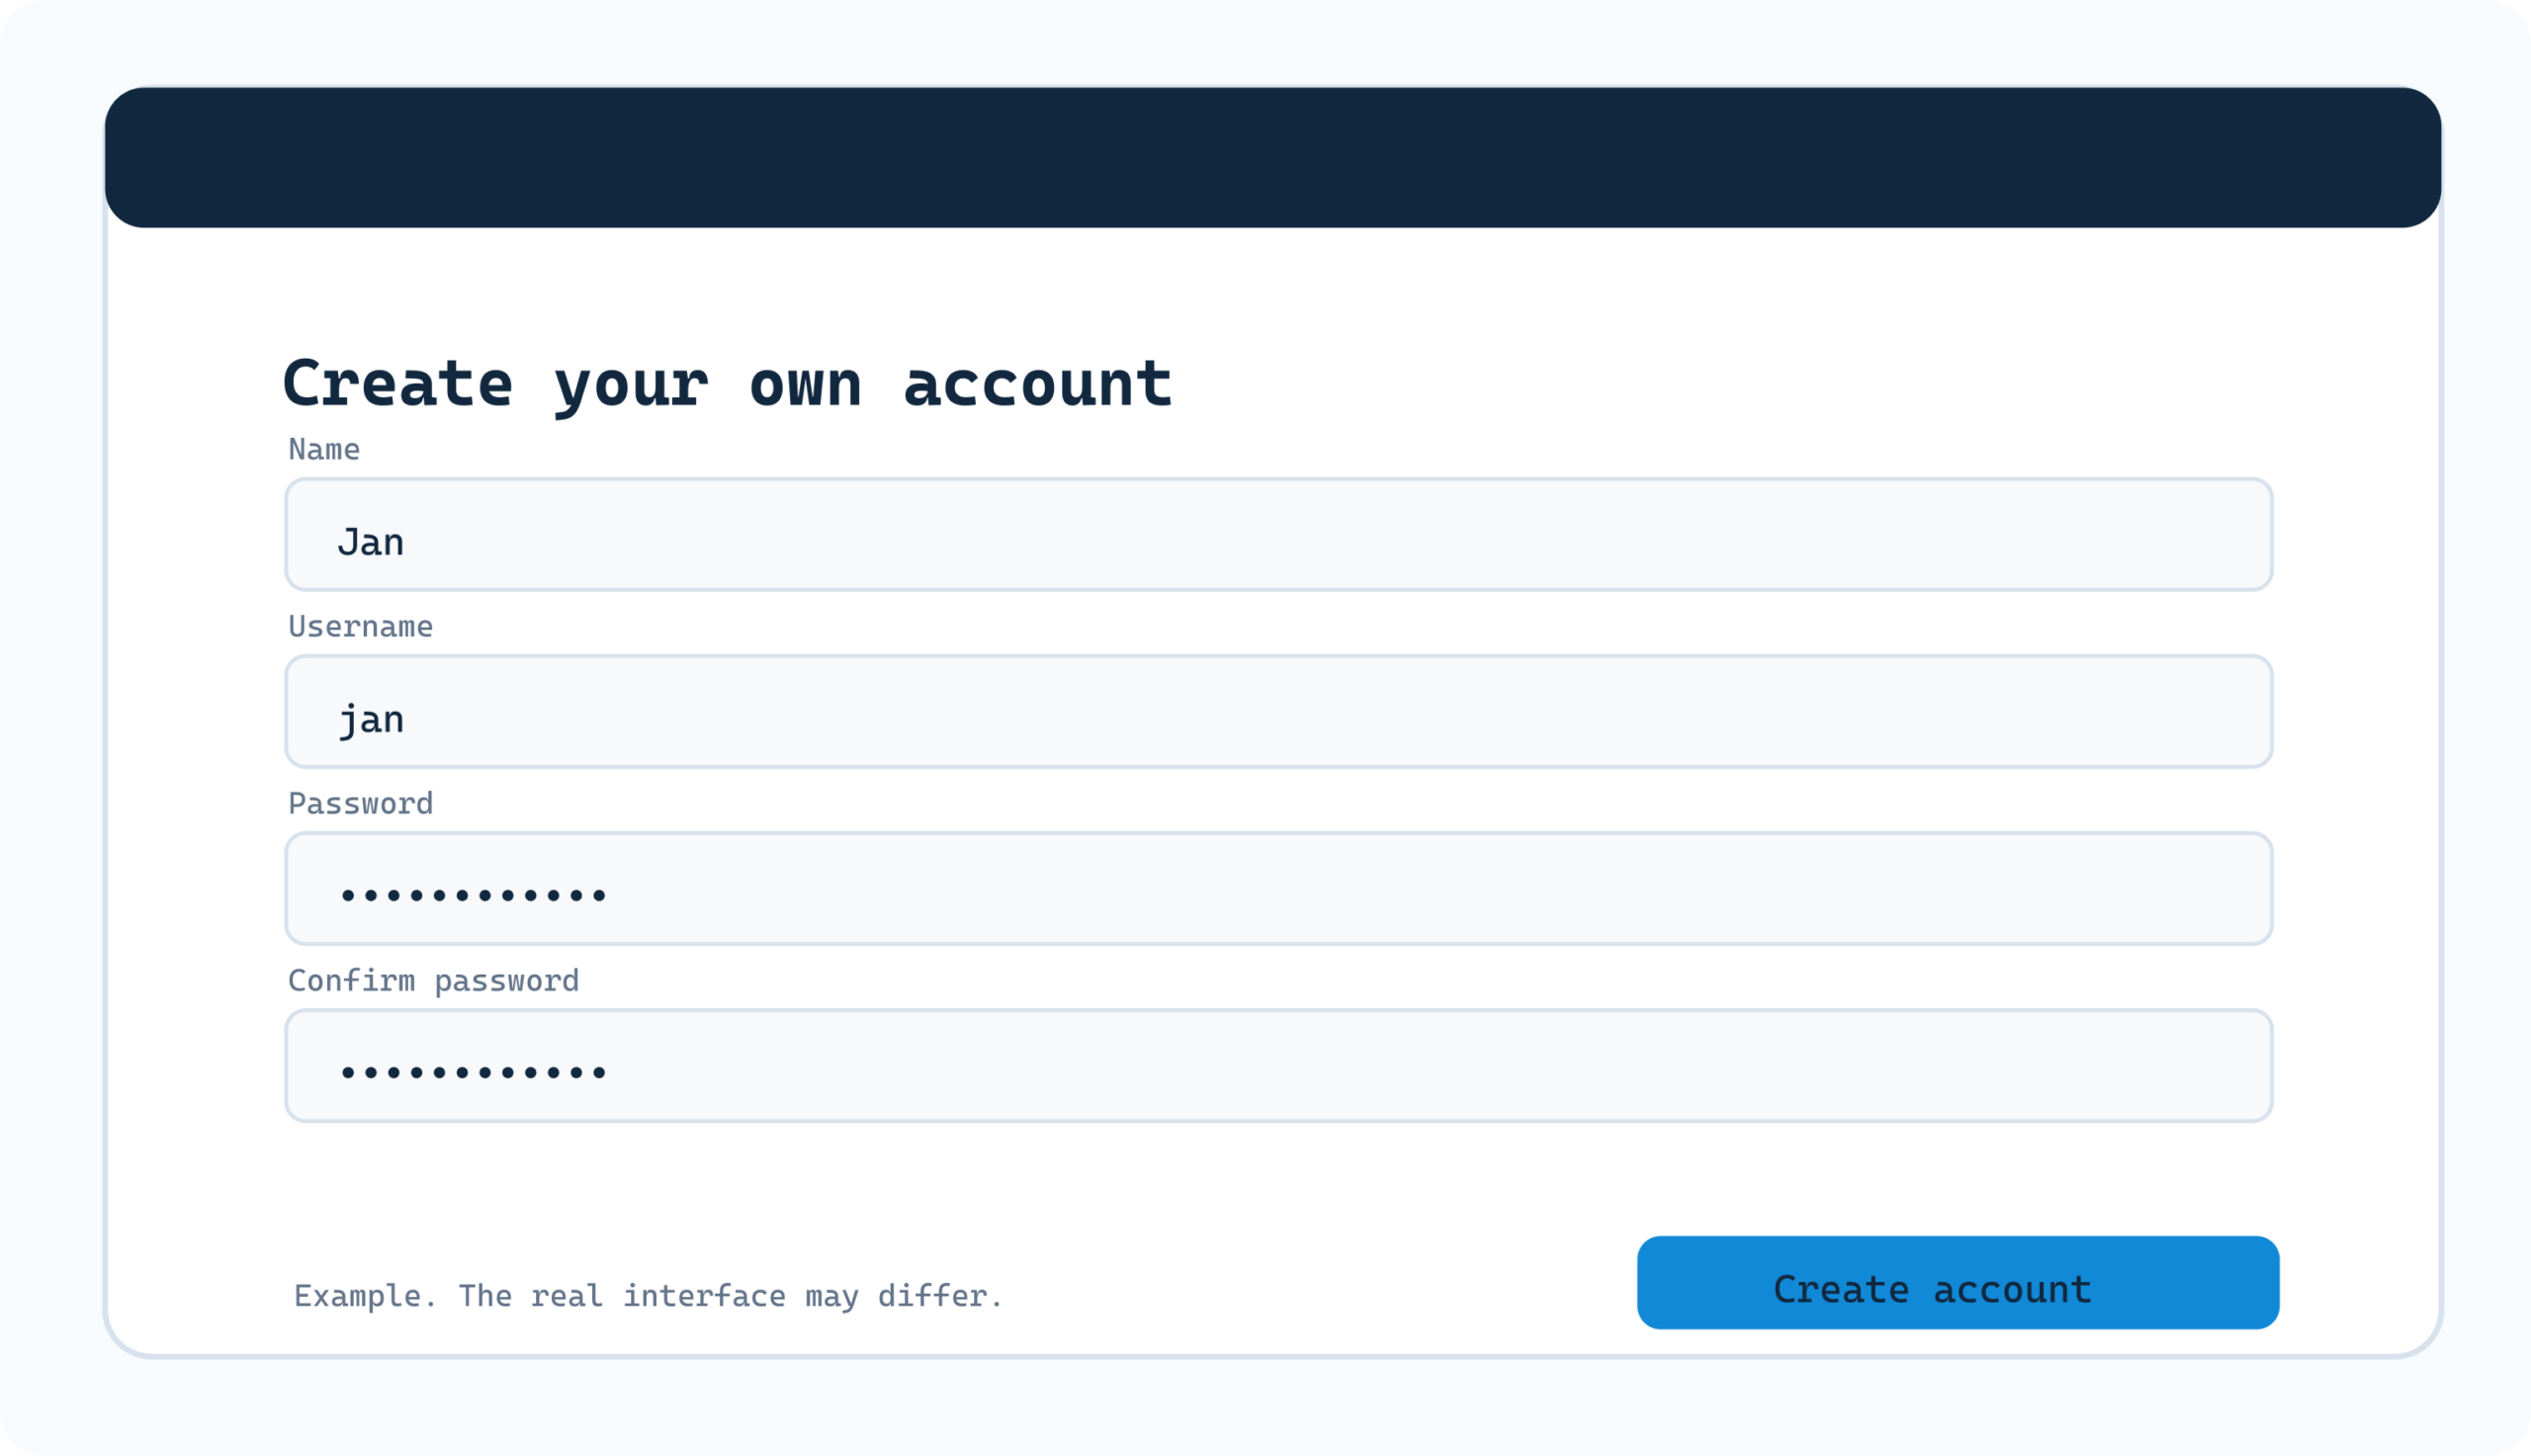
Next, create the first user account. It is the owner account, which can change settings and add users. Use your own details, not a default username such as admin with a shared password.
What goes into each field?
| Field | Example | What is the difference? |
|---|---|---|
| Name | Jan de Vries |
Your visible name in Home Assistant. |
| Username | jan |
The name you will use to sign in. |
| Password | Choose your own long, unique password | Your account's secret key. |
| Confirm password | Type the same password again | Checks for typing mistakes. |
For example, if your name is “Jan de Vries”, you can enter Jan de Vries under Name. Under Username, choose something like jan. The official first-installation guide says to use lowercase letters and no spaces in the username.
An update may make the form on your screen look different.
Follow these steps one by one
- Under Name, enter how you want Home Assistant to address you.
- Under Username, choose a simple name without spaces, such as
jan. Use lowercase letters. - Create a unique, strong password. A password manager can generate and store a long password.
- Type the password again under Confirm password.
- Check everything and click Create account.
- Store the username and password in a safe place immediately. The owner has extensive rights and you do not want to lock yourself out.
What not to do — Never put your real password in screenshots for a website or forum. Do not share the owner account's password with family members. You can create separate accounts for other people later.
A few more simple questions follow
Set up your home. Home Assistant asks for your country and time zone. It uses these for time, sunrise, weather information and measurement units. Check the country and time zone, then continue. You can change these settings later.
Optional data sharing. Home Assistant may ask permission to share diagnostic or anonymous usage data. The choice is yours; it is not required to control your home.
Automatically discovered devices. Home Assistant may show devices it recognizes on your home network, perhaps a TV or other equipment. You need not connect anything yet. Today's goal is simply to prove Home Assistant itself is running.
The most important check: log out and sign in again
You now see a first dashboard. That is good, but the installation is only complete for our purposes once you know your own account works. Try this short test:
- Open your profile, usually through your name at the bottom of the sidebar.
- Find Log out and select it.
- If necessary, open Home Assistant's local address again.
- Enter your username, such as
jan, and not necessarily the visible nameJan de Vries. - Enter the password you chose and sign in.
Can you see the dashboard again? Congratulations. Your installation succeeded: Home Assistant is running and your own account works.
08 What do you see when Home Assistant opens?
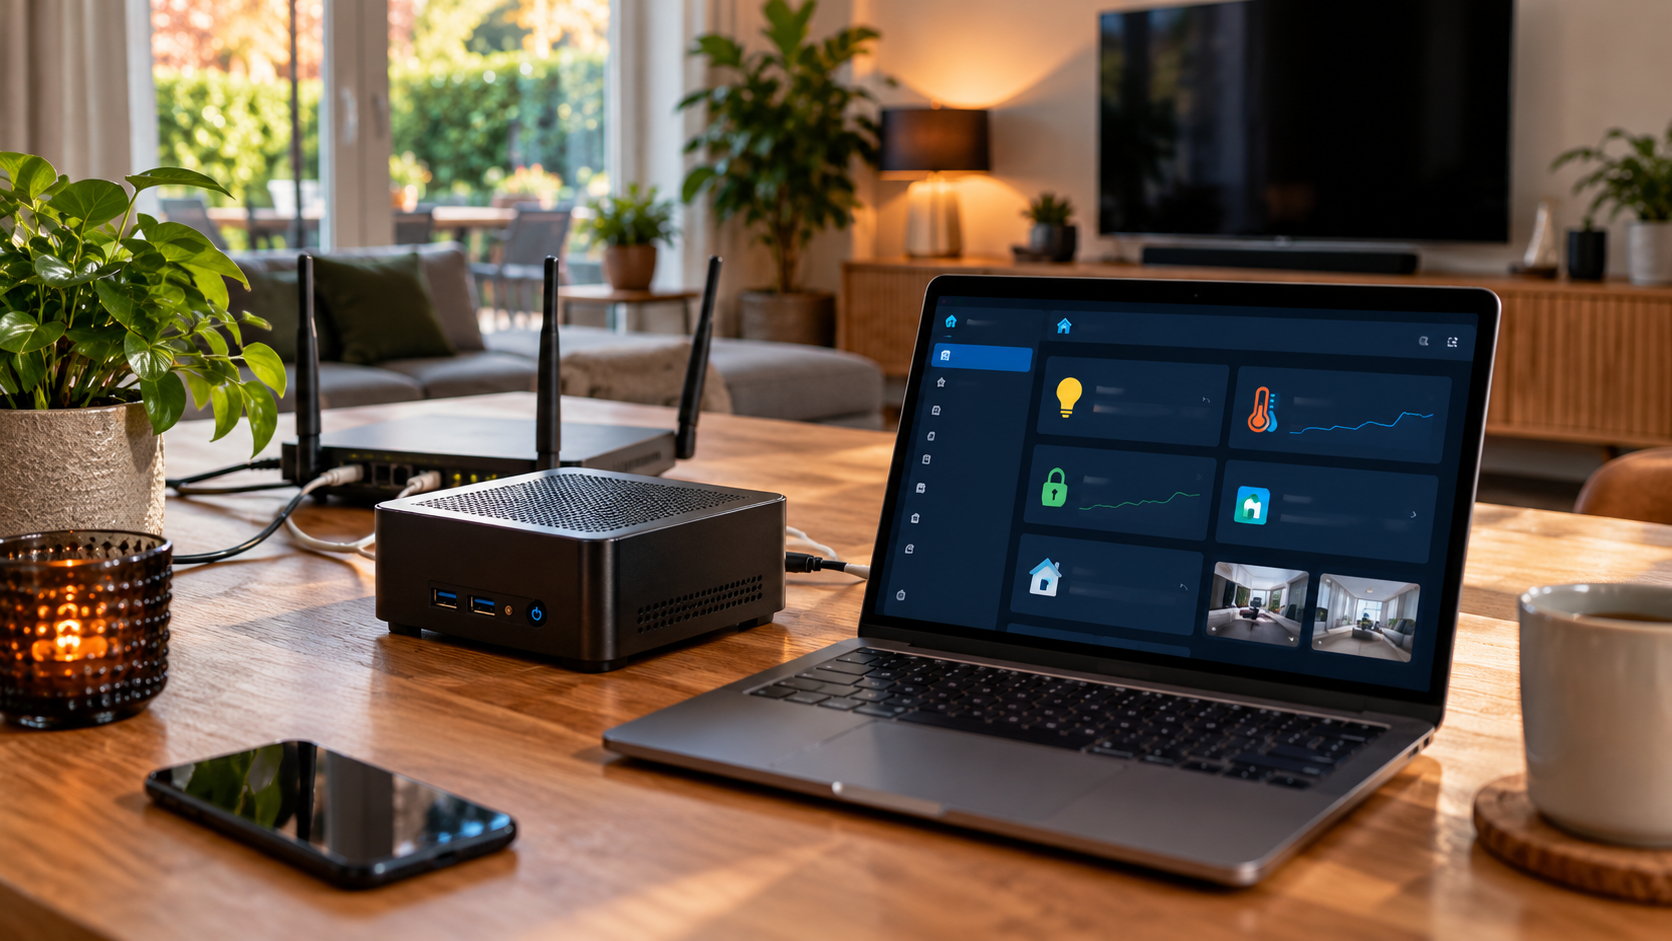
Home Assistant has a sidebar menu and a dashboard in the middle. On a phone, the menu may sit behind a button with three lines. You do not need to change the dashboard on day one. It may even be almost empty: that is normal until you connect devices.
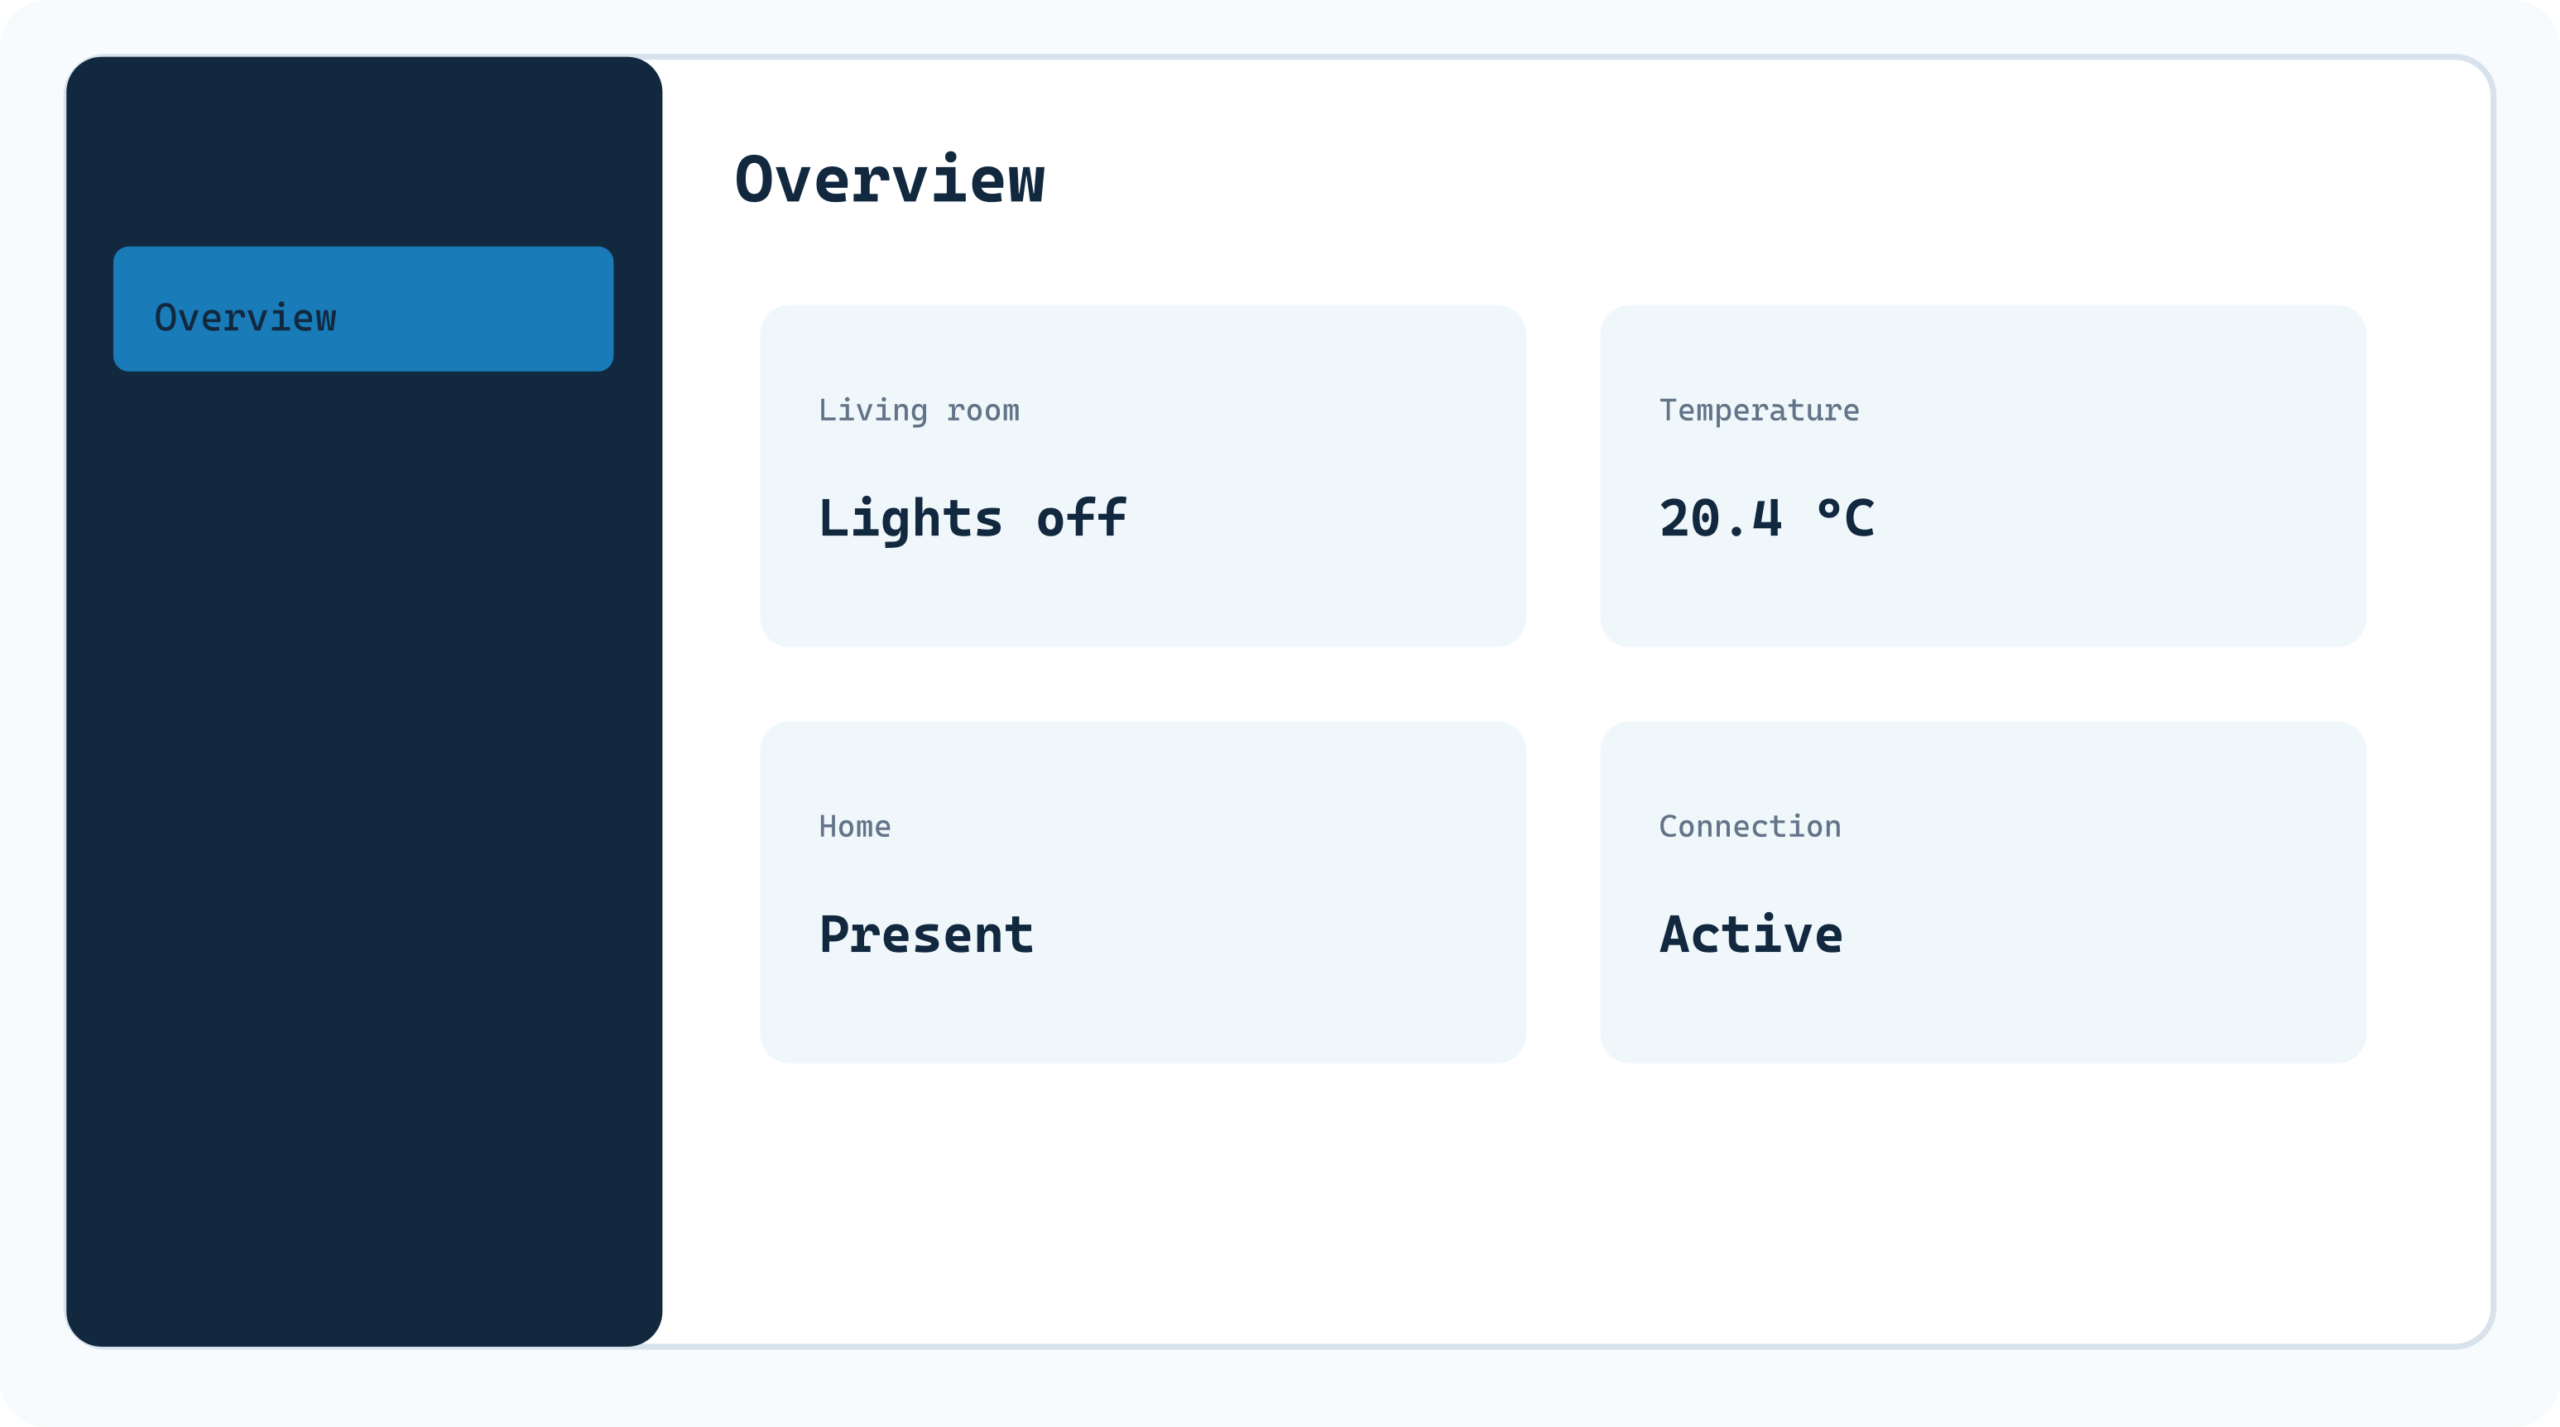
| On the screen | What is it for? |
|---|---|
| Overview | Your smart home's start page. |
| Settings | Manage equipment, updates and other features later. |
| Notifications | Information about events or things needing attention. |
| Profile | Your name, password, language and sign-out option. |
Some menu items may be arranged differently or called something else in your version. That is normal: Home Assistant is updated regularly.
Tip for later: want a better overview? MechScript has a separate article about Home Assistant dashboards for beginners.
09 First check: does everything really work?
Go through the checks below. You need no programming and no smart devices.
| Check | What counts as success? |
|---|---|
| The device is on | Green, Pi or mini PC keeps running without your laptop being on. |
| Home Assistant opens | You see its webpage through homeassistant.local or its own local IP address. |
| The dashboard appears | After initial setup, you reach the start page. |
| Your account works | You can log out and sign back in using your chosen username and password. |
| Settings are available | Your owner account can access the settings menu. |
| Time and language | Your time zone and language are set as you prefer. |
Once the basics work, check Settings for available updates. Install them when you have time to read the notice carefully. Preferably make a first backup before you add many devices and automations later.
Must my device stay on all the time?
Normally, yes. Home Assistant can run an automation only while the computer hosting it is on. Your own laptop, however, need not stay on. That is why Green, Raspberry Pi and efficient mini PCs are popular choices.
10 Troubleshooting without technical fuss
First-installation problems are often simple: a plug, the wrong memory card, a different Wi-Fi network or an address the computer cannot resolve. Work through the following calmly, in order.
Problem 1: the page will not open
Check first: is the device on? Is the network cable firmly connected? Is your laptop on your normal home Wi-Fi, rather than guest Wi-Fi or mobile data? Try the address with :8123 and, if necessary, find the IP address in your router. If the device still does not appear among connected devices, check the power supply and cable before reinstalling software.
Problem 2: “Preparing Home Assistant” does not finish
Give the device time to download the software; on the first boot, that may take twenty minutes or longer. Check that your internet connection works. Do not keep unplugging the Home Assistant device during preparation. If preparation remains stalled for a very long time, consult the official installation troubleshooting for your hardware.
Problem 3: the Raspberry Pi does not seem to start
Check that the microSD card is fully inserted, that you selected the correct Pi 4 or Pi 5 in Imager and that the power supply suits that model. An ordinary phone charger may not supply enough power. Rewrite the microSD card if needed, but make sure you erase the correct card.
Problem 4: the mini PC boots Ubuntu again
Remove the temporary Ubuntu USB stick before restarting the mini PC. Check that the internal drive really contains the HAOS image and that the system boots in UEFI mode. If you see a Secure Boot warning, consult the BIOS/UEFI settings as described in the official guide. Do not format other drives at random.
Problem 5: I see a sign-in screen, but my details do not work
Use the username you chose when creating the account, not automatically your visible name. Check capitalization and characters in your password. If you truly lost the password, use Home Assistant's official recovery procedure; do not invent default credentials or immediately reinstall everything. Your new owner account has no universal default username or password.
Problem 6: I see no devices on my dashboard
That is not an error. Home Assistant works without connected lights, sensors or thermostats. You have now completed the basic installation; adding devices is the next learning step.
Problem 7: my phone finds Home Assistant, but my laptop does not
This can be due to name resolution (homeassistant.local), guest Wi-Fi or local network security. First connect both devices to the same normal home network and, where needed, use the local IP address with :8123.
Mini glossary for beginners
| Term | Meaning |
|---|---|
| Router | Connects devices in your home to each other and often to the internet. |
| Ethernet / LAN | A network connection using a cable. |
| IP address | A number used to find a device on the network. |
| Browser | A program such as Chrome, Edge, Safari or Firefox. |
| microSD | A small storage card used by devices including the Raspberry Pi. |
| SSD | A computer's storage drive, for example in a mini PC. |
| Image | A complete package of disk contents written to a storage medium. |
| Flashing / writing | Writing such an image to a memory card or SSD, potentially erasing existing data. |
| HAOS | Home Assistant Operating System: the recommended complete system for this beginner installation. |
| Account / owner | The first user with administrator rights; you create it yourself. |
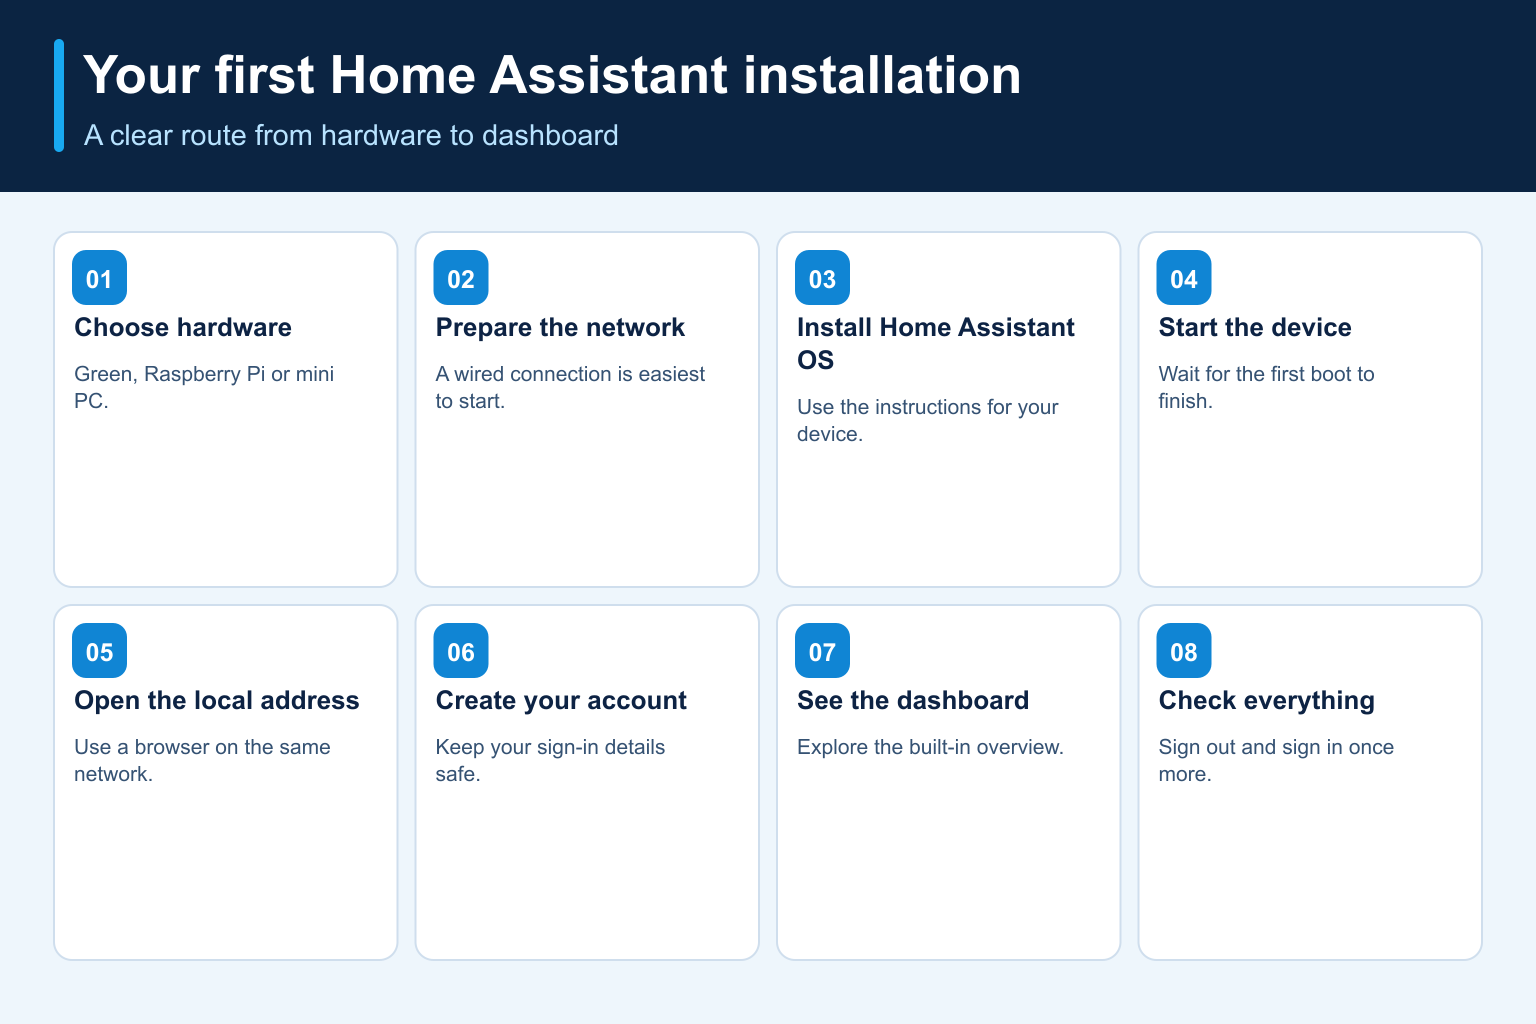
11 Done! What next?
You now have the foundation of your own smart home. It is tempting to install ten apps, sensors and extensions immediately, but the best next step is small: add one device and learn how Home Assistant handles it. For example, choose a smart plug or light supported by Home Assistant.
After that, you can learn about dashboards, integrations and simple automations. Investigate safe access from outside only once everything works locally.
Read more on MechScript:
- Install Home Assistant on a Raspberry Pi — detailed guide
- Home Assistant dashboards for beginners
- More Home Assistant articles on MechScript
The most important result: you do not yet need to connect a single smart device. If Home Assistant opens at home and you can sign in with your own username and password, you have completed this beginner guide successfully.
Sources
This guide is based on the official Home Assistant installation pages, current onboarding documentation, the Ubuntu installation route for mini PCs and the existing MechScript Raspberry Pi guide (consulted 28 October 2026):
Compare the actual buttons and menus during installation with the current Home Assistant documentation.