
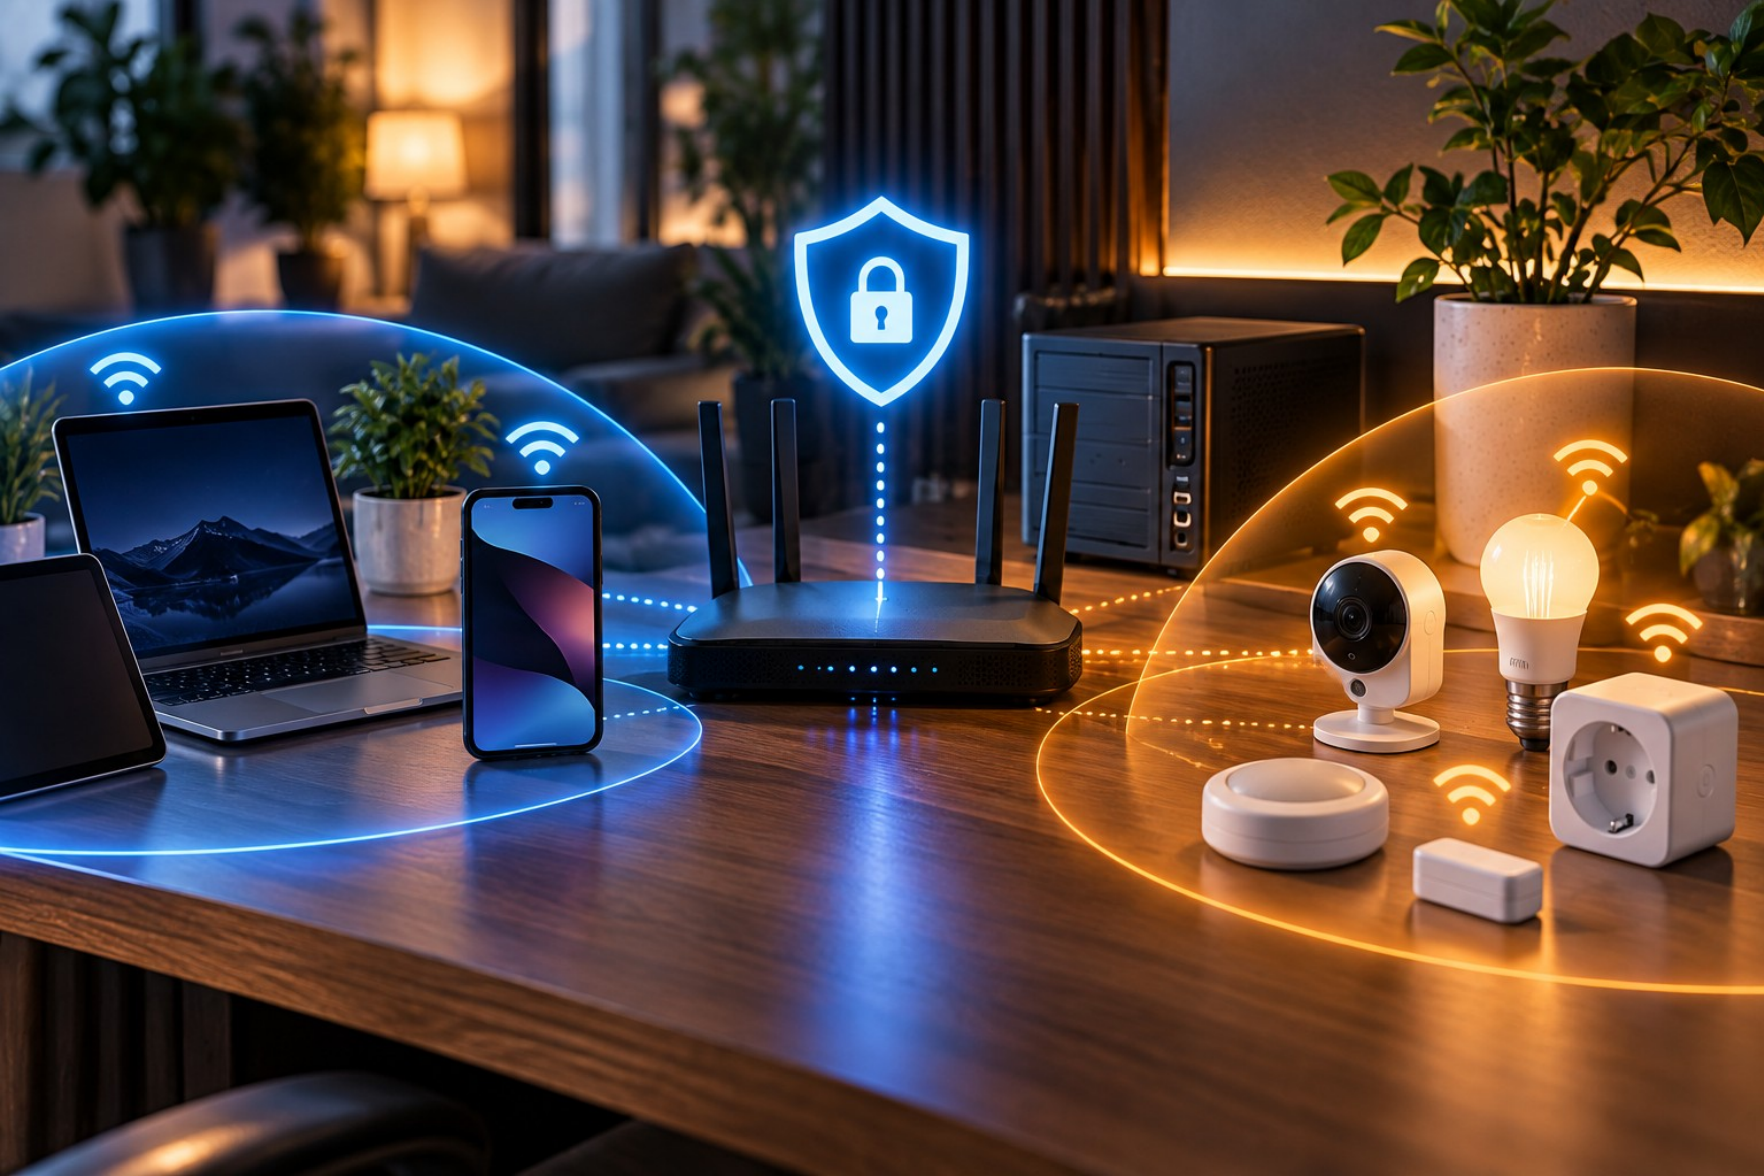
A smart light, camera or robot vacuum is also a small network computer, with firmware, accounts and sometimes vulnerabilities. The goal is not to turn your home into a data center. You do want to prevent a cheap IoT device from having the same access as your laptop, NAS and Home Assistant. Start with simple measures; move on to VLANs and firewall rules only when you need them.
Inventory your devices first
Open the connected-device list on your router and walk through the home. Record phones, laptops, Home Assistant, NAS devices, printers, TVs, speakers, cameras, doorbells, plugs, lights, thermostats, inverters, chargers and appliances. Give unknown devices recognizable names. Otherwise you may not notice a new or unwanted device later.
Include tablets, streaming players, games consoles, baby monitors and robot vacuums. Compare the router's list with what is physically in the house. This is not merely one-off administration: it gives you a baseline for spotting an unfamiliar device later. The Dutch NCSC recommends changing defaults, installing updates, limiting internet access, disabling UPnP and separating devices where possible.
Five basic measures
- Replace default passwords with long, unique ones; use a password manager.
- Enable MFA for Home Assistant, router management, cameras and important cloud accounts.
- Update your router, access points, Home Assistant, integrations and device firmware. Check whether manufacturers still supply updates.
- Disable WPS and unnecessary UPnP.
- Do not forward a port directly to Home Assistant, cameras or other devices merely because a manual presents it as convenient.
Avoid one shared administrator account for the whole family. Give administrator rights only to people who need them.
Do not reuse one password or slight variants across router, Wi-Fi, email and cloud accounts. A leaked manufacturer password should not also unlock your camera or router. Update switches and access points as well as end devices. Check whether a product remains supported; a device without security updates can become a larger risk over time.
A guest network or separate IoT network
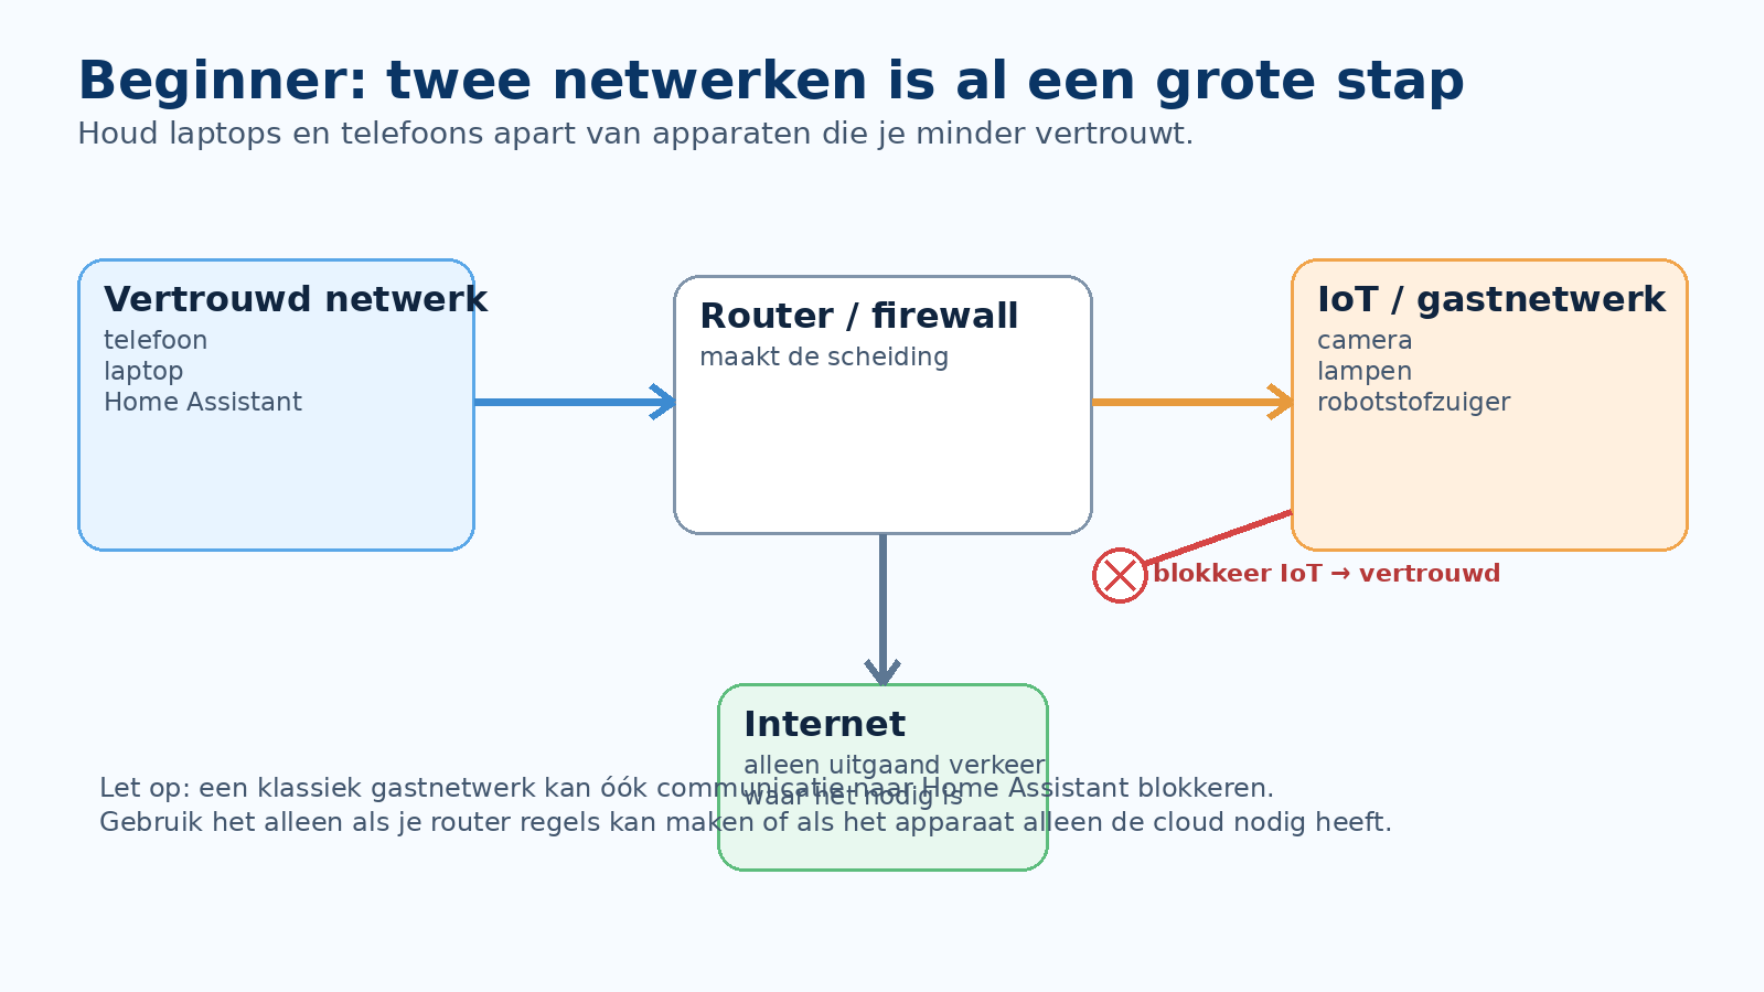
A separate Wi-Fi network for IoT keeps lights, cameras and plugs away from trusted laptops and phones. A guest network is the easiest first step on many consumer routers. Beware: these networks often block traffic among guests and to the normal LAN. That can break local control from Home Assistant. Test integrations after moving devices.
Cloud-only devices may work well on a strictly isolated guest network. Devices that Home Assistant must reach locally need a targeted exception or a more suitable IoT network. Separation helps only if connections between zones are actually restricted.
For remote access, Home Assistant Cloud or a VPN is often simpler than directly forwarding ports. A self-managed proxy or tunnel requires correctly configured TLS, authentication and proxy settings. A smart light or camera normally does not need to be exposed on an open internet port.
Advanced: VLANs and targeted firewall rules
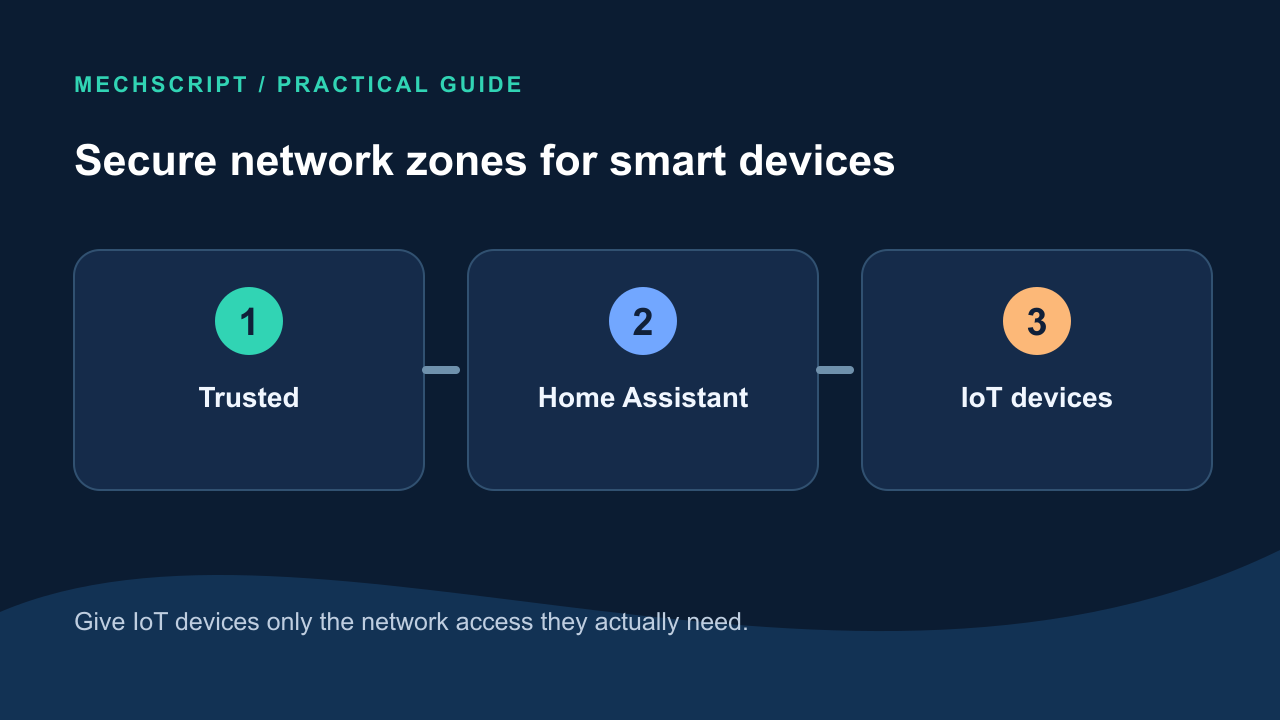
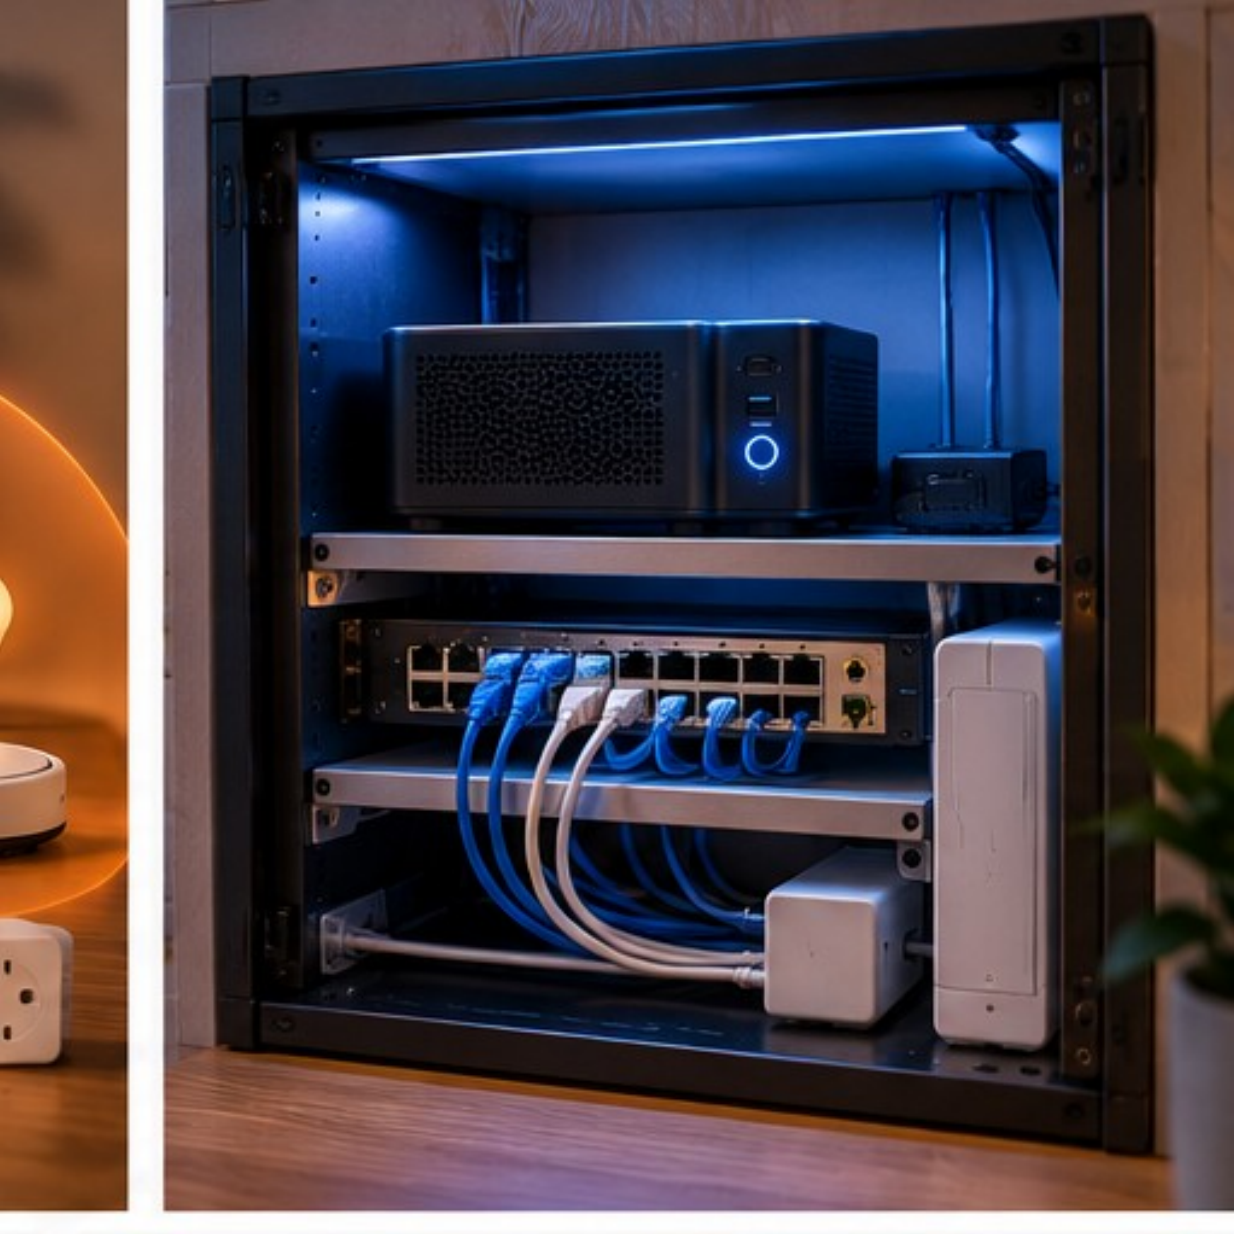
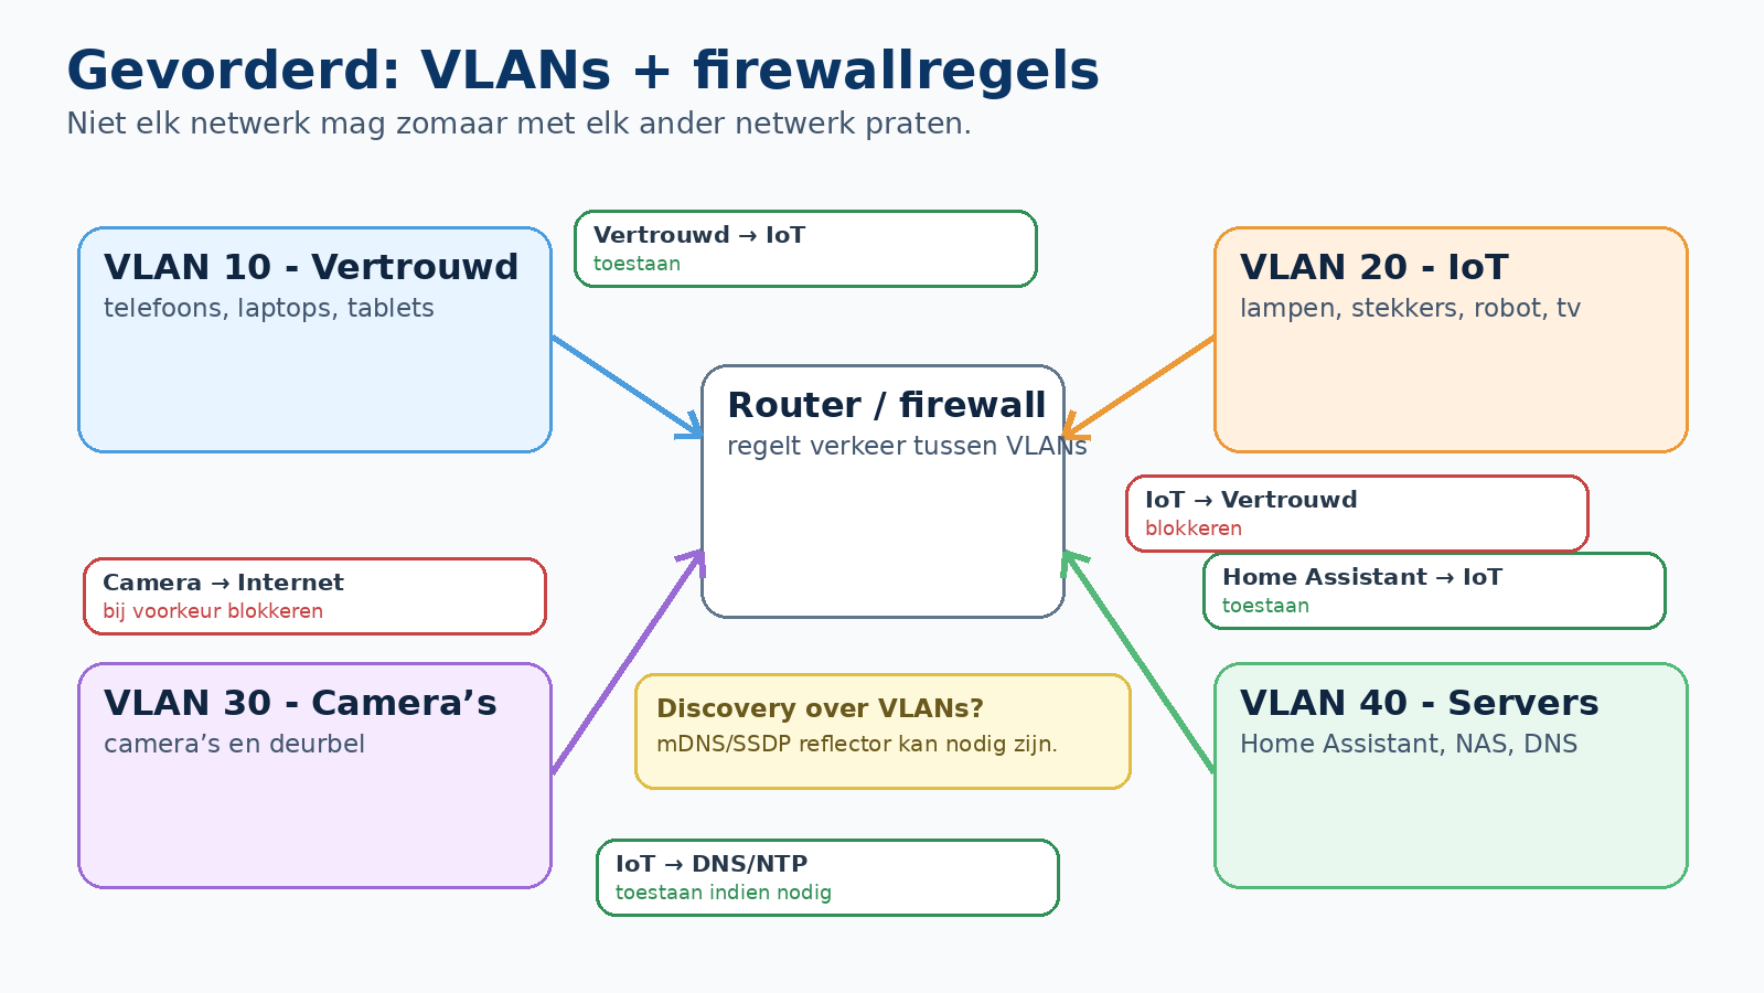
A VLAN creates logical zones over the same switches and access points. For example: Trusted, IoT, Camera and Server. The VLAN itself does not decide which zones may communicate; the router or firewall does. Home Assistant can sit on the trusted LAN or in a server VLAN and receive only the access it needs toward IoT.
A useful starting point: Trusted devices and Home Assistant may reach IoT where necessary; IoT must not initiate new connections to your laptop or NAS. Allow IoT DNS and NTP where required. Limit camera internet access where local operation permits; decide per cloud device whether internet and firmware updates are needed. A stateful firewall normally lets replies to permitted connections return. Do not introduce twenty blocks at once: make targeted changes and inspect logs.
| Traffic | Starting rule | Reason |
|---|---|---|
| Trusted → IoT | Allow where needed | Phones and laptops can manage devices. |
| Home Assistant → IoT | Allow where needed | Local integrations reach their devices. |
| IoT → Trusted | Block | A light or camera should not initiate connections to a laptop or NAS. |
| IoT → DNS/NTP | Allow where needed | Name resolution and time continue working. |
| Camera → internet | Prefer to limit | Local cameras often need no permanent cloud access. |
| IoT → internet | Decide per device | Cloud features and firmware updates may need it. |
Home Assistant usually should not be placed in the same tightly restricted guest network as cheap IoT devices. Put the controller on Trusted or in a server VLAN with targeted access to IoT. Do not blindly block all its outbound connections: updates, integrations and external services may need the internet.
When automatic discovery fails
Home Assistant often discovers devices using mDNS or SSDP. Multicast normally does not cross VLAN boundaries automatically. A device may be reachable by IP but not appear automatically. A targeted mDNS or multicast reflector can help; manually setting an IP address may be simpler. Reflect only between zones where discovery is actually needed.
Wi-Fi, DNS and other protocols
Older IoT devices may support only 2.4GHz Wi-Fi and WPA2. Do not weaken the whole main network for them: use a separate 2.4GHz IoT SSID with a different password if necessary. Use WPA3 on your trusted network where all devices support it reliably, or an appropriate WPA2/WPA3 configuration.
Give router administration its own strong password and leave WPS off if unused. An old smart plug should not dictate security settings for new phones and laptops.
AdGuard Home or Pi-hole can reveal DNS requests and block known advertising or tracking domains, but neither replaces segmentation or updates. Some devices use fixed or encrypted DNS; learn what you are blocking first. Zigbee sensors generally have no individual LAN IP: focus on the coordinator and Home Assistant. Thread uses IPv6 and a border router, bringing segmentation and multicast back into play.
Advanced users can direct IoT to a local DNS resolver and restrict other DNS paths, but first understand which domains the devices need. Zigbee, Thread and Bluetooth differ from Wi-Fi IoT; apply network rules to the actual gateway or border router, not an assumed LAN IP per sensor.
A safe default to start with
Keep network equipment updated, use unique passwords and MFA, create a separate IoT network, grant Home Assistant targeted access, avoid open ports and review updates and connected devices monthly. Common mistakes include a VLAN followed by allow any, blindly blocking all IoT internet access, placing Home Assistant itself in a fully isolated guest network or keeping unsupported devices without security updates.
| Level | Network | Measures |
|---|---|---|
| Basic | Router with a separate IoT/guest SSID | Unique passwords, MFA, updates, UPnP off and no direct port-forward. |
| Intermediate | IoT SSID on its own VLAN | Home Assistant may reach IoT; IoT may not reach Trusted. |
| Advanced | Trusted, IoT, Camera and Server separated | Targeted firewall rules; mDNS only where discovery requires it. |
A practical sequence: update router and access points; secure admin credentials and disable WPS/unneeded UPnP; create an IoT SSID; move lights, plugs, TVs and cameras; give Home Assistant targeted access; enable MFA; use Home Assistant Cloud, a VPN or a properly secured proxy/tunnel remotely; review updates and device inventory monthly. A VLAN followed by allow any between zones does little to create the intended separation. Port-forwarding as the first remote-access option, password reuse and blindly blocked firmware updates are other pitfalls.
Security works in layers: passwords, updates, separation and safe remote access complement each other. Further reading: Securing Home Assistant, remote access and authentication. The source guide also refers to IoT baseline measures from the Dutch NCSC.