
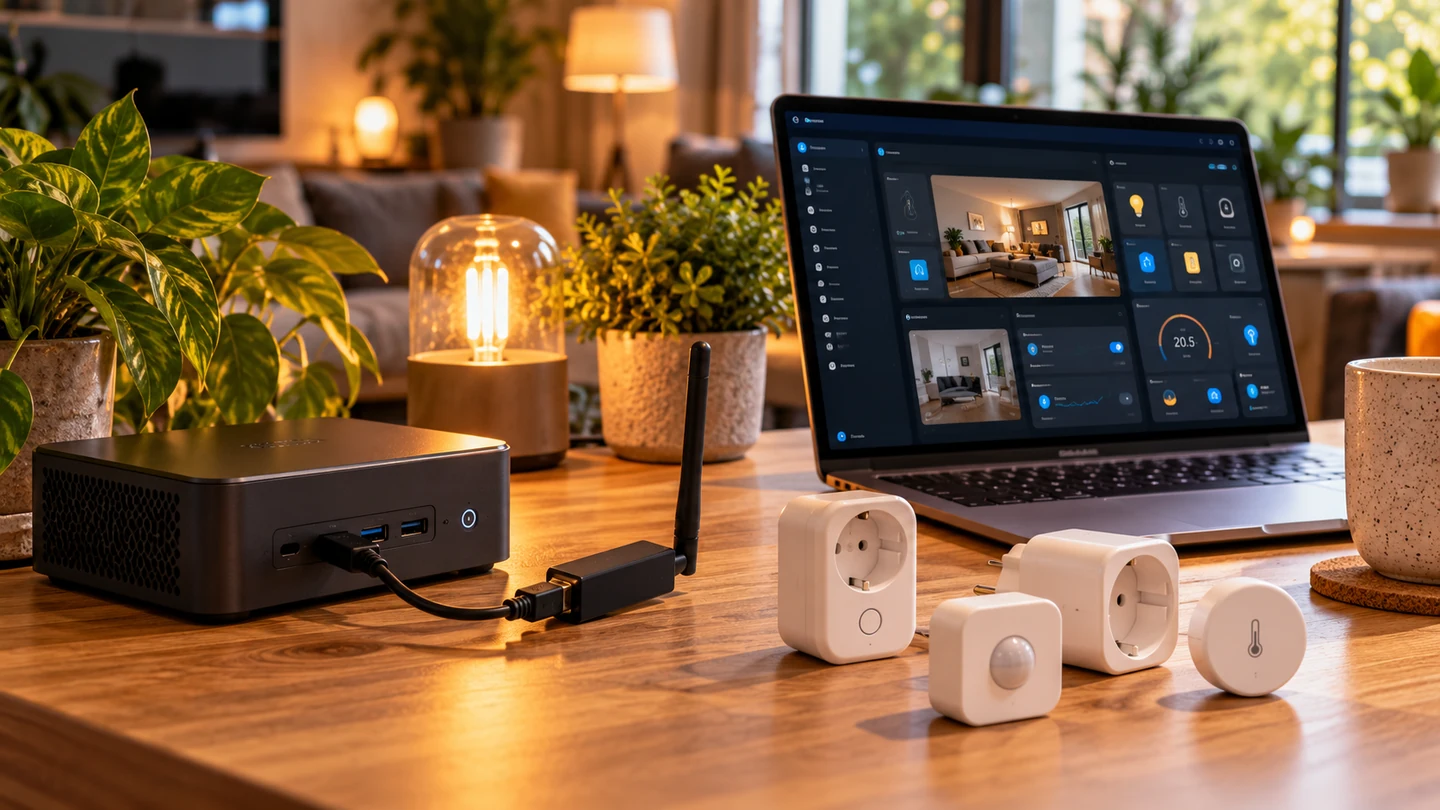
From a simple message between two devices to a complete Zigbee
network. A beginner-friendly guide with practical choices and Home
Assistant OS setup instructions.
You install Home Assistant, buy a few Zigbee sensors and discover
MQTT, Mosquitto, ZHA and Zigbee2MQTT. Are these four competing methods?
Not at all. They serve different purposes, and most people do not need
all four.
This guide explains MQTT from the ground up, shows how to install an
MQTT broker, compares ZHA and Zigbee2MQTT, and walks you through adding
a Zigbee device.
The short version: ZHA connects Zigbee devices
directly to Home Assistant without MQTT. Zigbee2MQTT manages the Zigbee
network separately and publishes device data through MQTT. MQTT is also
useful beyond Zigbee, including for custom sensors and applications.
1. What is MQTT?
MQTT stands for Message Queuing Telemetry Transport. It is a
lightweight protocol for exchanging messages between devices and
software. A temperature sensor can publish a reading and Home Assistant
can receive that value without the two systems being directly
connected.
There are three key roles:
- Broker: the central message distributor.
Mosquitto is a common choice for Home Assistant. - Publisher: a device or application that sends a
message. - Subscriber: a device or application that listens
for messages on a particular topic.
A temperature reading might look like this:
Topic:   mechscript/living_room/temperature
Payload: 21.4
The sensor publishes 21.4; Home Assistant subscribes to
that topic. Both talk to the broker, not directly to each other.
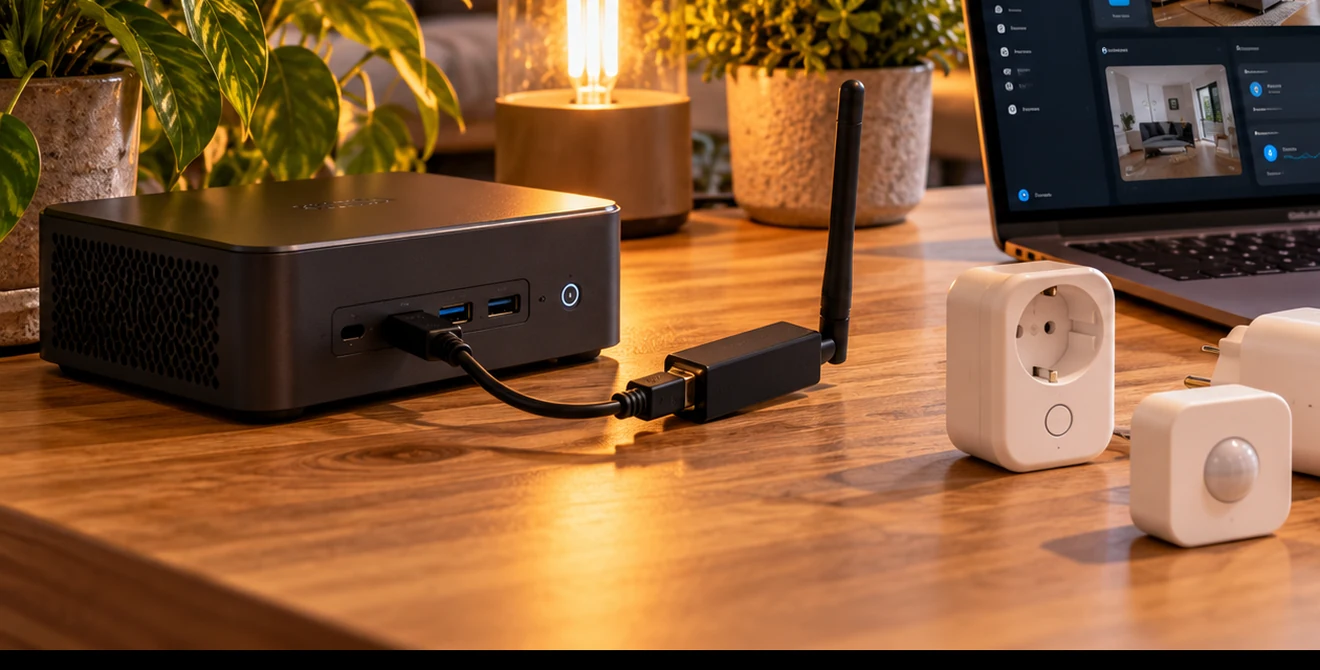
Topics, payloads and
retained messages
A topic identifies the message stream, such as
house/kitchen/temperature. The payload
contains the data, such as 19.8 or
{"state":"ON"}. A retained message is the
last saved message on a topic. New subscribers receive it immediately.
That is useful for current state, but not always suitable for button
presses or momentary events.
MQTT also offers Quality of Service (QoS) levels 0, 1 and 2.
They describe delivery guarantees for messages; they do not improve the
Zigbee radio link. Most beginners can keep the defaults.
2. Why use MQTT with Home
Assistant?
MQTT is not exclusive to Zigbee. You can use it with Tasmota devices,
custom ESP32 projects, Python scripts, energy meters and other services
that exchange measurements or commands. Some devices support it
directly; others require a bridge.
Home Assistant offers an MQTT integration that
connects to a broker. With MQTT Discovery, compatible
systems can automatically register devices and entities in Home
Assistant, avoiding manual YAML configuration.
Important: MQTT is optional. Native integrations,
ESPHome’s native API and ZHA do not require an MQTT broker. Install MQTT
when a device or application needs it, or when you intentionally want
message-based communication.
3. Installing MQTT:
Mosquitto Broker
These steps assume Home Assistant OS. In the current
interface, former add-ons are called apps.
- Make a recent Home Assistant backup.
- Go to Settings → Devices & services → Add
integration, then search for MQTT. - Follow the setup wizard. On Home Assistant OS, you can install and
connect the official Mosquitto broker app
automatically. - Open Settings → Apps and confirm Mosquitto is
running. - Open Settings → Devices & services → MQTT and
check the connection.
Home Assistant can automatically generate secure credentials for its
own connection to the official broker. Additional clients, including
Zigbee2MQTT, may need their own broker credentials. If necessary, add a
dedicated login through the Mosquitto app configuration.
Security: port 1883 is commonly
used for unencrypted MQTT on the local network. Do not forward it
directly from your router to the internet. Secure remote access to the
Home Assistant dashboard does not automatically secure a public MQTT
broker.
4. Testing MQTT without
a Zigbee device
You can confirm that MQTT works before buying hardware:
- Open the MQTT integration and select
Configure. - Start listening to the topic
mechscript/demo/#. - Publish
21.4to
mechscript/demo/temperature. - You should see the message appear in the received-message list.
This only verifies message delivery. It does not automatically create
a sensor. For that you need MQTT Discovery or a manually configured MQTT
sensor.
Optional configuration.yaml example:
mqtt:
  sensor:
    - name: "MQTT demo temperature"
      unique_id: mechscript_demo_temperature
      state_topic: "mechscript/demo/temperature"
      device_class: temperature
      state_class: measurement
      unit_of_measurement: "°C"
Do not create a duplicate mqtt: key if you already have
one: merge the sensor: entry. Validate your configuration
and restart Home Assistant. Publish the value again to populate the
sensor.
5. What
is Zigbee, and how do ZHA and Zigbee2MQTT fit in?
Zigbee is a wireless networking protocol used by lights, switches,
motion sensors, smart plugs and contact sensors. A typical Zigbee mesh
consists of a coordinator, routers
(often mains-powered devices) and end devices (often
battery-powered sensors).
A Zigbee coordinator, such as a compatible USB radio or network
adapter, forms the Zigbee network. Software then manages that
coordinator:
- ZHA (Zigbee Home Automation): Home Assistant’s
built-in Zigbee integration. No MQTT broker or separate Zigbee app
required. - Zigbee2MQTT: an independent application that
manages Zigbee devices and publishes their data to an MQTT broker for
Home Assistant and other clients.
Zigbee2MQTT does not turn the devices into MQTT radios. They still
use Zigbee over the air. MQTT is used between Zigbee2MQTT and
other software.
6. ZHA versus Zigbee2MQTT
| Feature | ZHA | Zigbee2MQTT |
|---|---|---|
| Setup | Integrated in Home Assistant | Separate app and MQTT broker |
| MQTT required | No | Yes |
| Management | Inside Home Assistant | Separate Zigbee2MQTT web interface |
| Automatic device discovery in Home Assistant | Yes | Yes, using MQTT Discovery |
| Advanced device features | Depends on device and quirks | Depends on supported converter |
| Device support | Many standard Zigbee devices | Extensive tested-device list |
| Groups and binding | Supported | Supported |
| OTA device firmware | For supported devices/providers | For supported devices/providers |
| Can run independently of Home Assistant | No | Yes |
| Easiest choice for a beginner | Usually | Good for users happy to configure more |
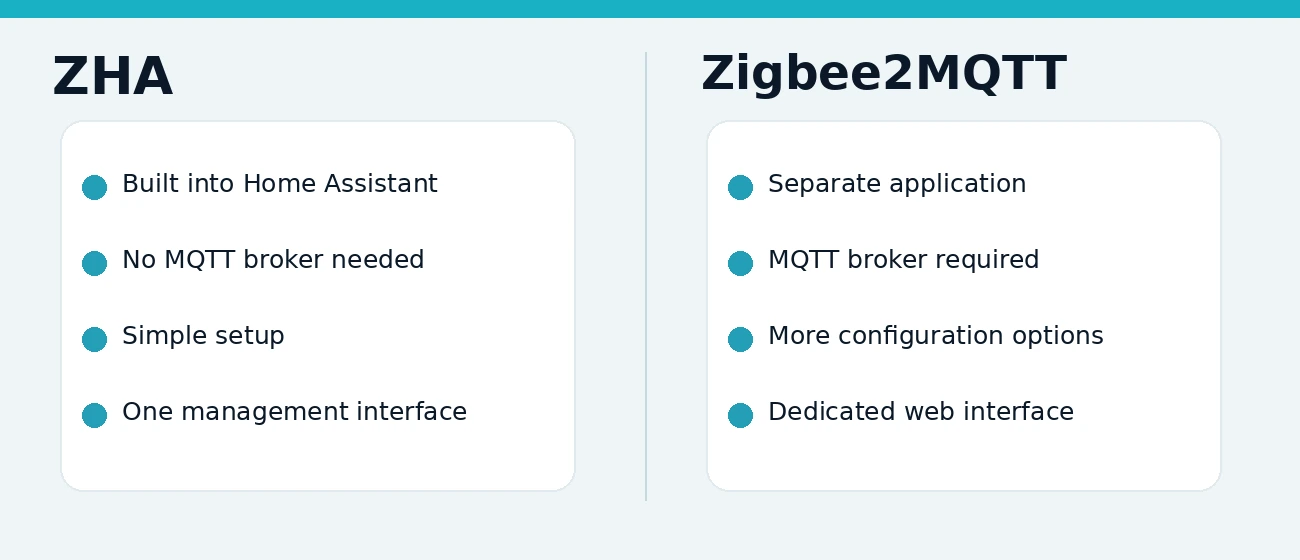
There is no universal winner. Check the exact model
number and the exposed features before buying. ZHA uses
quirks for some non-standard devices, while Zigbee2MQTT uses
device converters. Both improve over time.
Choose ZHA if you want the simplest setup and your
devices work well with it. Choose Zigbee2MQTT if you
need specific model support, more device controls or a Zigbee service
that can run separately from Home Assistant.
7. Installing ZHA:
the straightforward path
You need Home Assistant, a supported coordinator and a Zigbee device.
For USB adapters, a USB extension cable can help reduce
interference from the computer and nearby USB 3.0 ports.
- Connect the coordinator and confirm Home Assistant detects it.
- Open Settings → Devices & services. Configure
the automatically discovered Zigbee/ZHA integration, or add
Zigbee Home Automation manually. - Select the correct coordinator and create the network.
- Go to Settings → Connectivity → Zigbee and choose
Add device. - Put your Zigbee sensor or smart plug into pairing mode following the
manufacturer’s instructions. - Give it a clear name and assign it to an area.
The device can now be used on a dashboard or in automations. ZHA also
supports features such as Zigbee groups and binding.
8. Installing
Zigbee2MQTT: the flexible path
You need Home Assistant OS, Mosquitto broker, a coordinator
supported by Zigbee2MQTT, and a Zigbee device. Check the
adapter model and required coordinator firmware before
installing.
- Install Mosquitto broker and check that the MQTT
integration works. - Open Settings → Apps → App store and select
⋮ → Repositories. - Add the official repository:
https://github.com/zigbee2mqtt/hassio-zigbee2mqtt- Select the stable Zigbee2MQTT app, not the
development-focused Edge build. - Install and start the app, then click Open web UI
to open onboarding. - Choose your coordinator under Found devices. Check the
adapter path and driver. For USB radios, a stable
/dev/serial/by-id/path is usually preferable to a changing
/dev/ttyUSB0. - Configure MQTT. For Mosquitto on the same Home Assistant OS system,
the address is commonlymqtt://core-mosquitto:1883. Enter
broker credentials if required. - Make sure Home Assistant integration / MQTT
Discovery is enabled in Zigbee2MQTT. - Save and open the Zigbee2MQTT web interface. Enable joining
temporarily (Permit join). - Put your device into pairing mode, rename it, and check that it
appears in Home Assistant through MQTT.
The current app has an onboarding wizard. Beginners usually do not
need to write an extensive YAML file first.
Optional manual
configuration
This example is not universal. ember
only applies to supported Silicon Labs/Ember coordinators with suitable
firmware. Other adapters need different drivers.
mqtt:
  server: mqtt://core-mosquitto:1883
  user: zigbee2mqtt
  password: "ENTER_YOUR_OWN_PASSWORD"

serial:
  port: /dev/serial/by-id/usb-EXAMPLE-COORDINATOR
  adapter: ember

homeassistant:
  enabled: true

frontend:
  enabled: true
Create the zigbee2mqtt account in Mosquitto as well.
Adding the username only to this YAML file does not create it in the
broker. Never publish real credentials.
9. Can ZHA and
Zigbee2MQTT run at the same time?
Yes, on one Home Assistant system, but they cannot
use the same coordinator simultaneously. Each Zigbee
network needs its own coordinator. A Zigbee device normally belongs to
one Zigbee network at a time.
Before migrating from ZHA to Zigbee2MQTT, back up your configuration
and list the entities, devices and automations involved. You may need to
pair devices again, and entity IDs or device triggers may change. Backup
and migration options depend on the radio chipset, firmware and stack; a
seamless one-click migration is not guaranteed.
If your current network works well, do not migrate merely because
someone claims one system is always superior.
10. A simple MQTT automation
You can trigger an automation directly from a message, without first
creating a sensor entity:
alias: MQTT demo - temperature above 25
triggers:
  - trigger: mqtt
    topic: mechscript/demo/temperature
conditions:
  - condition: template
    value_template: "{{ trigger.payload | float(0) > 25 }}"
actions:
  - action: persistent_notification.create
    data:
      title: "MQTT test"
      message: "Received temperature: {{ trigger.payload }} °C"
mode: single
Publish 26.2 to mechscript/demo/temperature
and check for a persistent notification. For normal temperature
reporting, an actual sensor entity may be easier to manage.
11. Troubleshooting checklist
| Symptom | First things to check |
|---|---|
| MQTT integration cannot connect | Is Mosquitto running? Correct broker address and credentials? |
| Zigbee2MQTT will not start | Adapter path, driver, firmware and whether ZHA already owns the coordinator |
| Device absent from Home Assistant | Is homeassistant.enabled set and is MQTTconnected? |
| Device refuses to pair | Pairing mode, distance, previous hub/network membership |
| Zigbee devices drop offline | USB extension, mains-powered routers, 2.4 GHz interference, power supply |
| Old values appear | Topic, availability, retained messages and actual device publishing |
| Automation breaks after migration | New entity IDs or changed device triggers |
MQTT reliability and Zigbee radio reliability are separate
problems. A perfectly healthy broker does not mean the sensor
has a good radio link; a healthy Zigbee mesh cannot fix broken broker
credentials.
12. So which should you
choose?
ZHA is usually the shortest path if you just want a
few lamps, plugs or sensors working inside Home Assistant. No broker, no
separate Zigbee service and straightforward day-to-day management.
Zigbee2MQTT is worth considering for mixed-brand
networks, device-specific settings and installations that also exchange
data with other systems over MQTT. It adds moving parts but gives you
architectural flexibility.
Choose compatible hardware first, check support for your key devices,
and then select the software. Coordinator quality, firmware, mesh
routers and physical placement can matter just as much as your
ZHA-versus-Zigbee2MQTT decision.
Related reading on
MechScript
- Building a reliable
Zigbee network: coordinator placement, routers and avoiding
interference. - Wi-Fi, Zigbee, Thread
and Matter: choosing a wireless smart-home protocol. - Home
Assistant articles: installation, dashboards, sensors and
automations.
Sources and review date
Checked against the official documentation on 31 October
2026. Menu labels and configuration flows may change with
future updates.
- Home
Assistant MQTT integration - Home
Assistant ZHA - Home
Assistant apps and integrations - Zigbee2MQTT
getting started - Official
Zigbee2MQTT Home Assistant app - Zigbee2MQTT
Home Assistant integration
Photographic images are illustrative, not official screenshots of
any particular software release.
13.
MQTT in practice: from a Zigbee device to Home Assistant
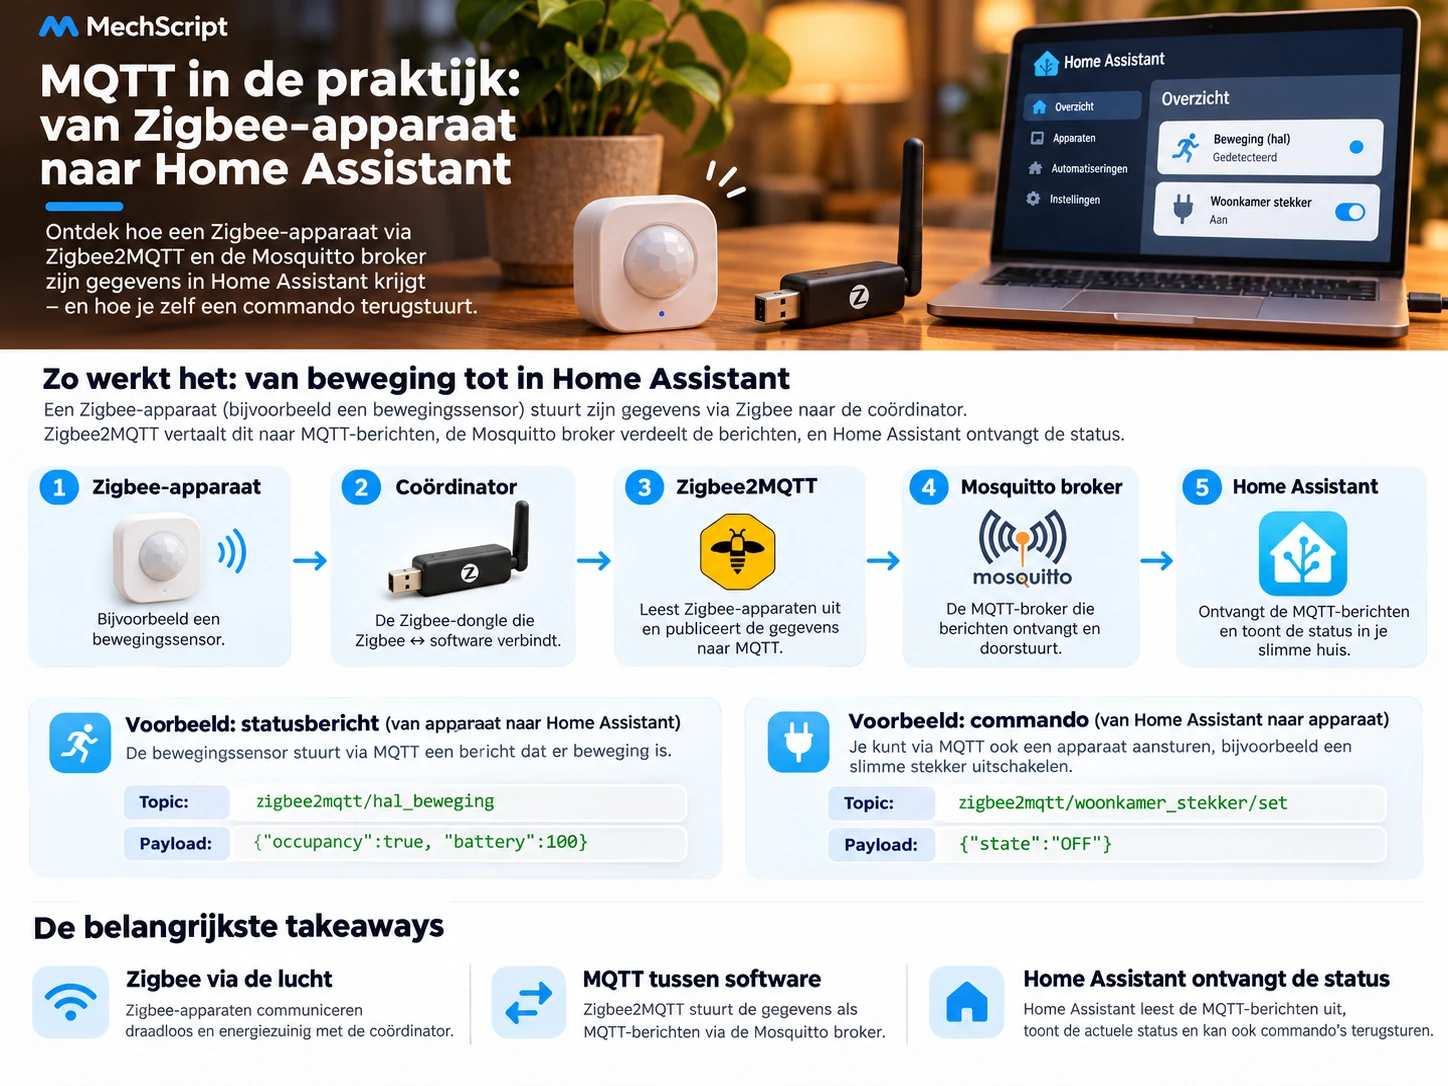
Theory becomes much clearer when you follow one real device. Imagine
you have a Zigbee motion sensor in the hallway and a
smart plug in the living room. With Zigbee2MQTT, the
chain looks roughly like this:
- The motion sensor sends its status over Zigbee to
the coordinator. - Zigbee2MQTT reads that status.
- Zigbee2MQTT publishes a message to the MQTT
broker. - Home Assistant reads that message and updates the
device state. - Home Assistant can also send a command back, for example to turn a
smart plug off.
For example, a status message from a device to Home Assistant:
Topic:   zigbee2mqtt/hall_motion
Payload: {"occupancy": true, "battery": 100}
And a command from Home Assistant back to a device:
Topic:   zigbee2mqtt/living_room_plug/set
Payload: {"state":"OFF"}
The exact topics and payloads differ per device and setup, but the
principle is always the same: Zigbee between the device and the
coordinator, MQTT between software components.
14.
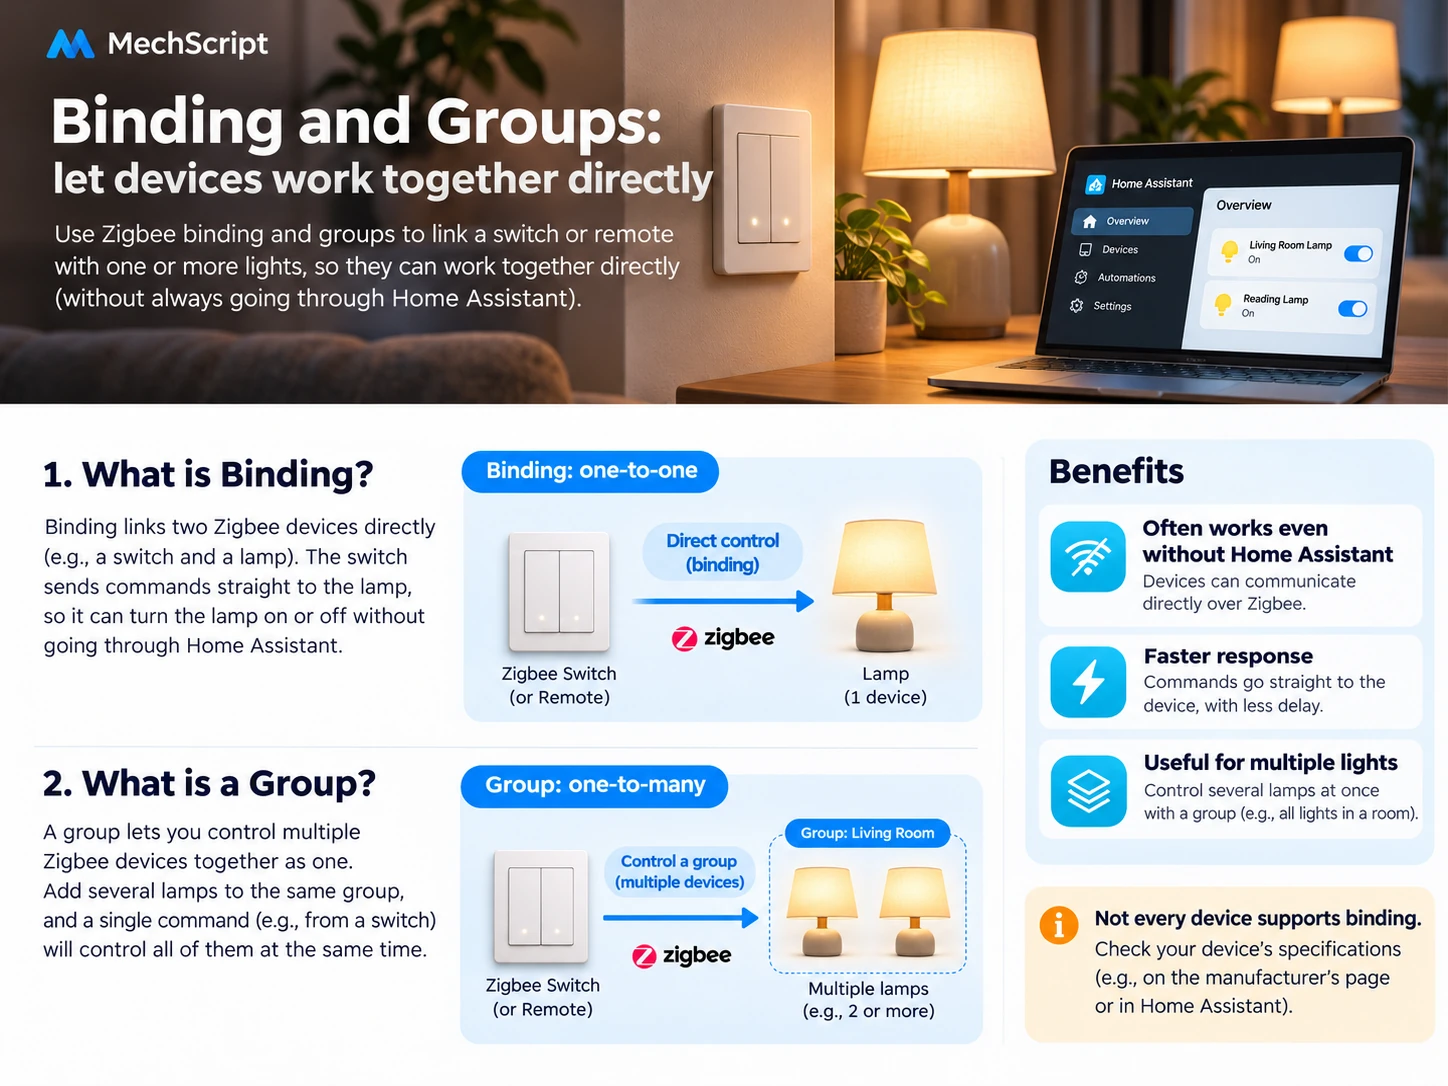
Binding and Groups: let devices work together directly
If you only look at Zigbee through Home Assistant, you may miss an
important benefit of the protocol: some devices can also work
directly with each other.
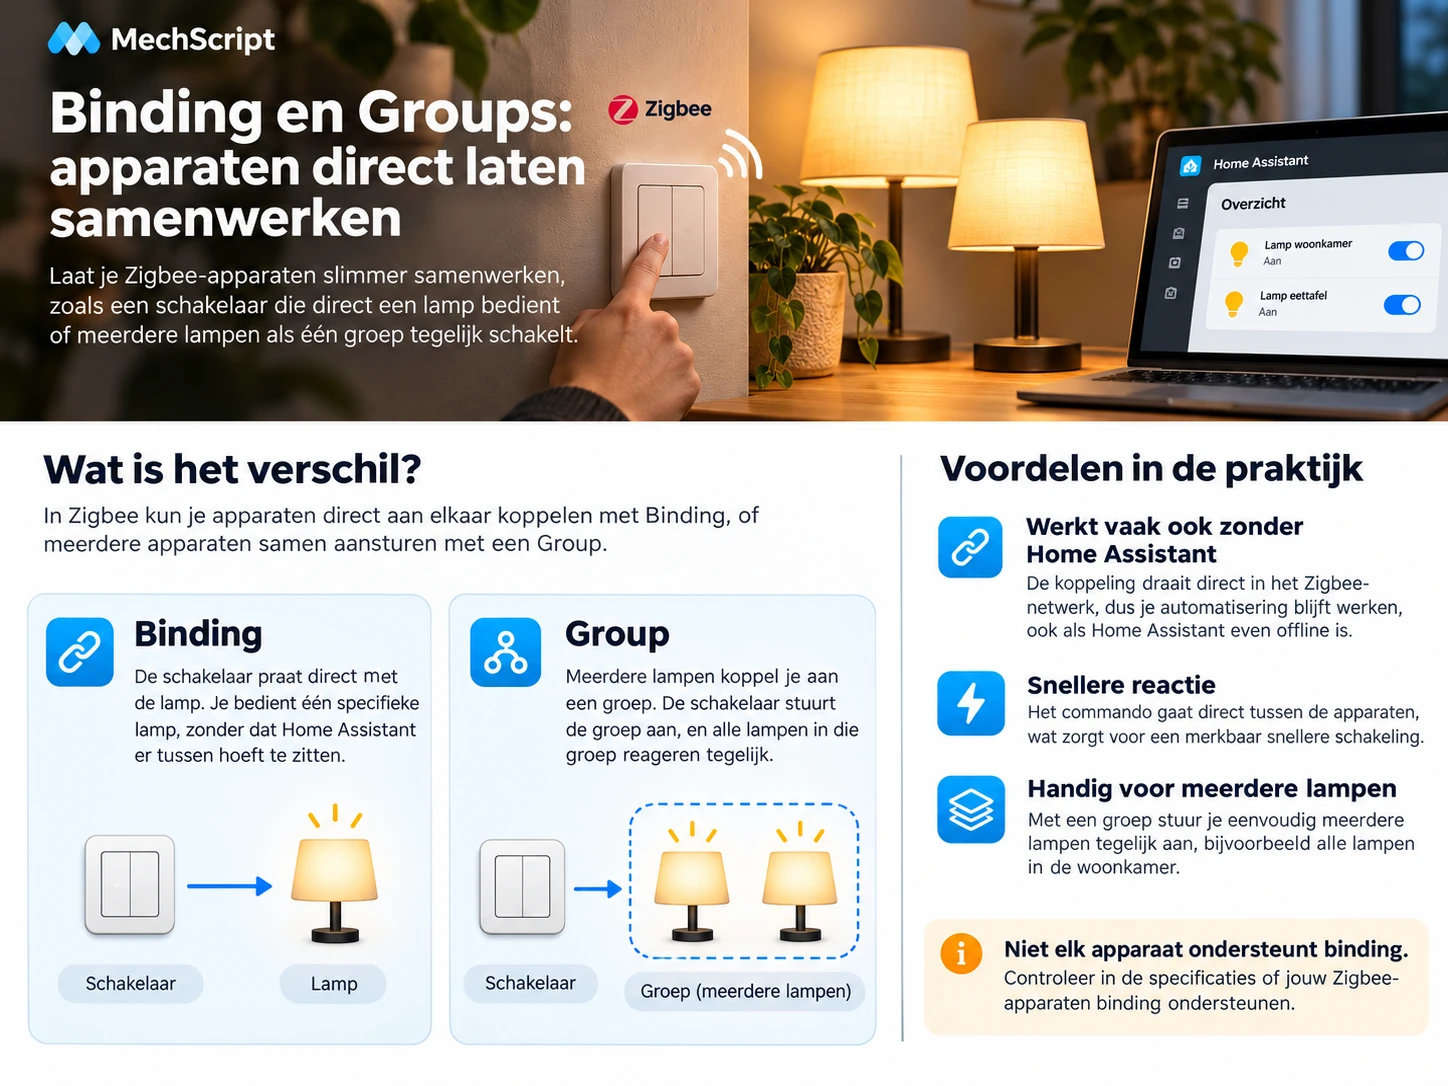
What is Binding?
Binding links two compatible Zigbee devices directly
together. Think of a wall switch that controls a lamp without needing
Home Assistant in the middle. The big advantage is that this often keeps
working even if Home Assistant is temporarily unavailable.
What is a Group?
A Group is useful when you want to control multiple
devices together. For example, you can add three lamps to one group so
that a single switch or remote controls all of them at the same
time.
Why is this useful?
- Faster response: the command does not always have
to go through Home Assistant first. - Reliable basic control: a lamp can often still
respond to the switch. - Useful for multiple lights: ideal for a living
room, kitchen or hallway.
Not every device supports binding or groups in the same way. Always
check the capabilities of your exact model in ZHA or Zigbee2MQTT.
15. Maintenance, OTA
updates and backups
If you use Zigbee2MQTT, you manage more than just a few devices. That
is exactly why maintenance matters.
Create a backup
Do not only create Home Assistant backups. Also keep a copy of your
Zigbee2MQTT configuration and – if your setup supports it – any network
or export files you may need later. This saves time if you replace
hardware or need to recover from a mistake.
Handle OTA updates carefully
Zigbee2MQTT and ZHA can offer OTA firmware updates
for supported devices. Do not update everything blindly. First
check:
- whether the device is currently stable;
- whether the update actually fixes or improves something;
- whether you are performing the update at a convenient time.
Availability and
troubleshooting
If a device appears offline in Home Assistant, the issue can
exist in multiple layers. Check it in order:
- Is the MQTT broker connected?
- Is Zigbee2MQTT running without errors?
- Is the coordinator detected correctly?
- Is the device still online in the Zigbee
network? - Is permit join turned off when you are done pairing?
Check the right logs
When something goes wrong, review both the Zigbee2MQTT
log and the Home Assistant log. An MQTT broker
problem looks different from a radio or pairing problem inside your
Zigbee network.
Conclusion
MQTT, ZHA and Zigbee2MQTT each have their own role. MQTT is the
messaging protocol, ZHA is the direct built-in Zigbee route inside Home
Assistant, and Zigbee2MQTT is the more flexible route that connects
Zigbee through an MQTT broker.
For beginners, ZHA is often the simplest starting
point. For users who want more control, a broader device
database or extra management options, Zigbee2MQTT is often the
more interesting choice. Whichever route you choose, a good
coordinator, a stable Zigbee network and clear maintenance practices
make the biggest difference in daily use.