A Raspberry Pi is a small, quiet and energy-efficient foundation for a local smart home. This guide installs Home Assistant Operating System (HAOS) directly on a Pi. You do not first need Raspberry Pi OS, Docker or Python. The steps assume the Pi is dedicated to Home Assistant.
1. Choose your hardware
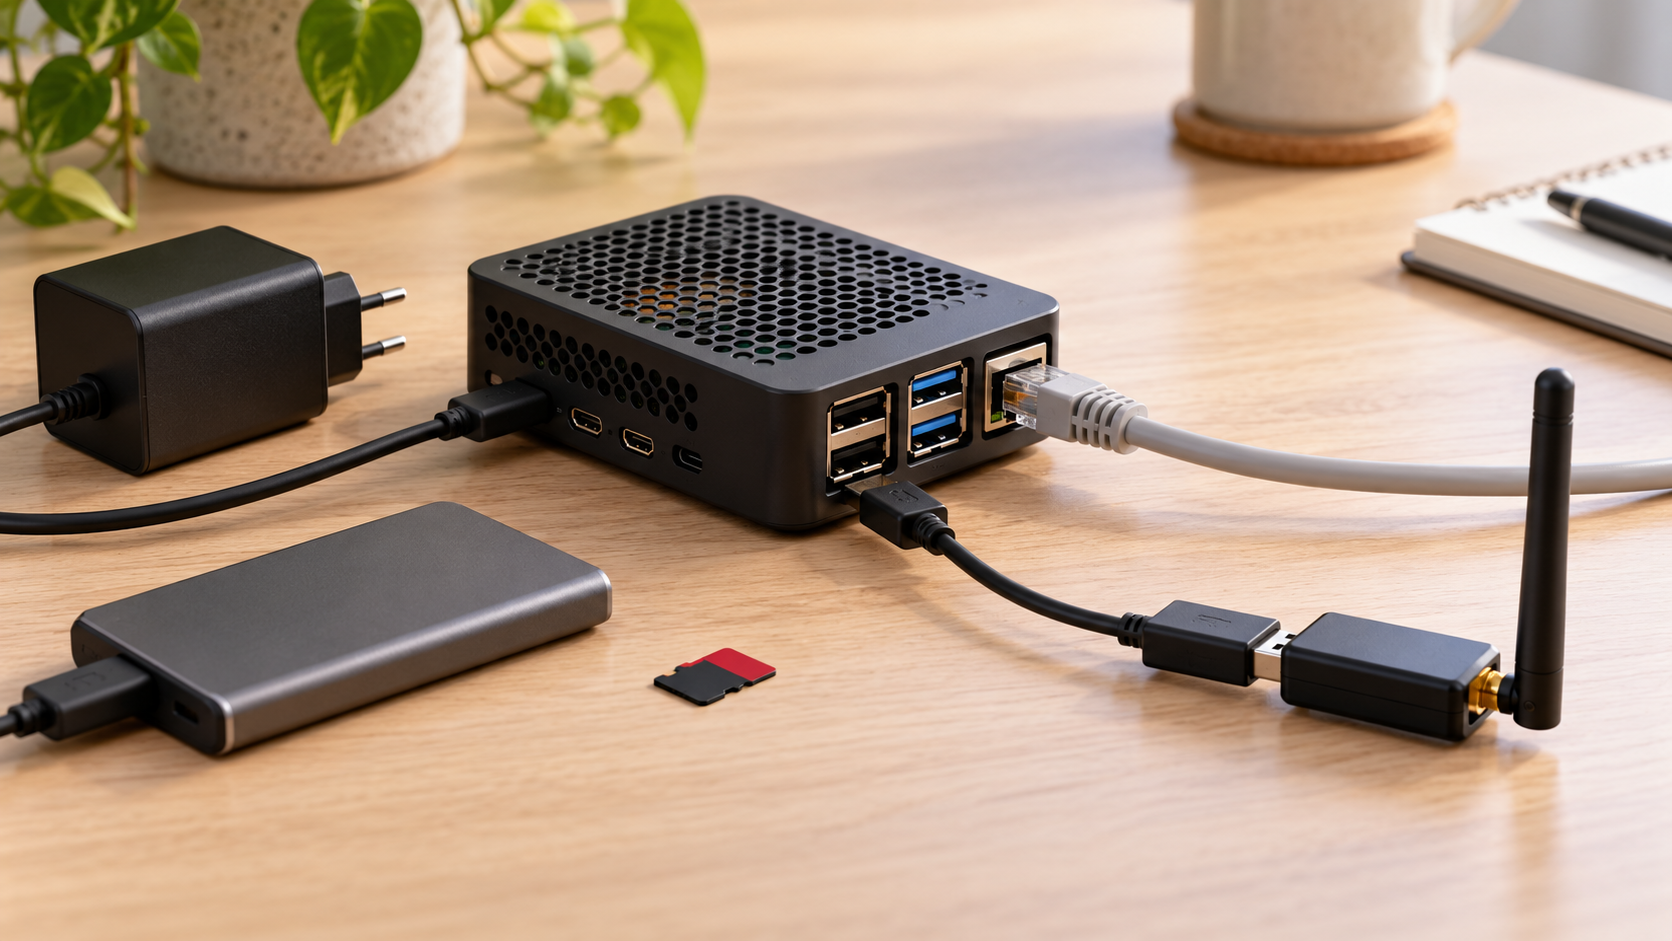
If you already have a Raspberry Pi 4 with 4 GB of memory, keep using it. For a new setup, a Raspberry Pi 5 with 4 GB, an official or good-quality 27 W power supply, active cooling and Ethernet is a strong starting point. The installation guide lists Pi 4 and 5 with at least 2 GB RAM. A suitable quality 15 W supply is appropriate for a Pi 4.
Start with an A2 microSD card of at least 32 GB; 64 GB gives more headroom if you stay entirely on SD. A 128–256 GB SSD or NVMe drive as a later data disk is recommended for history, the database and apps. Zigbee needs a separate radio, such as Home Assistant Connect ZBT-2. Assign it to Zigbee or Thread, not both at once.
2. Decide how to store your data
Using only microSD is the simplest start and can work for a modest installation. Set up automatic backups and keep a copy outside the Pi. My preferred setup is microSD for booting and SSD/NVMe for Home Assistant data. The external data disk must be larger than the existing boot drive. Moving data erases the target SSD completely: select carefully and make a full backup first.
3. Write Home Assistant OS to microSD
- Install Raspberry Pi Imager on a computer and insert the microSD card in a reader.
- Select your Pi model. Then choose Other specific-purpose OS → Home automation → Home Assistant and the HAOS image for your Pi.
- Select the microSD as the target. Double-check the drive: Imager overwrites its contents.
- Choose Write, let writing and verification finish, then safely eject the card.
4. Start the Pi for the first time
Insert the microSD, connect Ethernet, check the cooling and connect power last. Wait a few minutes: first boot can take longer while Home Assistant downloads components. On a device on the same network, open http://homeassistant.local/. If that fails, try http://homeassistant.local:8123/ or http://<Pi-IP-address>:8123/.
5. Complete initial setup
Create the first owner account in the browser and store its credentials safely. Set the correct location and time zone; they matter for sun-based and presence automations. Choose whether you want to share anonymous analytics. Then update Home Assistant OS, Core and apps via Settings → System → Updates.
6. Optionally move data to SSD/NVMe
First create a full backup and download it to another computer. Connect the SSD or NVMe drive, open Settings → System → Storage → Move data disk, select the correct drive and confirm. The system may restart during the move. Afterwards, check Storage to confirm the data disk is active. A Pi 5 can use NVMe through an M.2 HAT+; a USB SSD is common with a Pi 4.
7. Add Zigbee
A Pi has no built-in Zigbee radio. Position the coordinator away from the Pi, SSD, USB 3.0 hardware and Wi-Fi access point; a short USB extension cable helps reduce interference. Prefer a USB 2.0 port. A ZBT-2 can provide Zigbee or Thread, but not both simultaneously.
Connect the adapter. If it is discovered automatically, choose Setup under Settings → Devices & services. Otherwise choose Add integration → Zigbee Home Automation (ZHA). Add a lamp, sensor or plug via Settings → Connectivity → Zigbee → Add device, then put the device in pairing mode. Start with a few mains-powered Zigbee devices that can act as mesh routers.
8. Make the installation reliable
Set up automatic backups with at least one external copy. Consider reserving a stable DHCP address in your router. Add devices gradually so you can trace problems. Change the Zigbee channel only if there is clear interference; do not disable safety or essential functions for convenience.
If something does not work
- No page loads: try port
8123and the IP address; check Ethernet and DHCP. - Pi does not start: check power, microSD and cooling; reflash or try another card.
- Zigbee devices drop out: move the radio farther from Pi/SSD/Wi-Fi, use USB 2.0 and improve the mesh.
- SSD is missing: check cable, adapter, power and target-drive capacity.
- Problems after an update: restore from the external backup.
A Pi 5 with 4 GB, good power, active cooling, Ethernet, A2 microSD for booting, SSD/NVMe for data and a well-positioned Zigbee coordinator is a practical new setup. There is no need to replace an existing Pi 4 with 4 GB just for this.
Official documentation
- Home Assistant: Raspberry Pi installation
- Home Assistant: external data disk
- Home Assistant: Zigbee Home Automation
- Home Assistant Connect ZBT-2
- Raspberry Pi documentation
The supplied guide states that its documentation was checked on 26 September 2026. Menu names may change in later Home Assistant versions.