
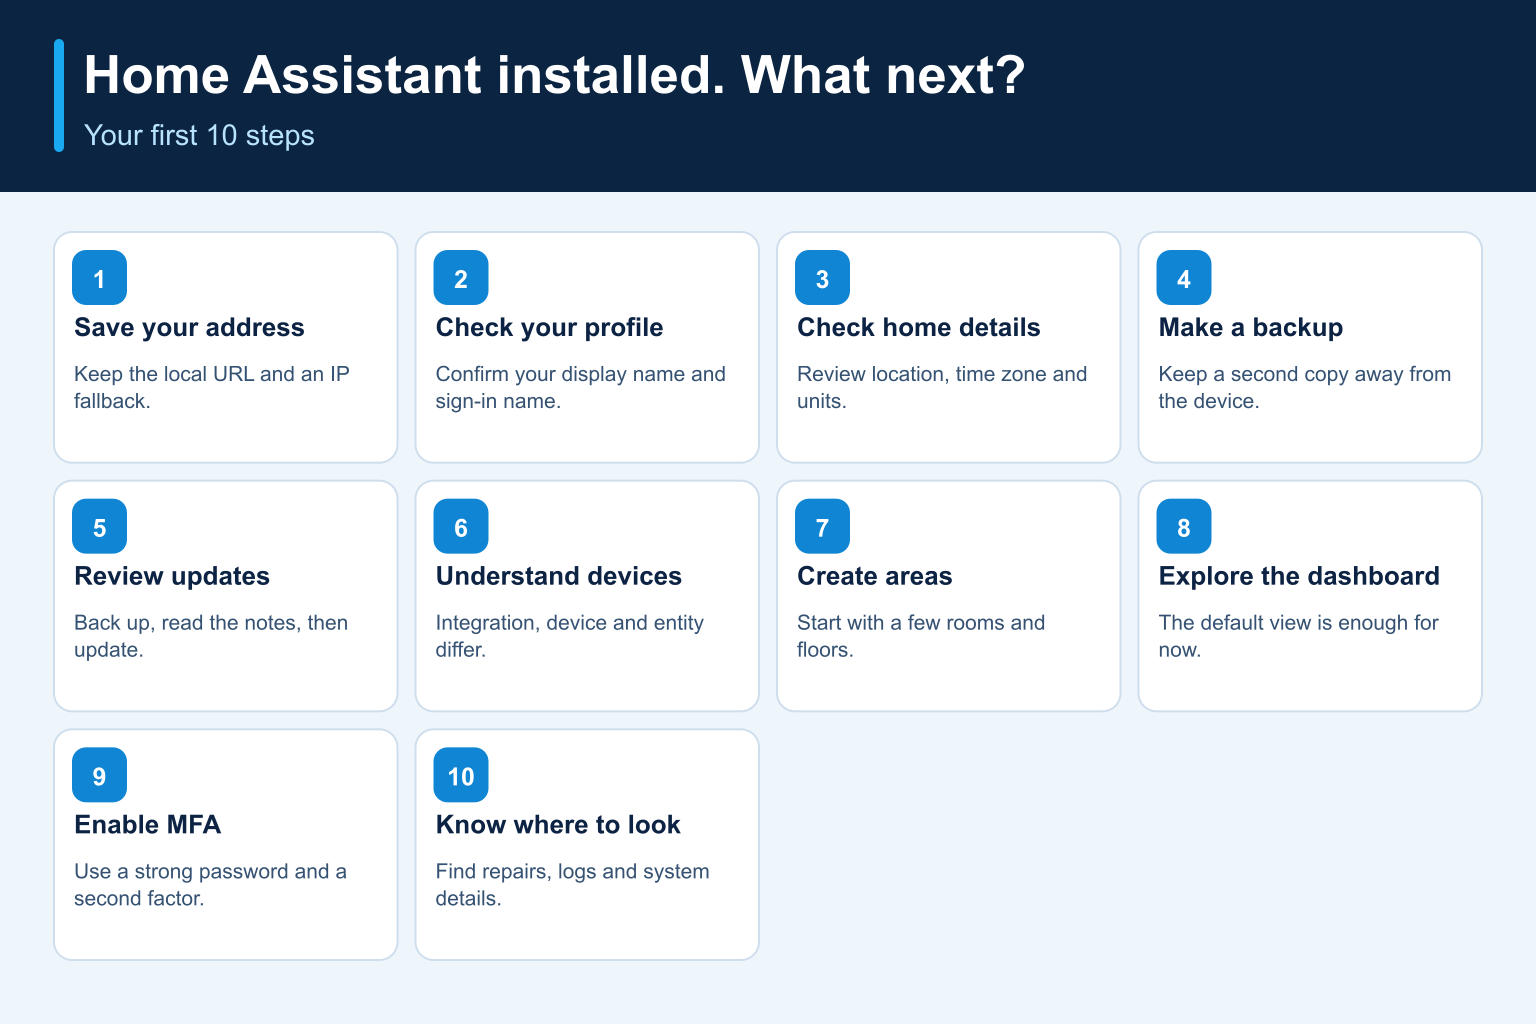
The first 10 steps for beginners — from an empty dashboard to a clear, secure foundation.
The installation worked. You created your own username, can sign in and see the Home Assistant start screen. What now? Perhaps a few devices are already visible. Perhaps you see almost nothing. Both are normal.
You do not need to write code, buy lamps or build a complicated dashboard yet. First, get to know your installation and check a few basic settings. This guide takes you through them calmly and in a useful order.
After this article: you will know how to open Home Assistant at home, have set up your home and a few rooms, understand the difference between integrations and devices, have a backup arranged, and know where to find updates, security settings and error messages. You can then add your first smart device with confidence.
Who is this for? Someone who has just installed Home Assistant OS on Home Assistant Green, a Raspberry Pi or a mini PC. If you use Home Assistant Container, most menus are the same, but operating-system management features and apps may be missing.
You do not need: extra equipment, YAML, Docker, Zigbee, HACS or subscriptions. A laptop or computer on the same home network is enough.
First: what are you looking at?
Home Assistant is not like a device that you connect to a television and configure with a remote control. It runs on a computer that stays on at home. You control it from another computer, tablet or phone through a browser. Think of Home Assistant as the control centre for your future smart home.
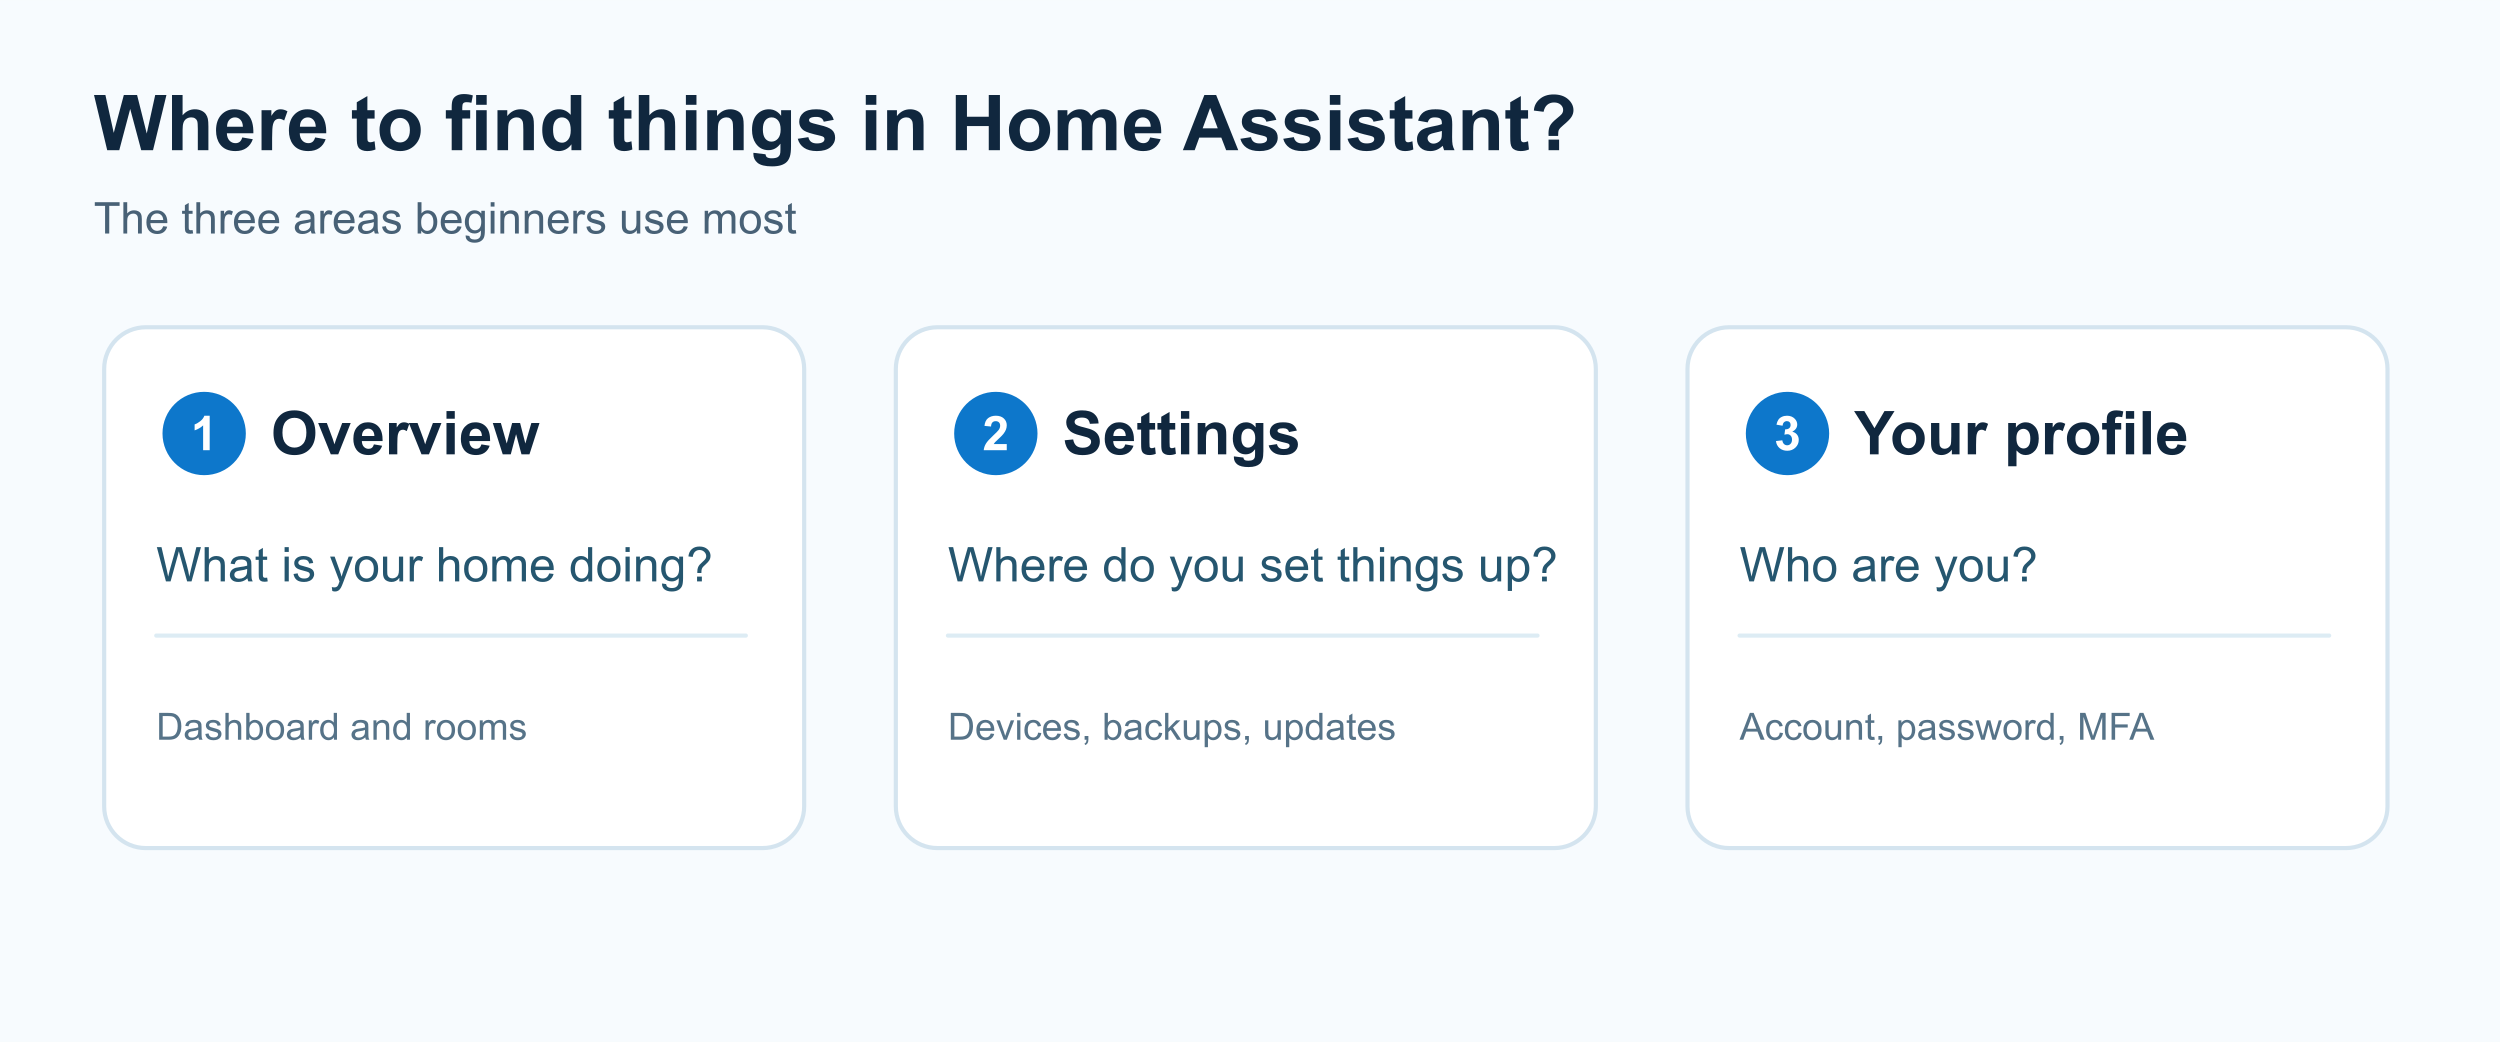
Three things to remember:
- Overview is the default start screen. Since Home Assistant 2026.2, this has been a redesigned built-in starting area. What you see depends on your installation and discovered devices.
- Settings is where you manage your home, users, devices, backups and updates.
- Your profile belongs to your personal account and contains, for example, your display name and security settings.
The exact appearance of buttons and the interface language can vary by version. Where useful, this guide gives the English menu name alongside its description.
Step 1 — Save the address you use to open Home Assistant
Start with something simple: make sure you know how to open Home Assistant again tomorrow. On the same home network, open Home Assistant at http://homeassistant.local/ or http://<IP-address>/.
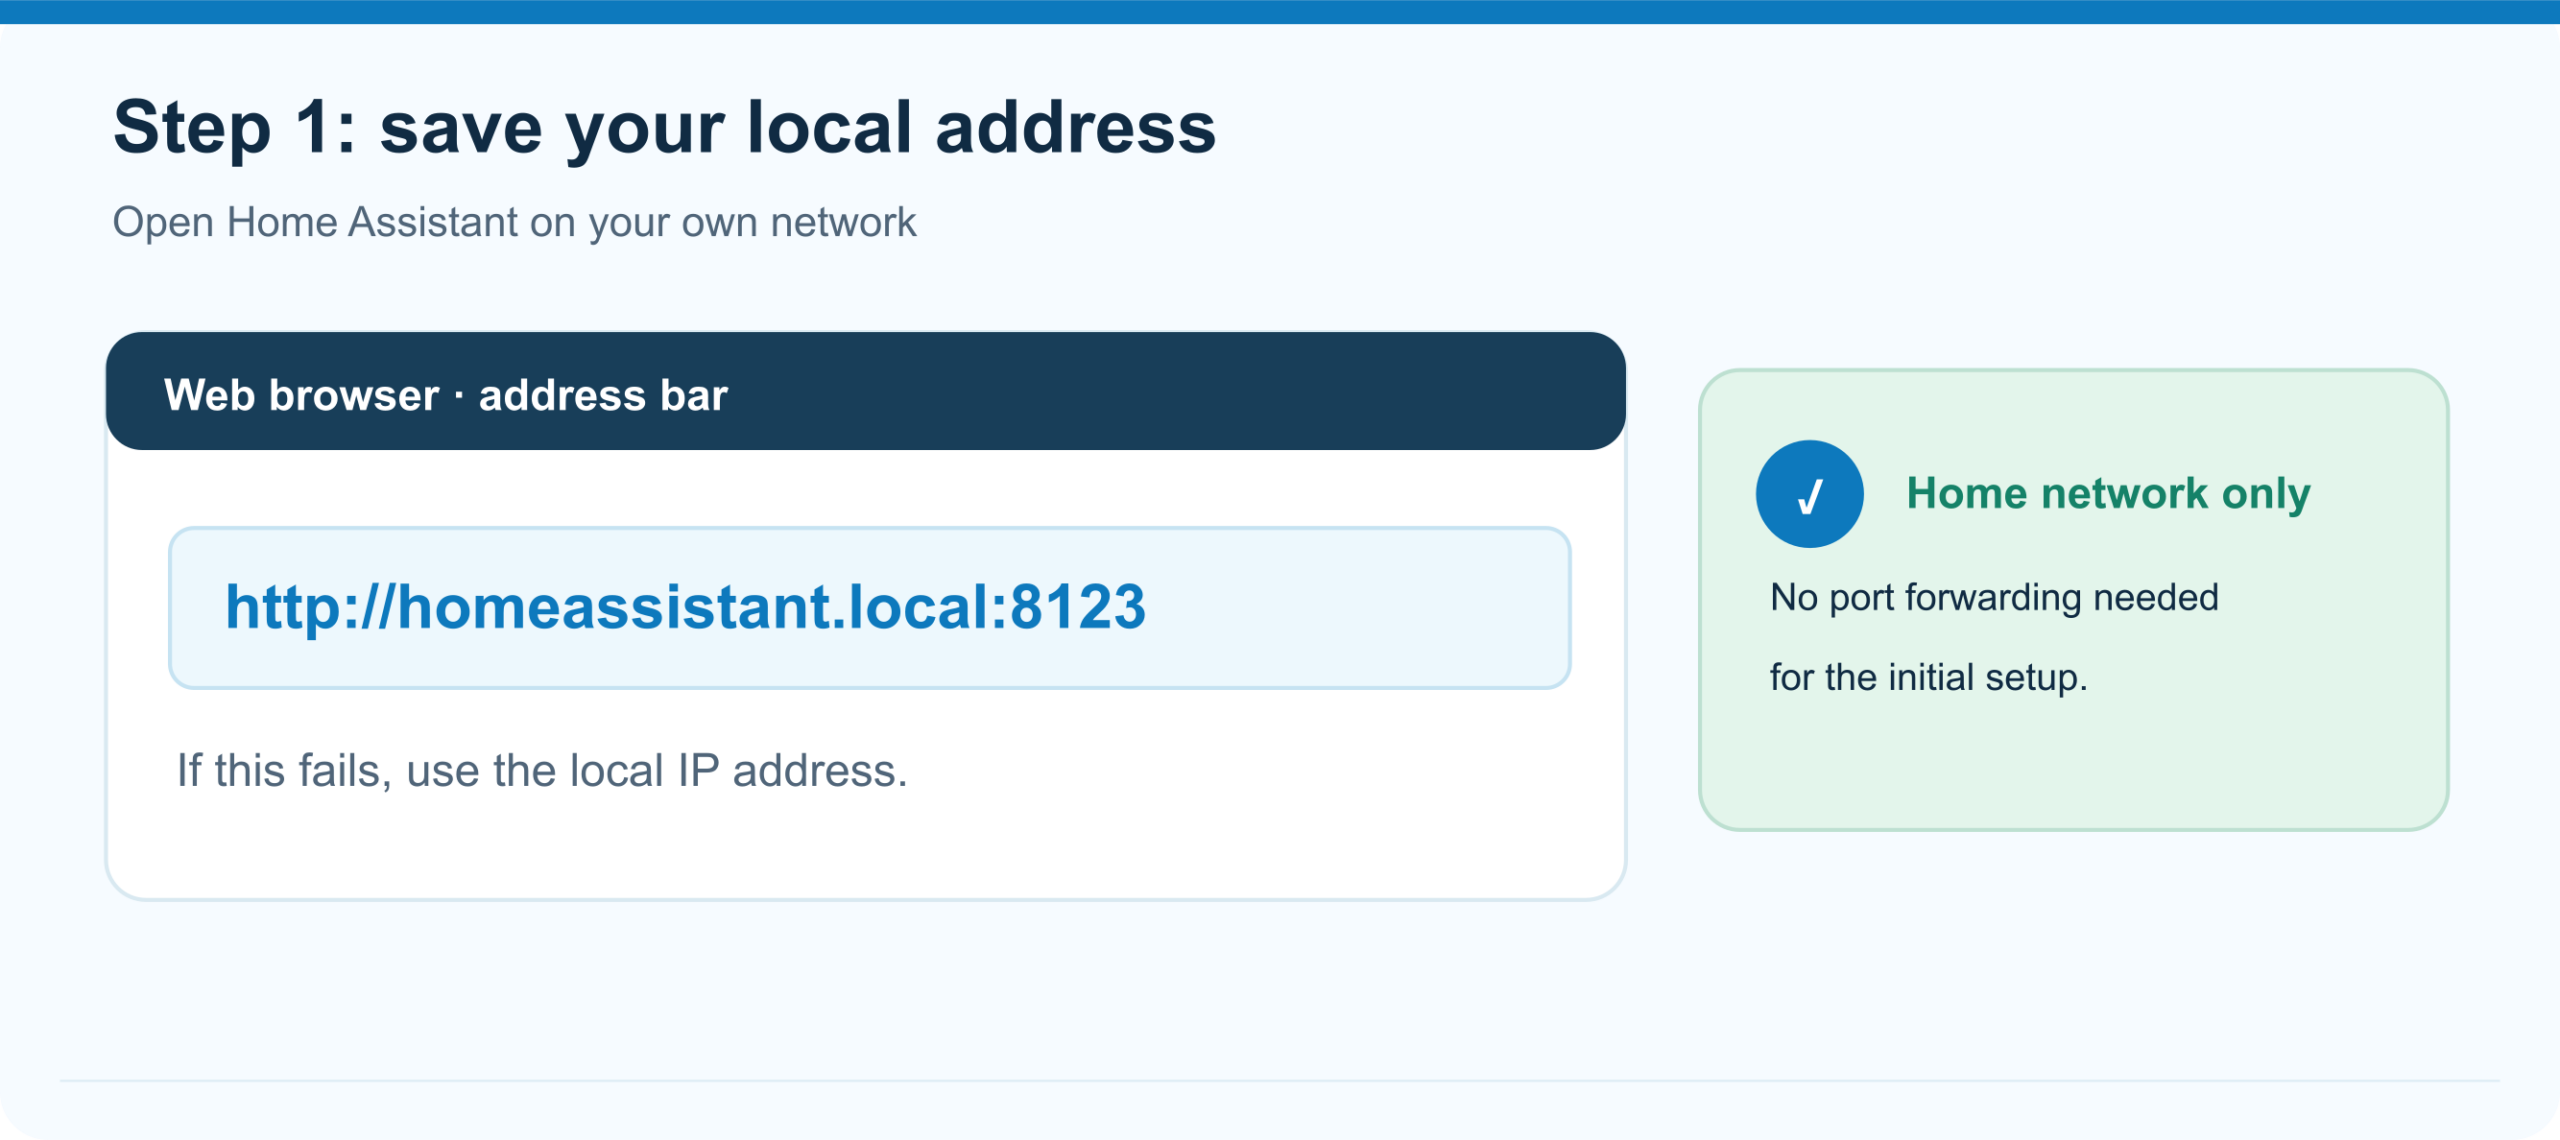
Save a local address as a bookmark without opening anything on your router.
How to do it:
- Open Home Assistant in your browser and check that your own dashboard appears.
- Bookmark the page. Name the bookmark Home Assistant.
- Open the bookmark in a new tab once. You will not have to type the address every time.
- Write down the local address somewhere safe too. The sample IP address in this article is not your address.
Which port does Home Assistant use? New Home Assistant OS installations from 2026.8 onward use port 80 by default, so :8123 is not normally needed. Existing HAOS installations from before 2026.8 usually retain port 8123; Home Assistant Container also defaults to 8123.
Does homeassistant.local fail? Try the IP address and, where applicable, :8123. You can often find the IP address among the connected devices in your router. Check that your laptop and Home Assistant are on the same home network. Check the actual listening port under Settings → System → Network → HTTP server. Do not open router ports for this.
Check: the bookmark opens the start screen. Ready? Continue to the next step.
Extra tip — address not working? Check whether your phone or laptop is on the same home network. Then try the local IP address of your Home Assistant computer. Do not open router ports.
Step 2 — Look at your own profile
During installation, you created an owner account. It is the first account and has full administrator rights. You use it to change important settings. It is therefore not an account to share with everyone at home.
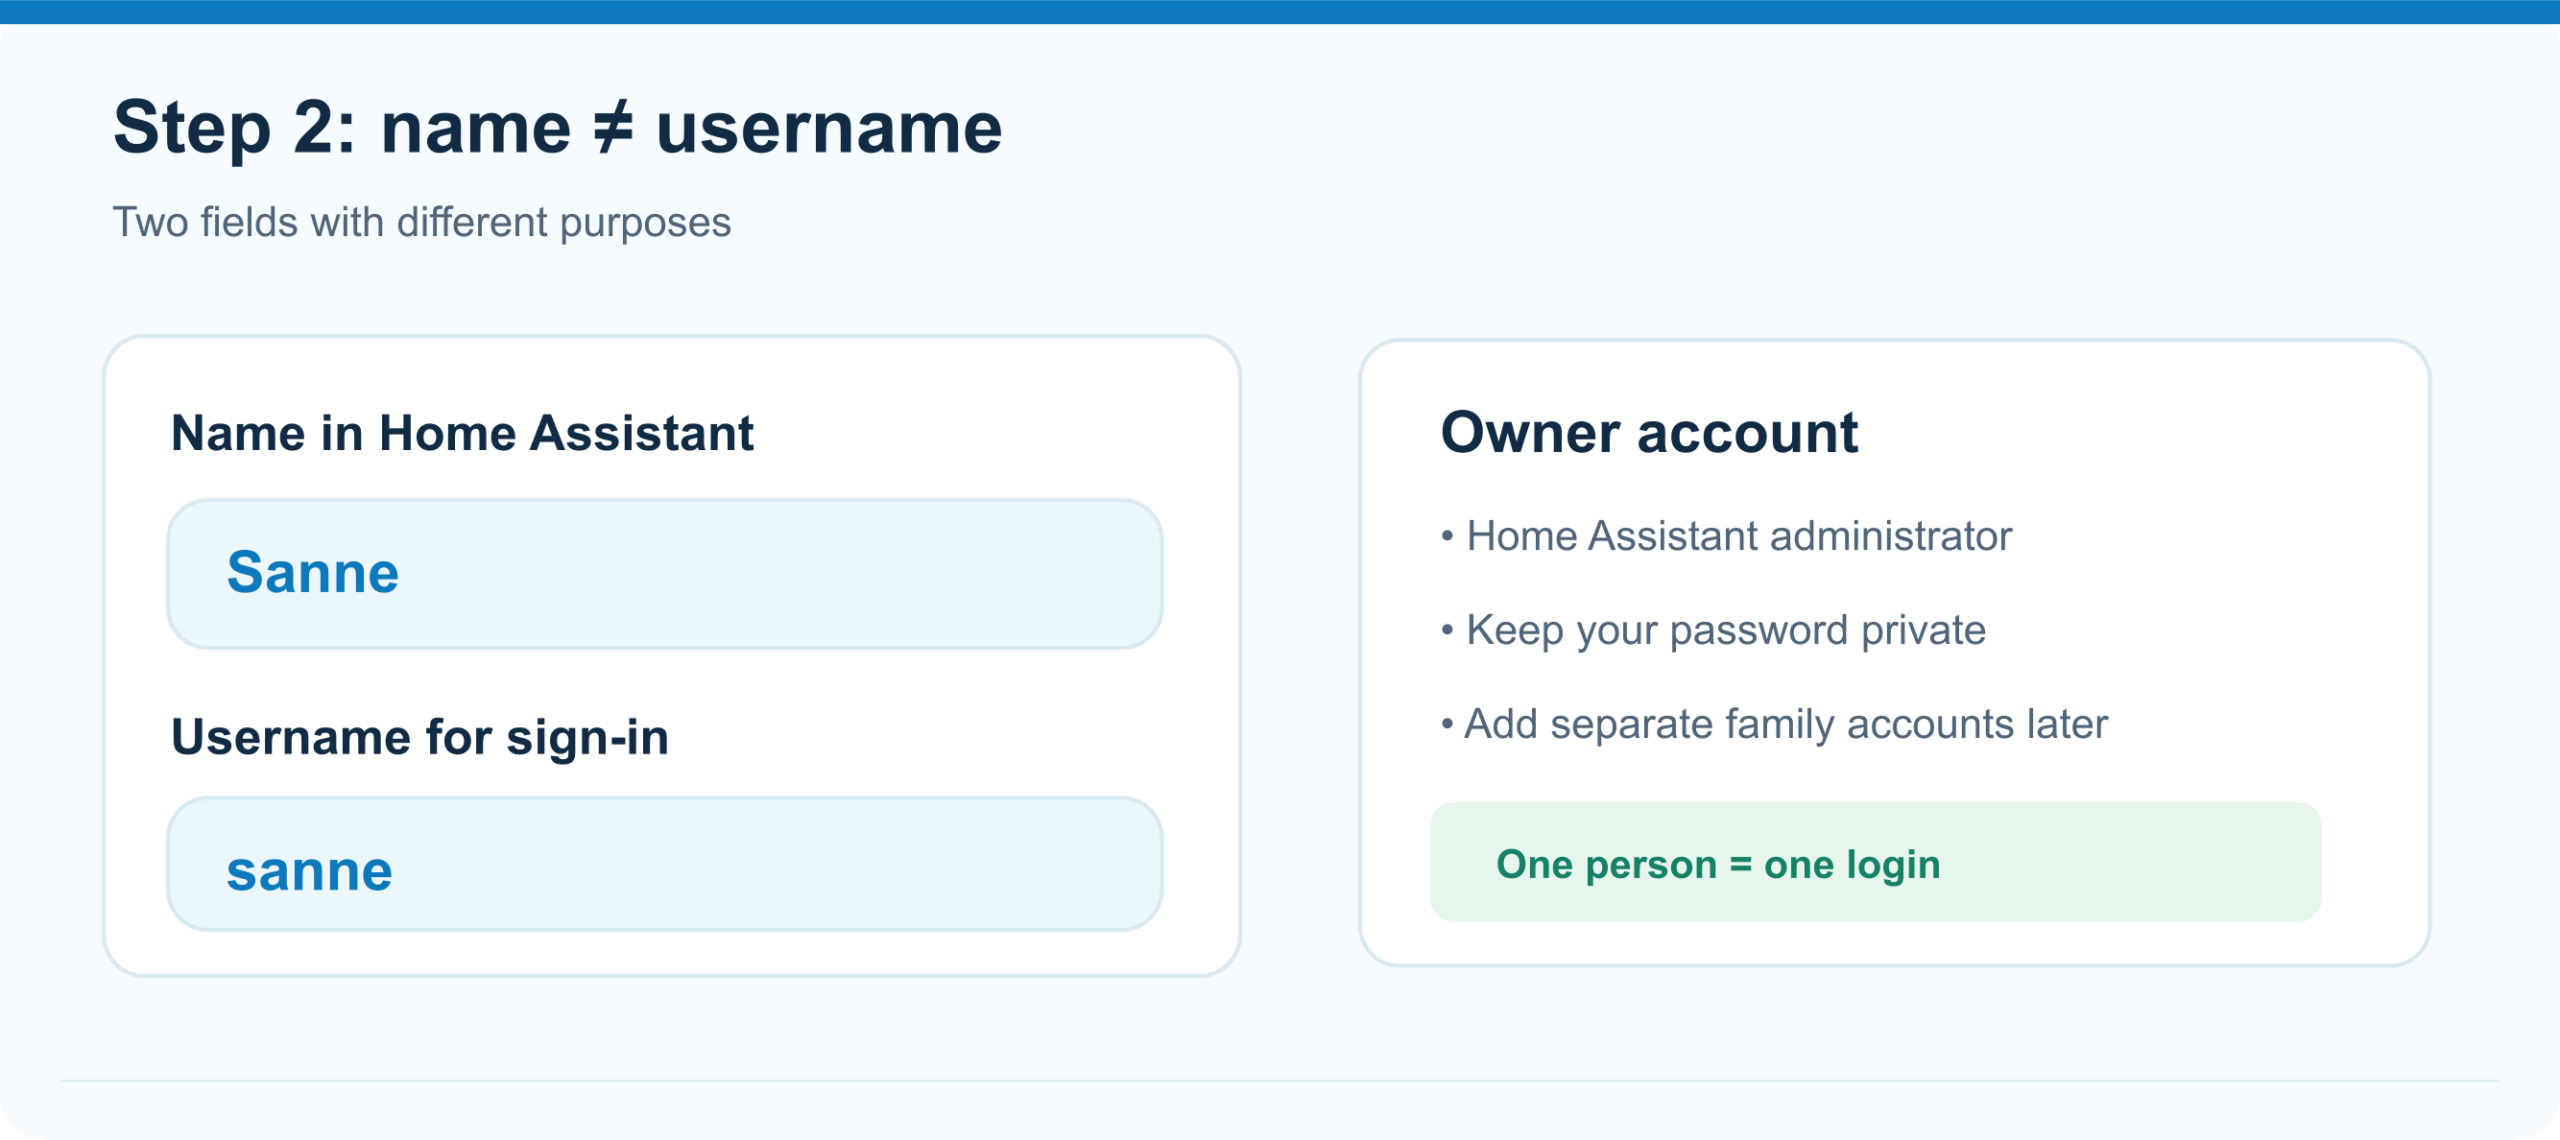
Your visible name does not need to match your sign-in username.
How to do it:
- Click your user picture or name in the sidebar, usually near the bottom.
- Look through your personal profile settings. Here you can check how your name is displayed and where account security is managed.
- Make sure you remember the username you chose during installation. It does not have to match your visible name.
- Leave unfamiliar advanced profile options alone for now.
Example: the screen shows “Sanne”, but the username used to sign in is sanne. A display name can differ from a login name.
Why not add all family members yet? First establish one working setup. Later you can give everyone a separate account. There is no need to share your password.
Check: you can find your own profile and recognise your account.
Extra tip — name or username? The visible name appears on your profile. You need the username to sign in. Keep your login details private.
Step 3 — Check your home's details
Home Assistant asks for your country and location during initial setup. This helps determine, for example, the time zone and sunrise. You do not have to publish an address: this is a setting inside your own Home Assistant installation.
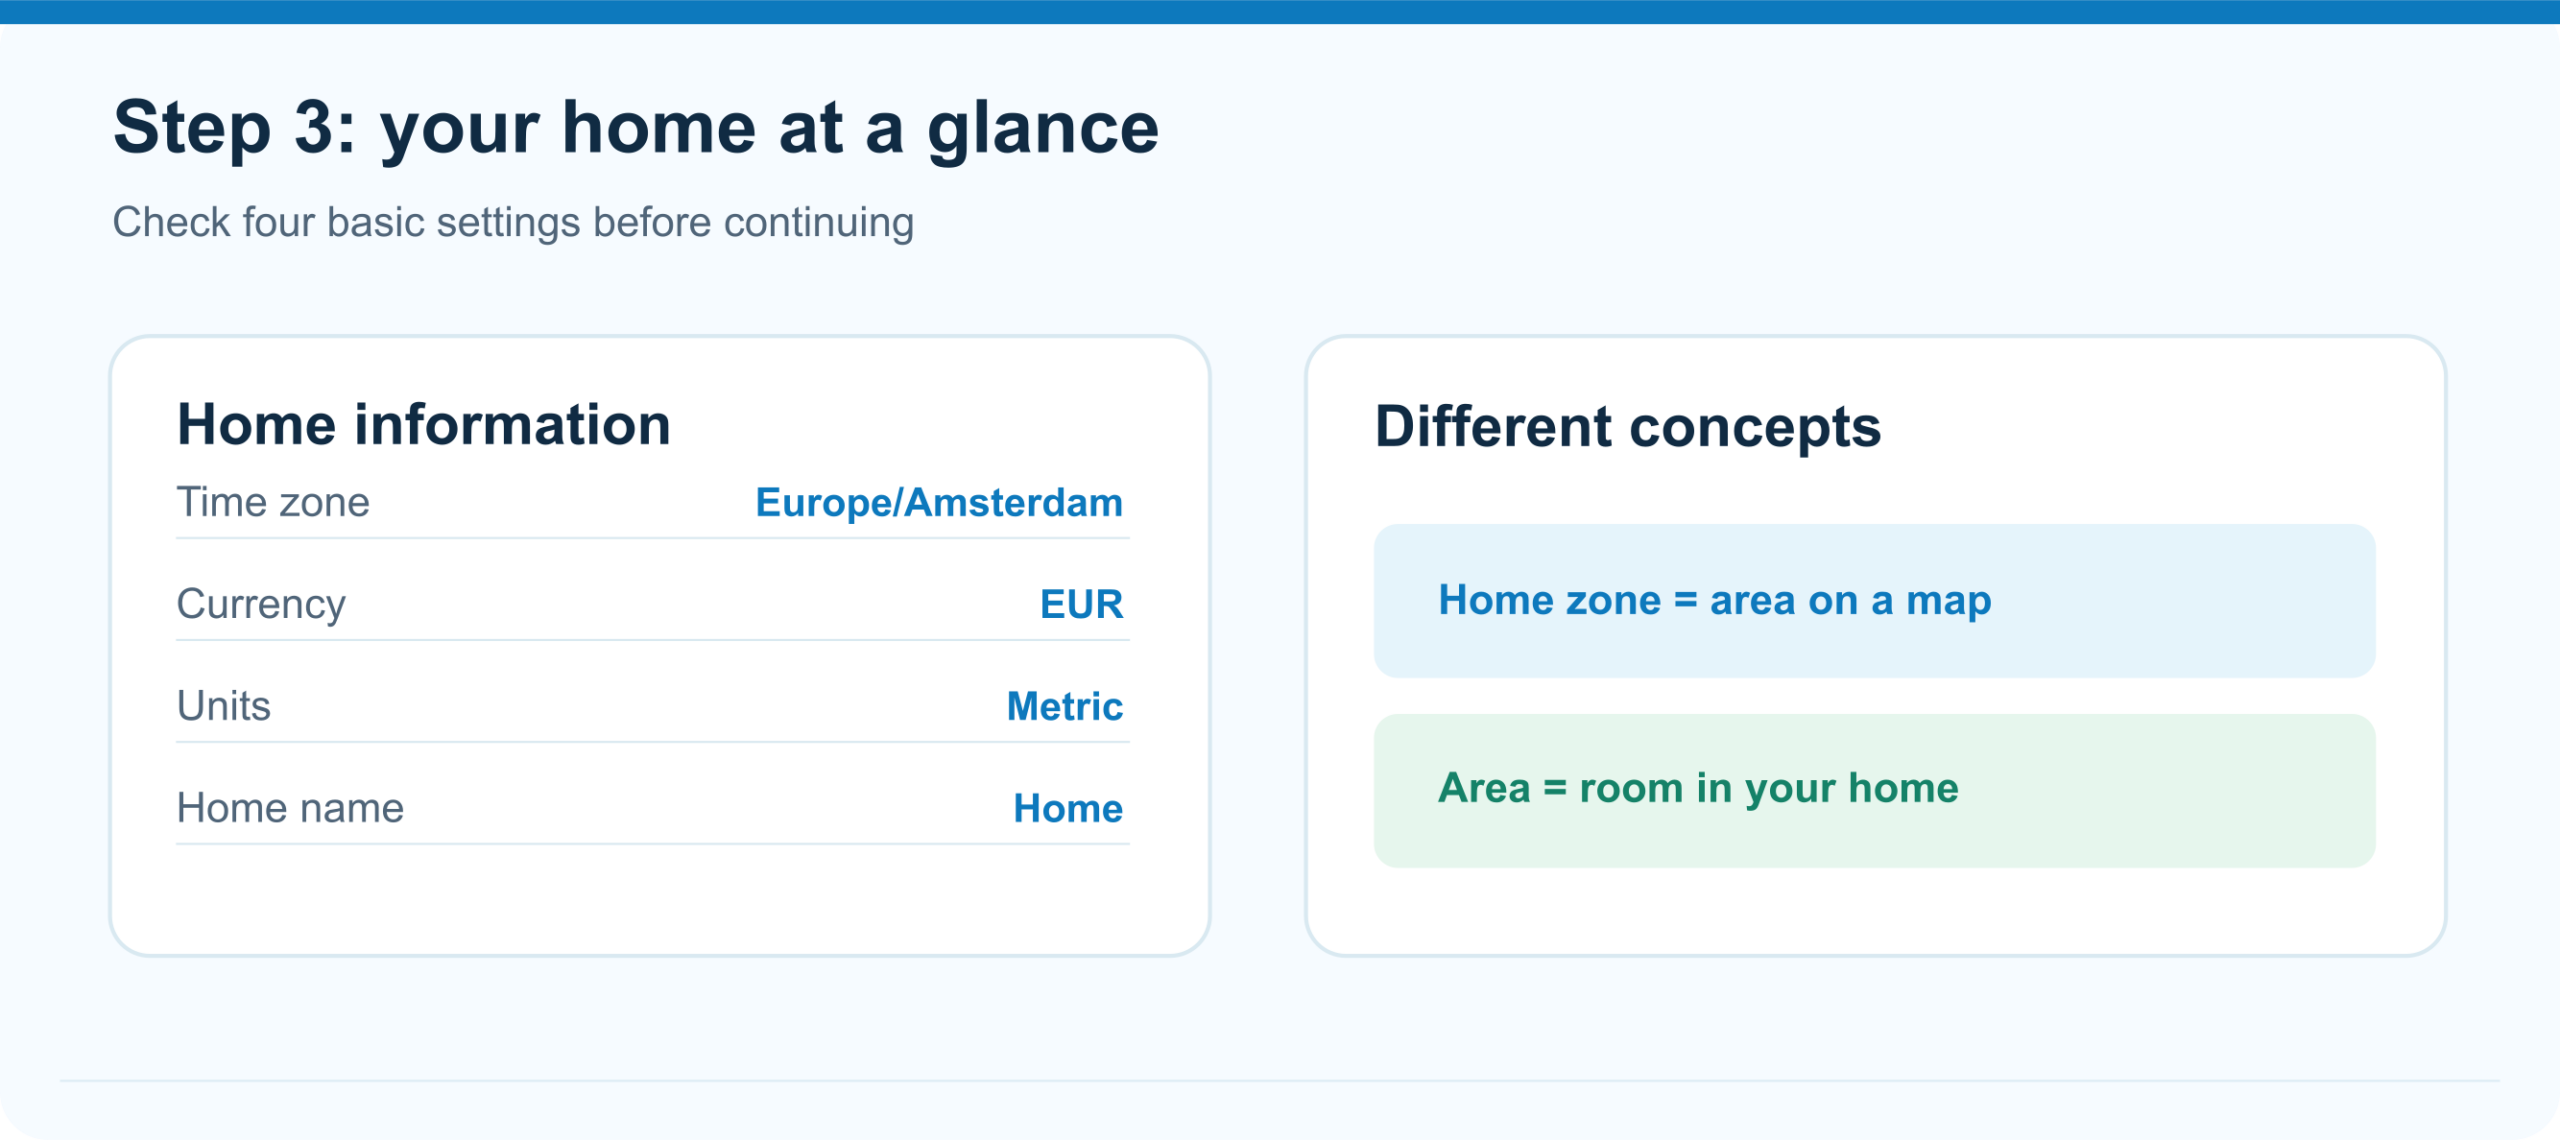
These basic details determine your time zone and home location, among other things.
How to do it:
- Go to Settings → System → Home information.
- Check that the name of your home is recognisable, such as “Home”.
- Check the time zone; for the Netherlands, it is
Europe/Amsterdam. - Check the country, currency (
EUR) and units (metric). - Look at your home location on the map. If it is clearly wrong, you can correct it.
- Save any changes.
Why does location matter? An automation that turns on the lights at sunset needs the right location and time zone. Weather information and the home zone also use these details.
Note: the home zone is not the same as a room. The home zone is an area on a map. A room, such as “Living room”, is called an area in Home Assistant.
Check: the name and regional settings are correct.
Extra tip — home zone or room? The home zone is an area on the map. An area can be your living room or kitchen.
Step 4 — Arrange your first backup now
This is one of the most important steps. If an update, memory card or setting causes trouble later, a backup can save a great deal of work. Make one before adding many devices and automations.
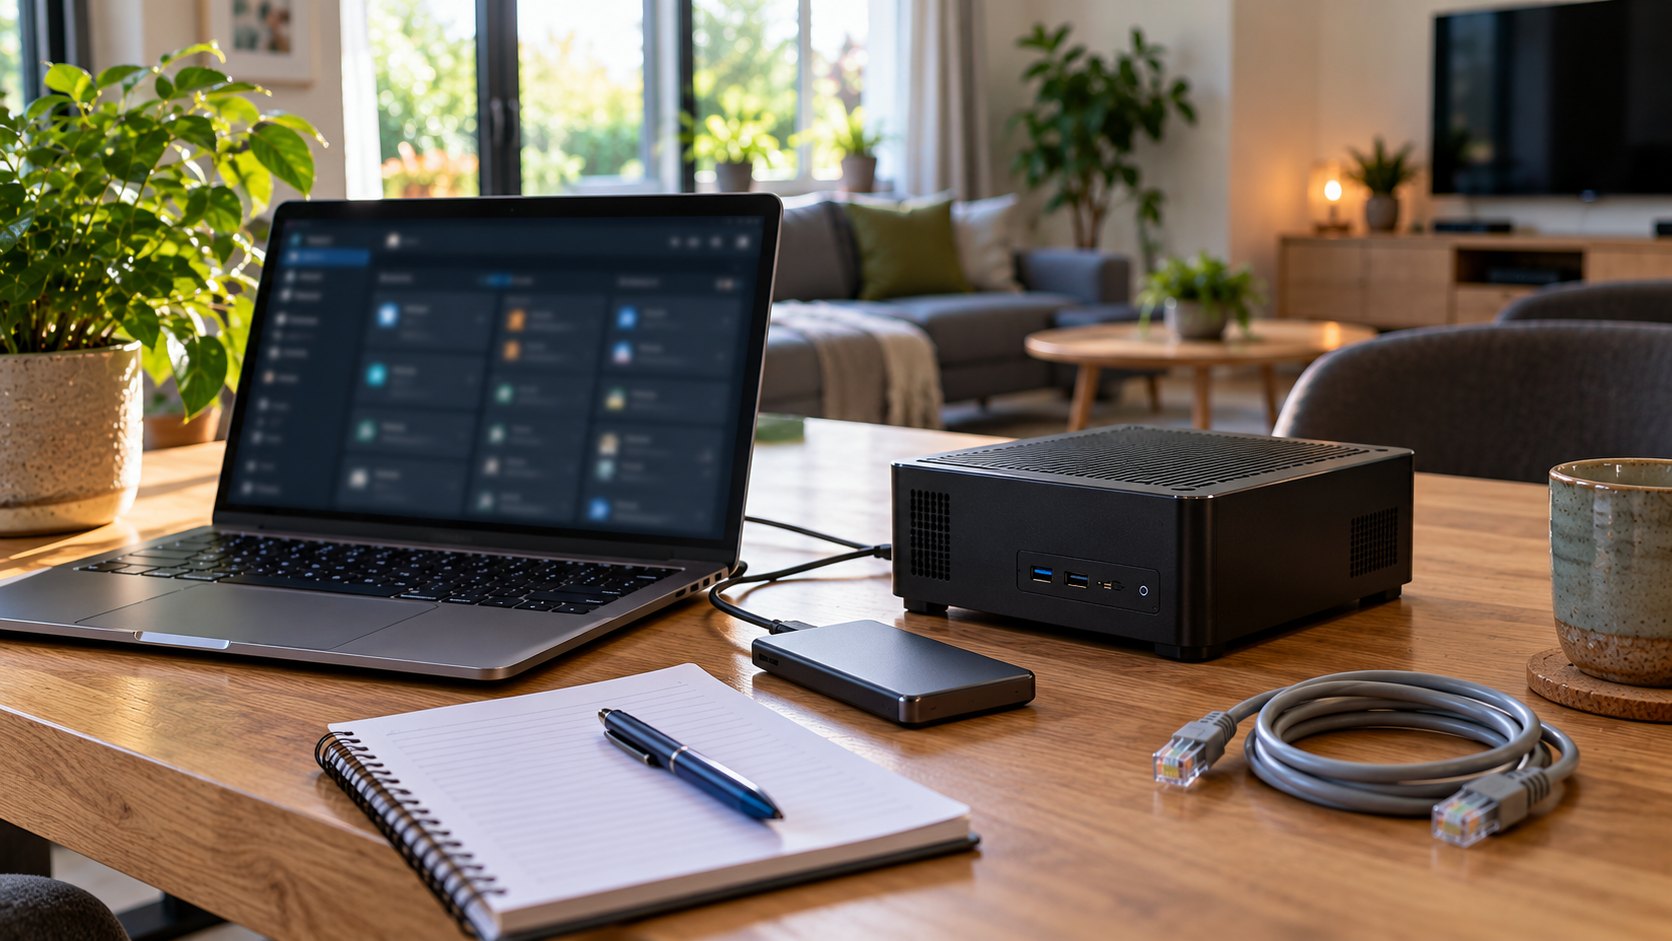
Keep a backup outside the Home Assistant computer.
How to do it in Home Assistant OS:
- Open Settings → System → Backups.
- If backups have not been configured, choose Set up backups.
- Download the emergency kit when Home Assistant prompts you. Store it carefully, away from the Home Assistant computer.
- For a simple start, choose the recommended automatic backup settings. You can change the storage location later.
- Create or check the first backup. Make sure a completed backup appears.
- Make sure a copy is also available outside the device, such as on your own computer or another supported storage location.
Important: modern Home Assistant backups can be encrypted. Without the correct key from the emergency kit, you might be unable to restore a backup. Do not keep the kit only on the computer that runs Home Assistant.
What does a backup protect? Settings, devices, dashboards and much of your Home Assistant configuration are examples. The exact contents depend on the installation and selected backup options. An external database on another computer is not automatically included in full.
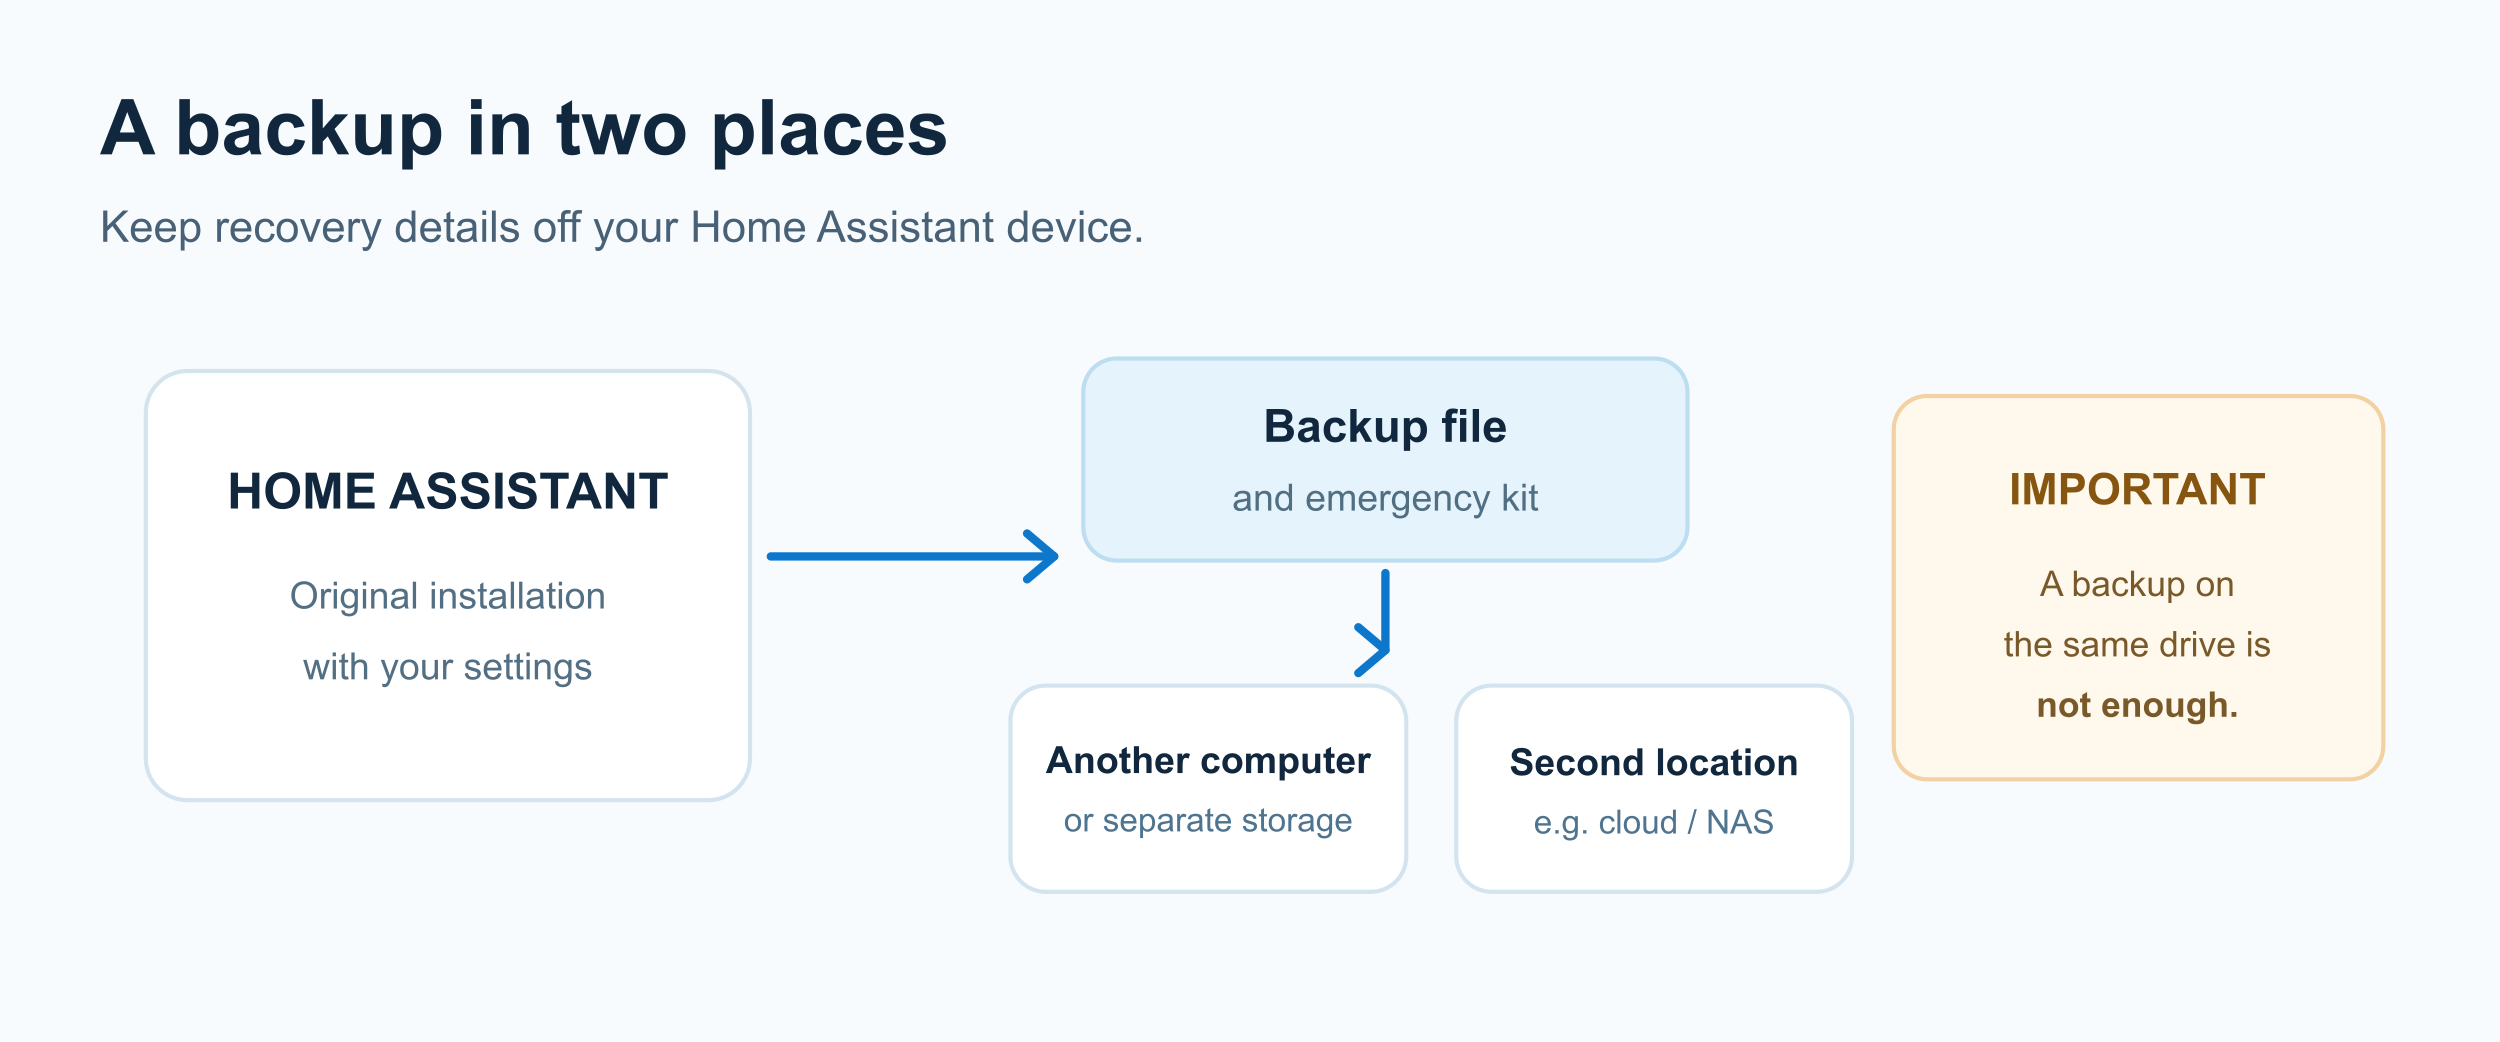
Check: you see a successful backup and have stored the emergency kit safely. You can read a detailed backup guide later; this is enough for today.
Extra tip — where should the emergency kit go? Store it away from your Home Assistant computer, for example in a secure password manager. Never put your key on a public website.
Step 5 — See which updates are available
Like your phone, Home Assistant receives regular improvements and security updates. In Home Assistant OS, several components can be updated separately: Home Assistant itself, the operating system and any apps.
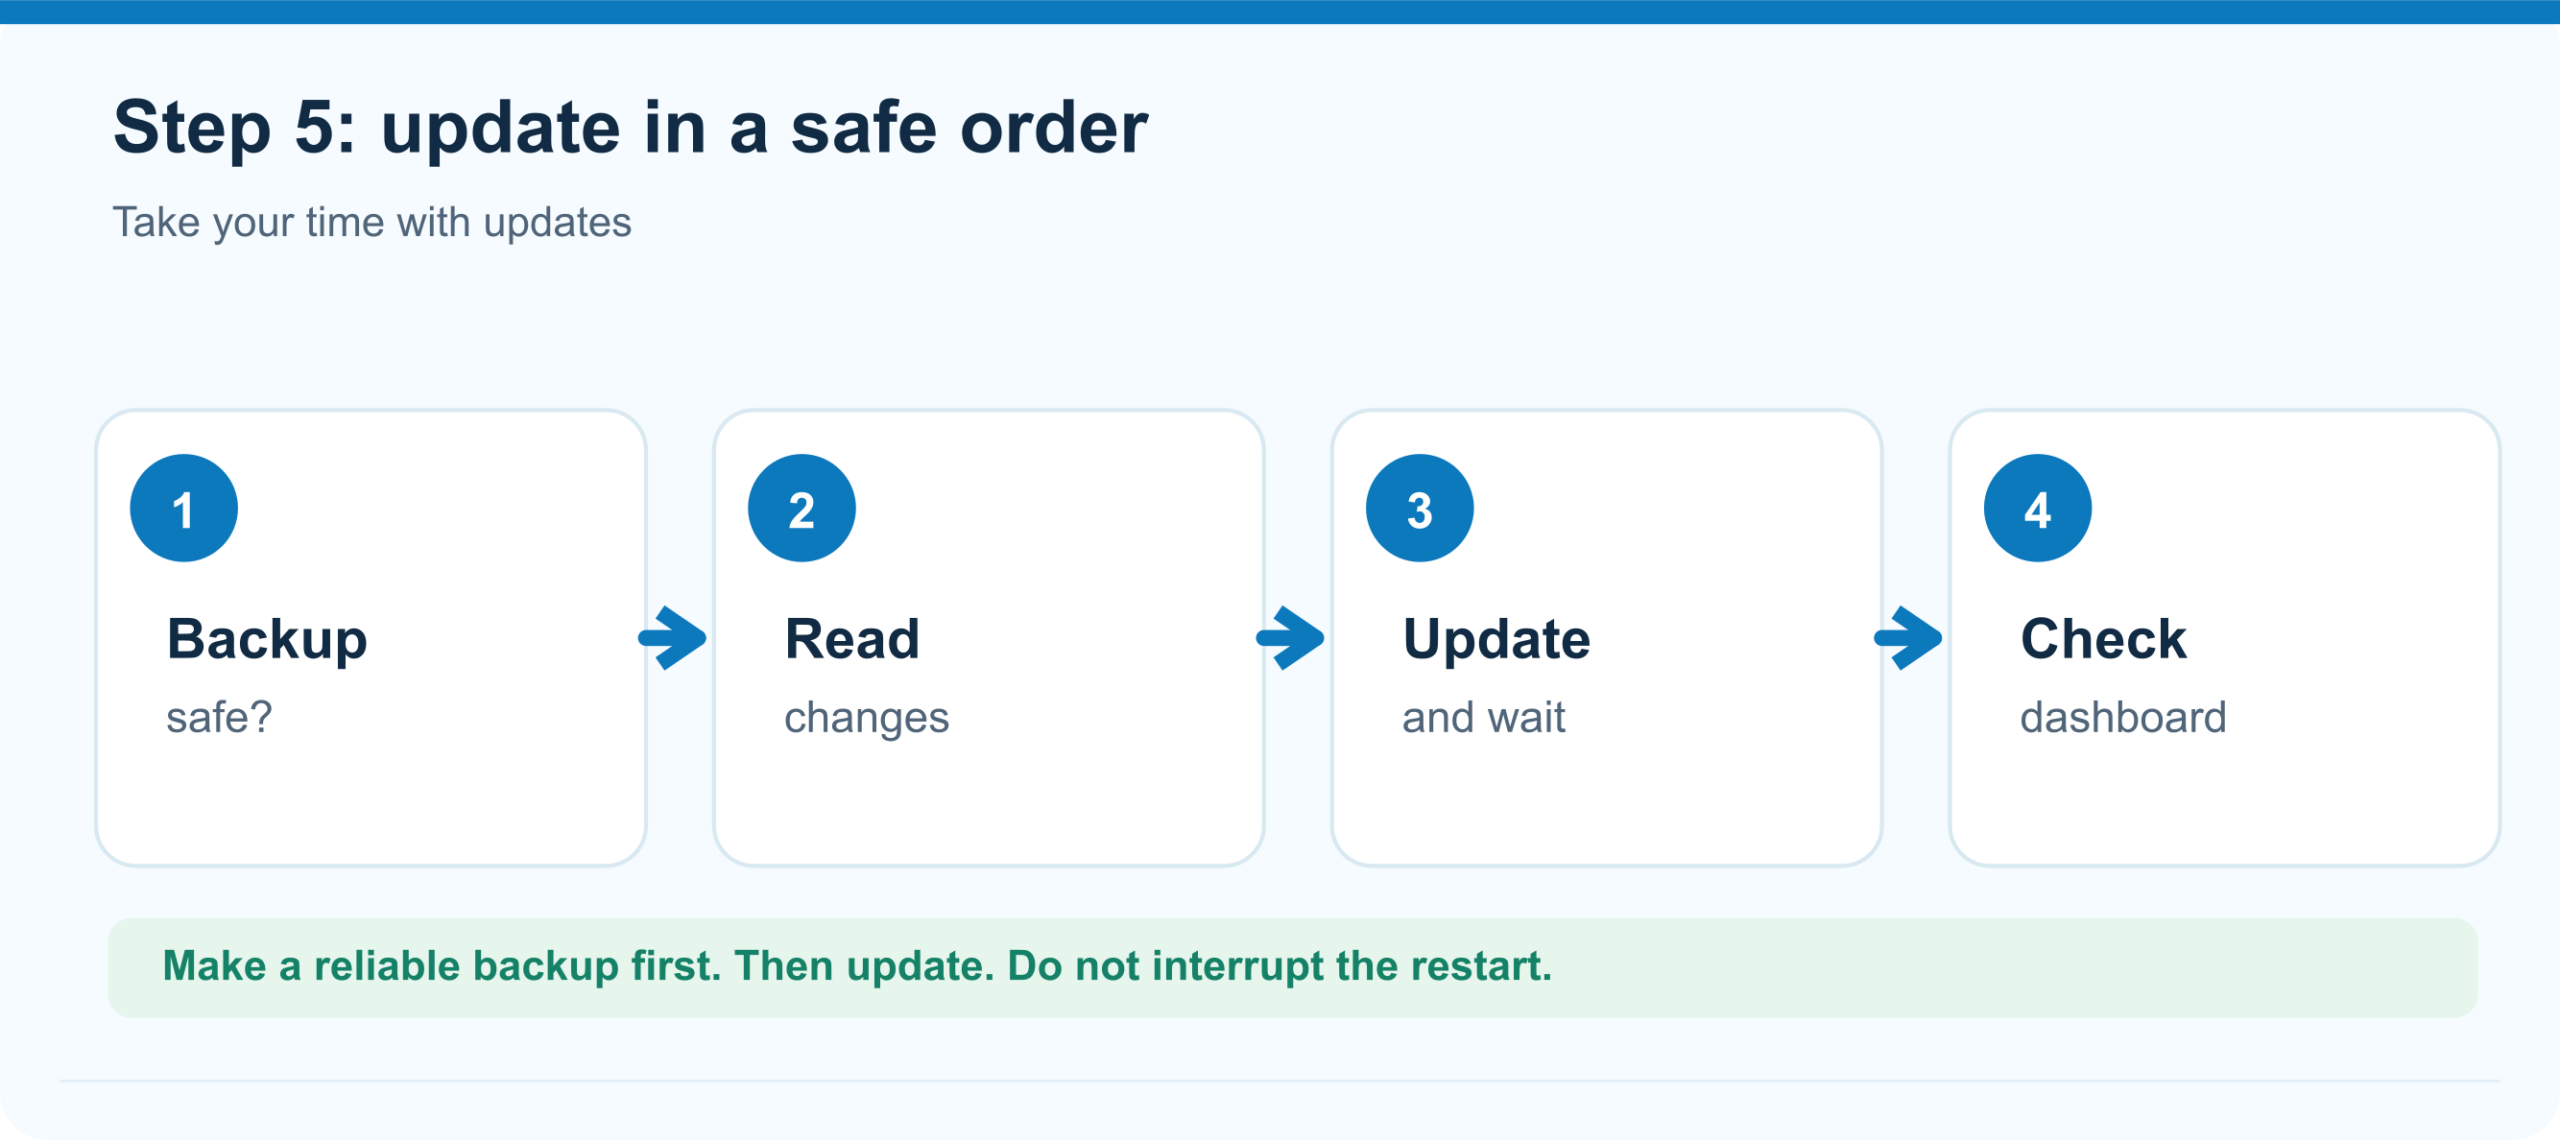
Check the backup, read the changes, update and verify that the dashboard works again.
How to do it:
- Open Settings → System → Updates, or look for update notifications at the top of Settings.
- See which components offer an update. Do not worry if several lines appear; that is normal.
- Check that you have just made a backup and that it is available outside the device.
- Read the release notes briefly if needed. Select Update when you want to install it.
- Give Home Assistant time to restart if necessary. The website can be temporarily unavailable during the restart.
- Reopen your bookmark afterwards and check the dashboard.
Do not: unplug the device while Home Assistant is installing or restarting. Do not install experimental or test versions without a reason. Stability matters more to a beginner than receiving every new feature first.
Check: Home Assistant opens as before after the update. If there is no update, you have nothing to do.
Extra tip — is an update mandatory? Check the backup first and read important release notes. Prefer installing a stable update while you are at home.
Step 6 — Learn the difference between an integration, a device and an entity
Perhaps you already see a printer, television or another network device after the first installation. Perhaps you see nothing. An empty list does not mean that Home Assistant was installed incorrectly.
Three terms:
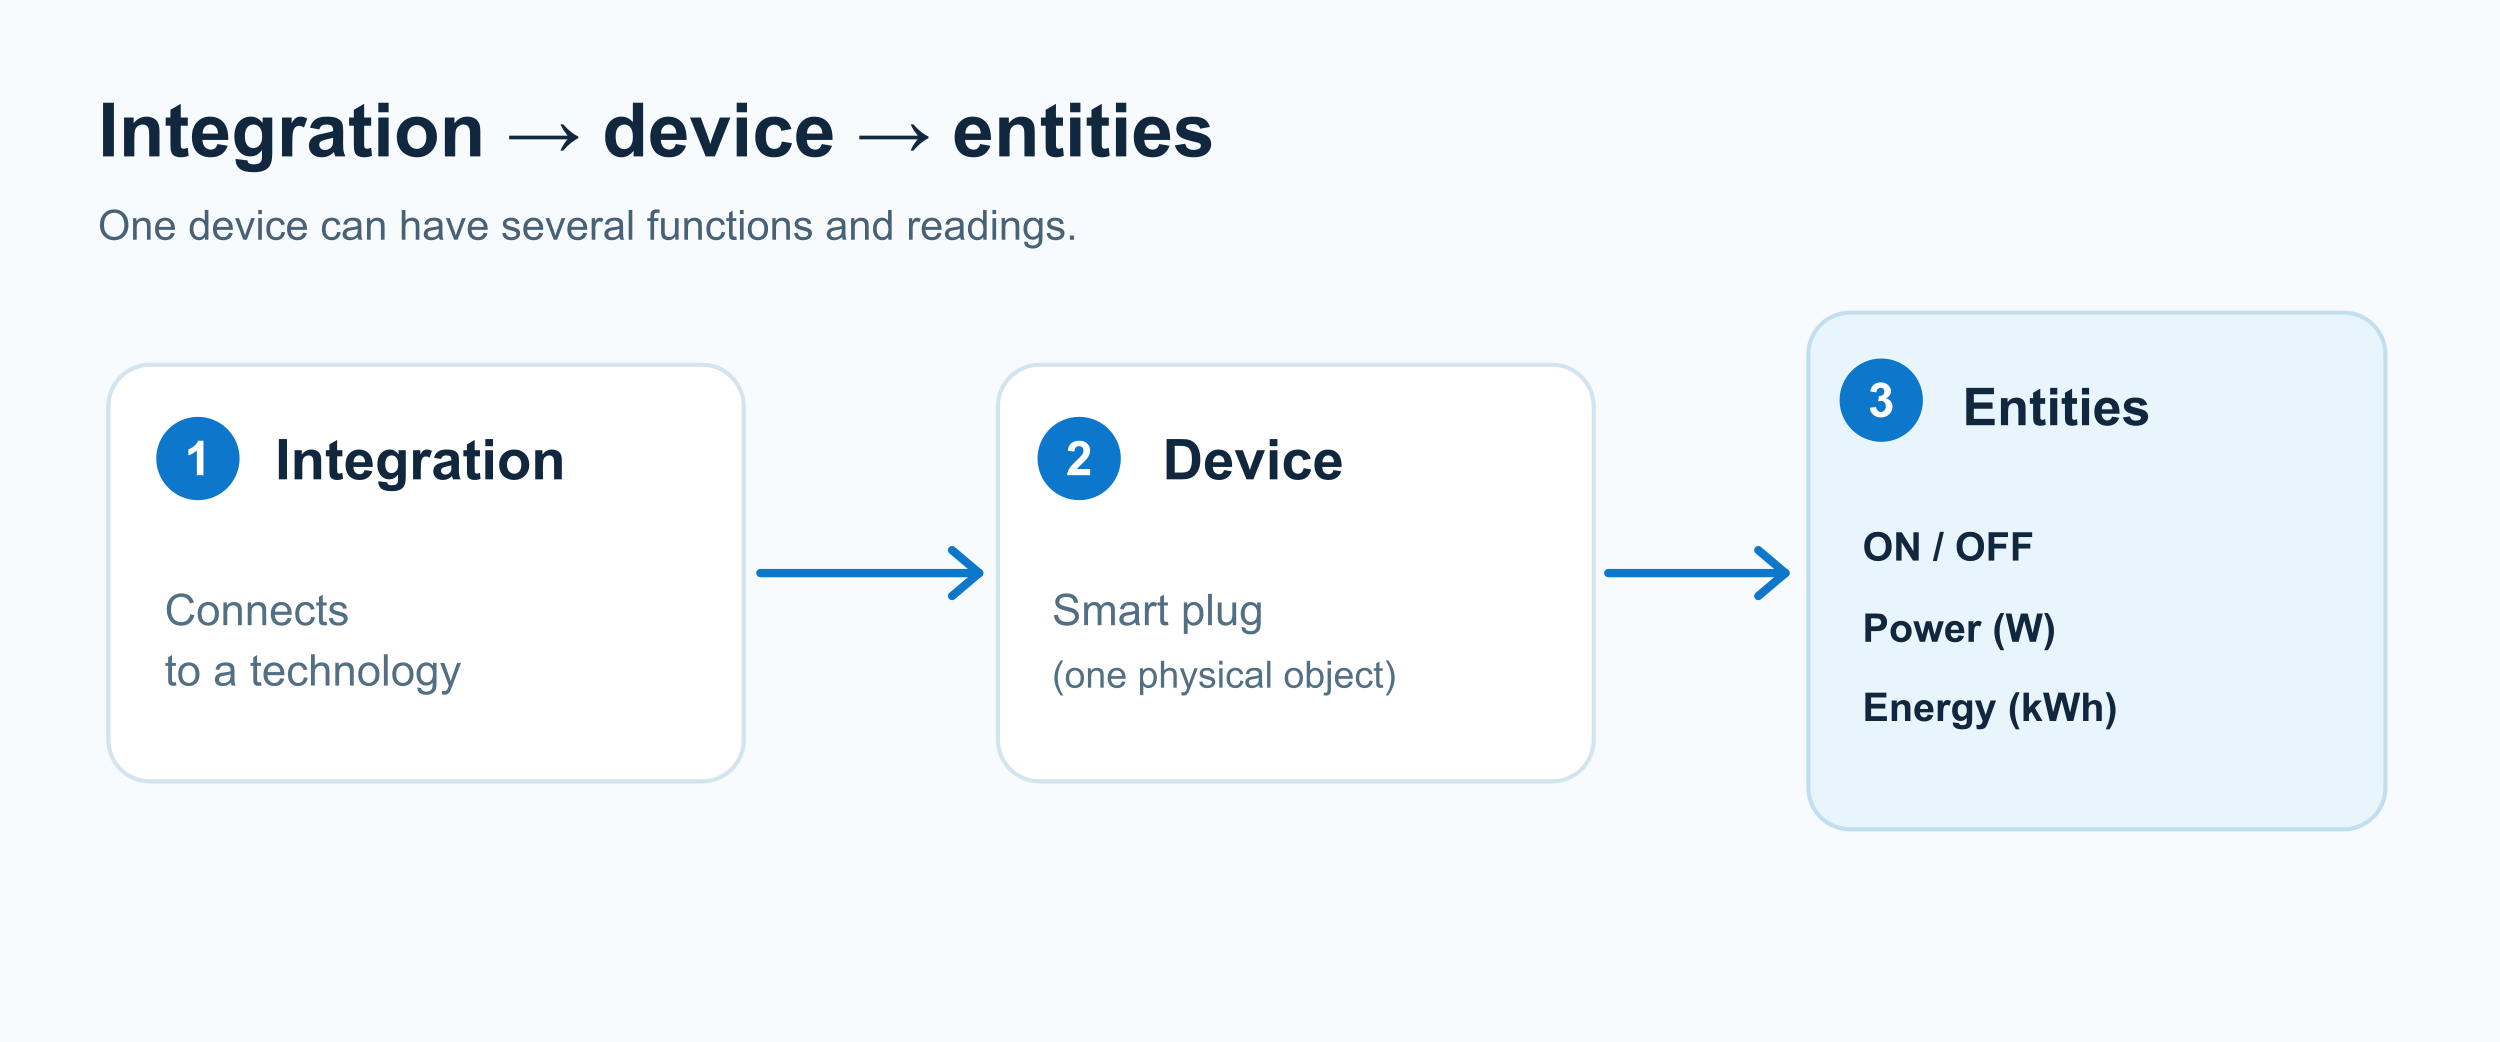
- An integration connects Home Assistant to a brand, technology or service. For example, an integration can communicate with a smart plug.
- A device is the actual physical object: one smart plug, lamp or thermostat.
- An entity is one property or control of that object, such as “on/off” or “current power use”. One device can have several entities.
How to see what Home Assistant has found:
- Go to Settings → Devices & services.
- Open the Integrations tab.
- See whether Home Assistant has already discovered a device or service. There may be a button to finish configuring a discovery.
- If you are unsure what a discovered device does, leave it alone for now. You do not have to add anything today.
- Also look at Devices and Entities to recognise the difference.
Example: a plug with energy monitoring can have both an on/off switch and a sensor showing current power in watts. They belong to the same physical device but are separate entities.
Check: you know where the three lists are. You do not need to connect anything yet.
Extra tip — nothing found? That usually does not indicate a problem. A fresh installation without smart devices can be completely empty.
Step 7 — Create the rooms in your home
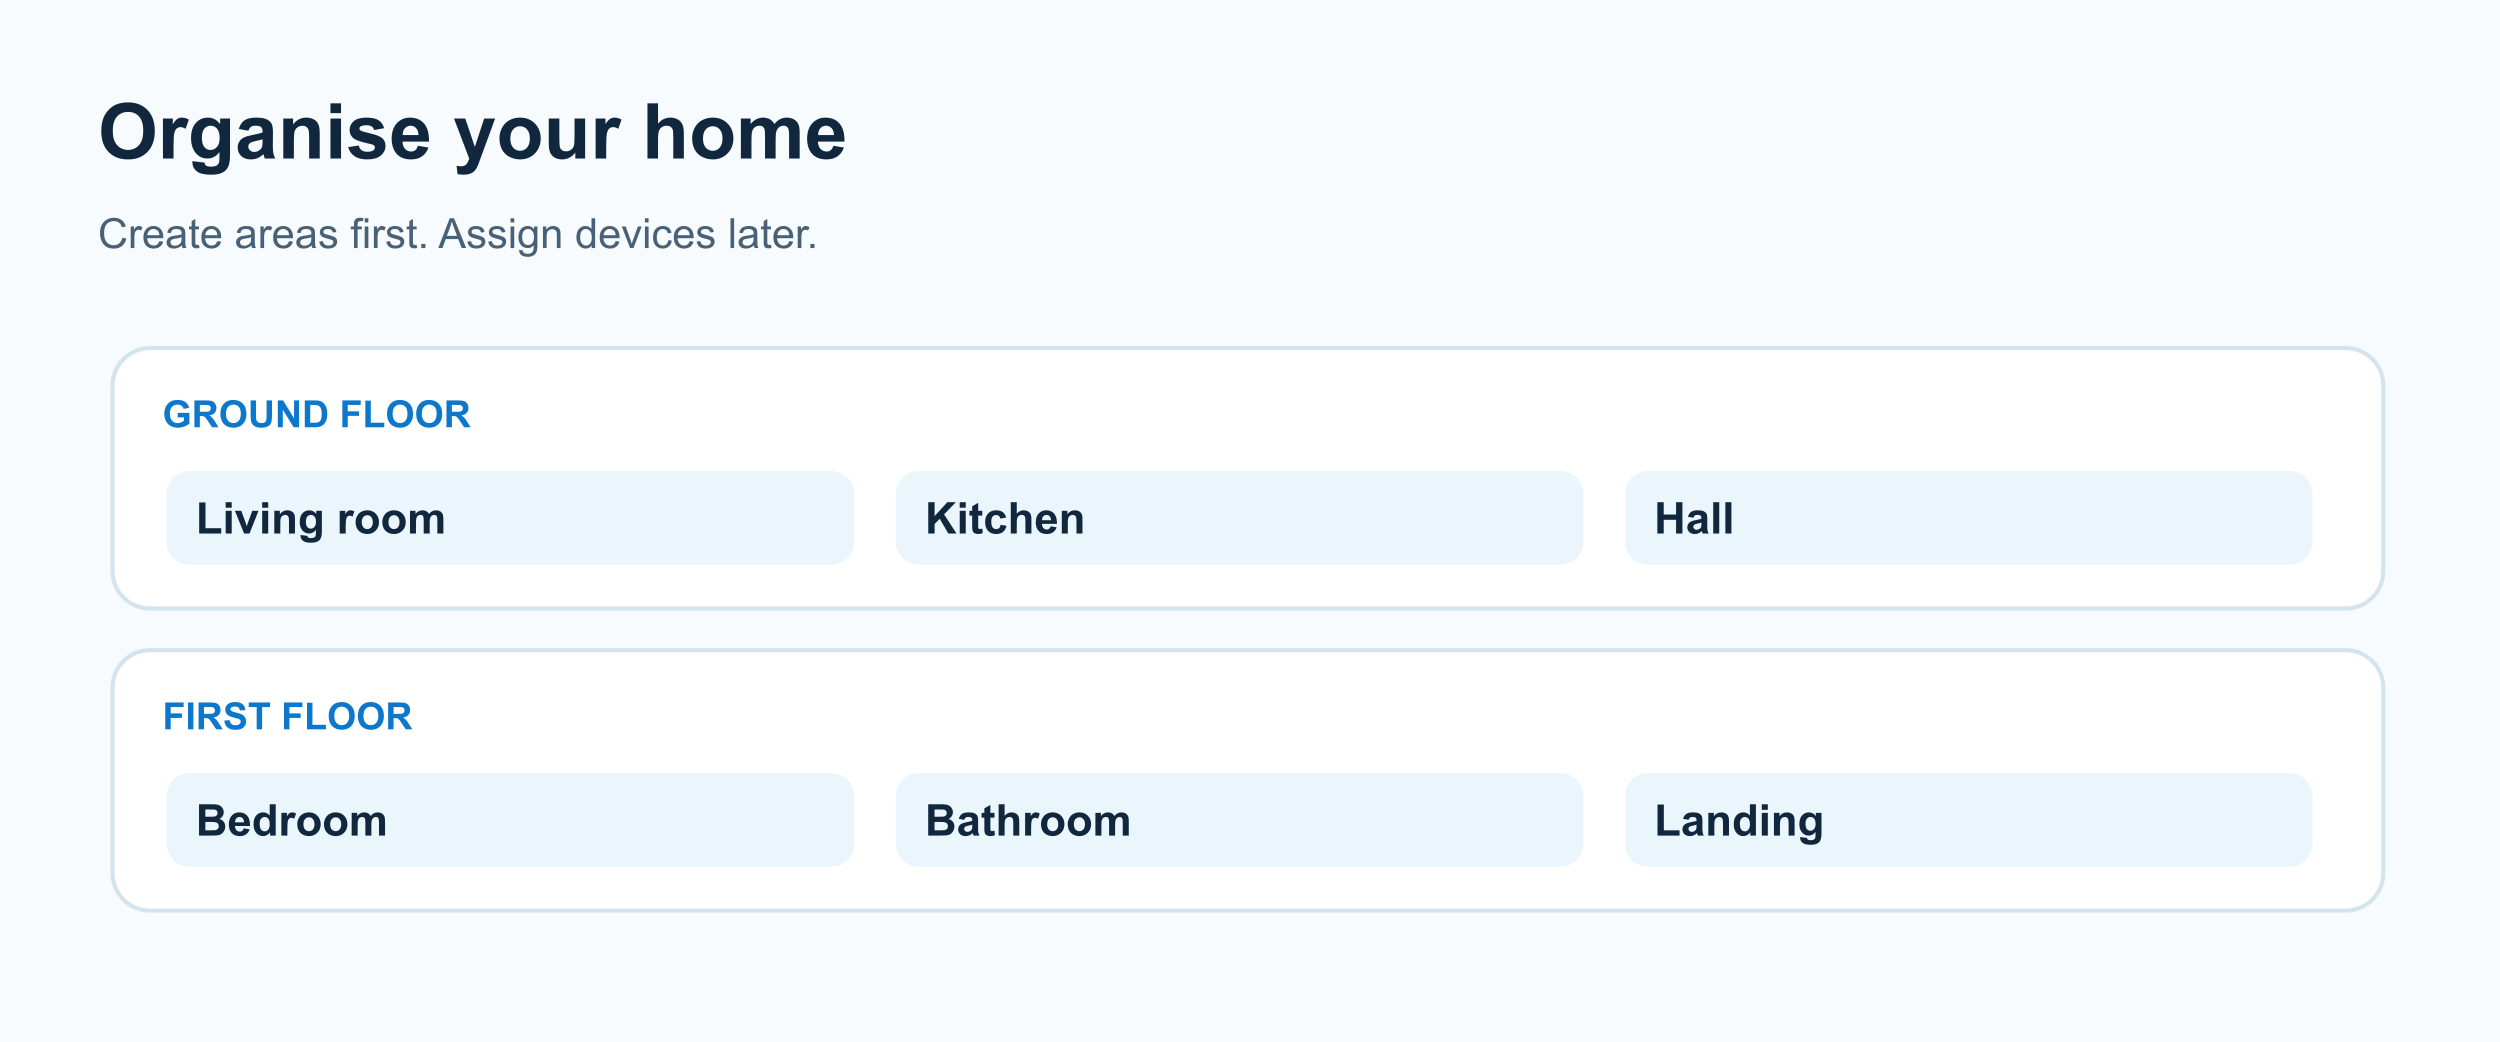
Rooms will make Home Assistant much easier to navigate later. You can assign devices to the living room, kitchen or bedroom instead of keeping everything in one long list. Home Assistant calls a room an area.
How to do it:
- Open Settings → Areas, labels & zones.
- Choose Add → Create area.
- Start with three or four rooms you actually use, such as Living room, Kitchen, Bedroom and Hall.
- Choose an icon if you want. You can add an image to the room later.
- Save the area and repeat for the other rooms.
What about floors? You can also create Downstairs and Upstairs as floors. This is optional for now. Rooms are the main foundation; floors become useful when you have more rooms or devices.
Another useful rule: give each room a name everyone at home understands. Use “Living room” instead of “Area 1” or “Downstairs left”.
Check: you see a few rooms in the list, even if they do not contain any devices yet.
Extra tip — how many areas? Start small: living room, kitchen, bedroom and hall are enough. You can add more later.
Step 8 — Explore the start screen without changing it yet
Home Assistant shows a dashboard by default. In recent versions it is usually called Overview. A newly installed Home Assistant often looks much simpler than a dashboard in a video or forum post. That makes sense: the systems you see online have often been set up for months or years.
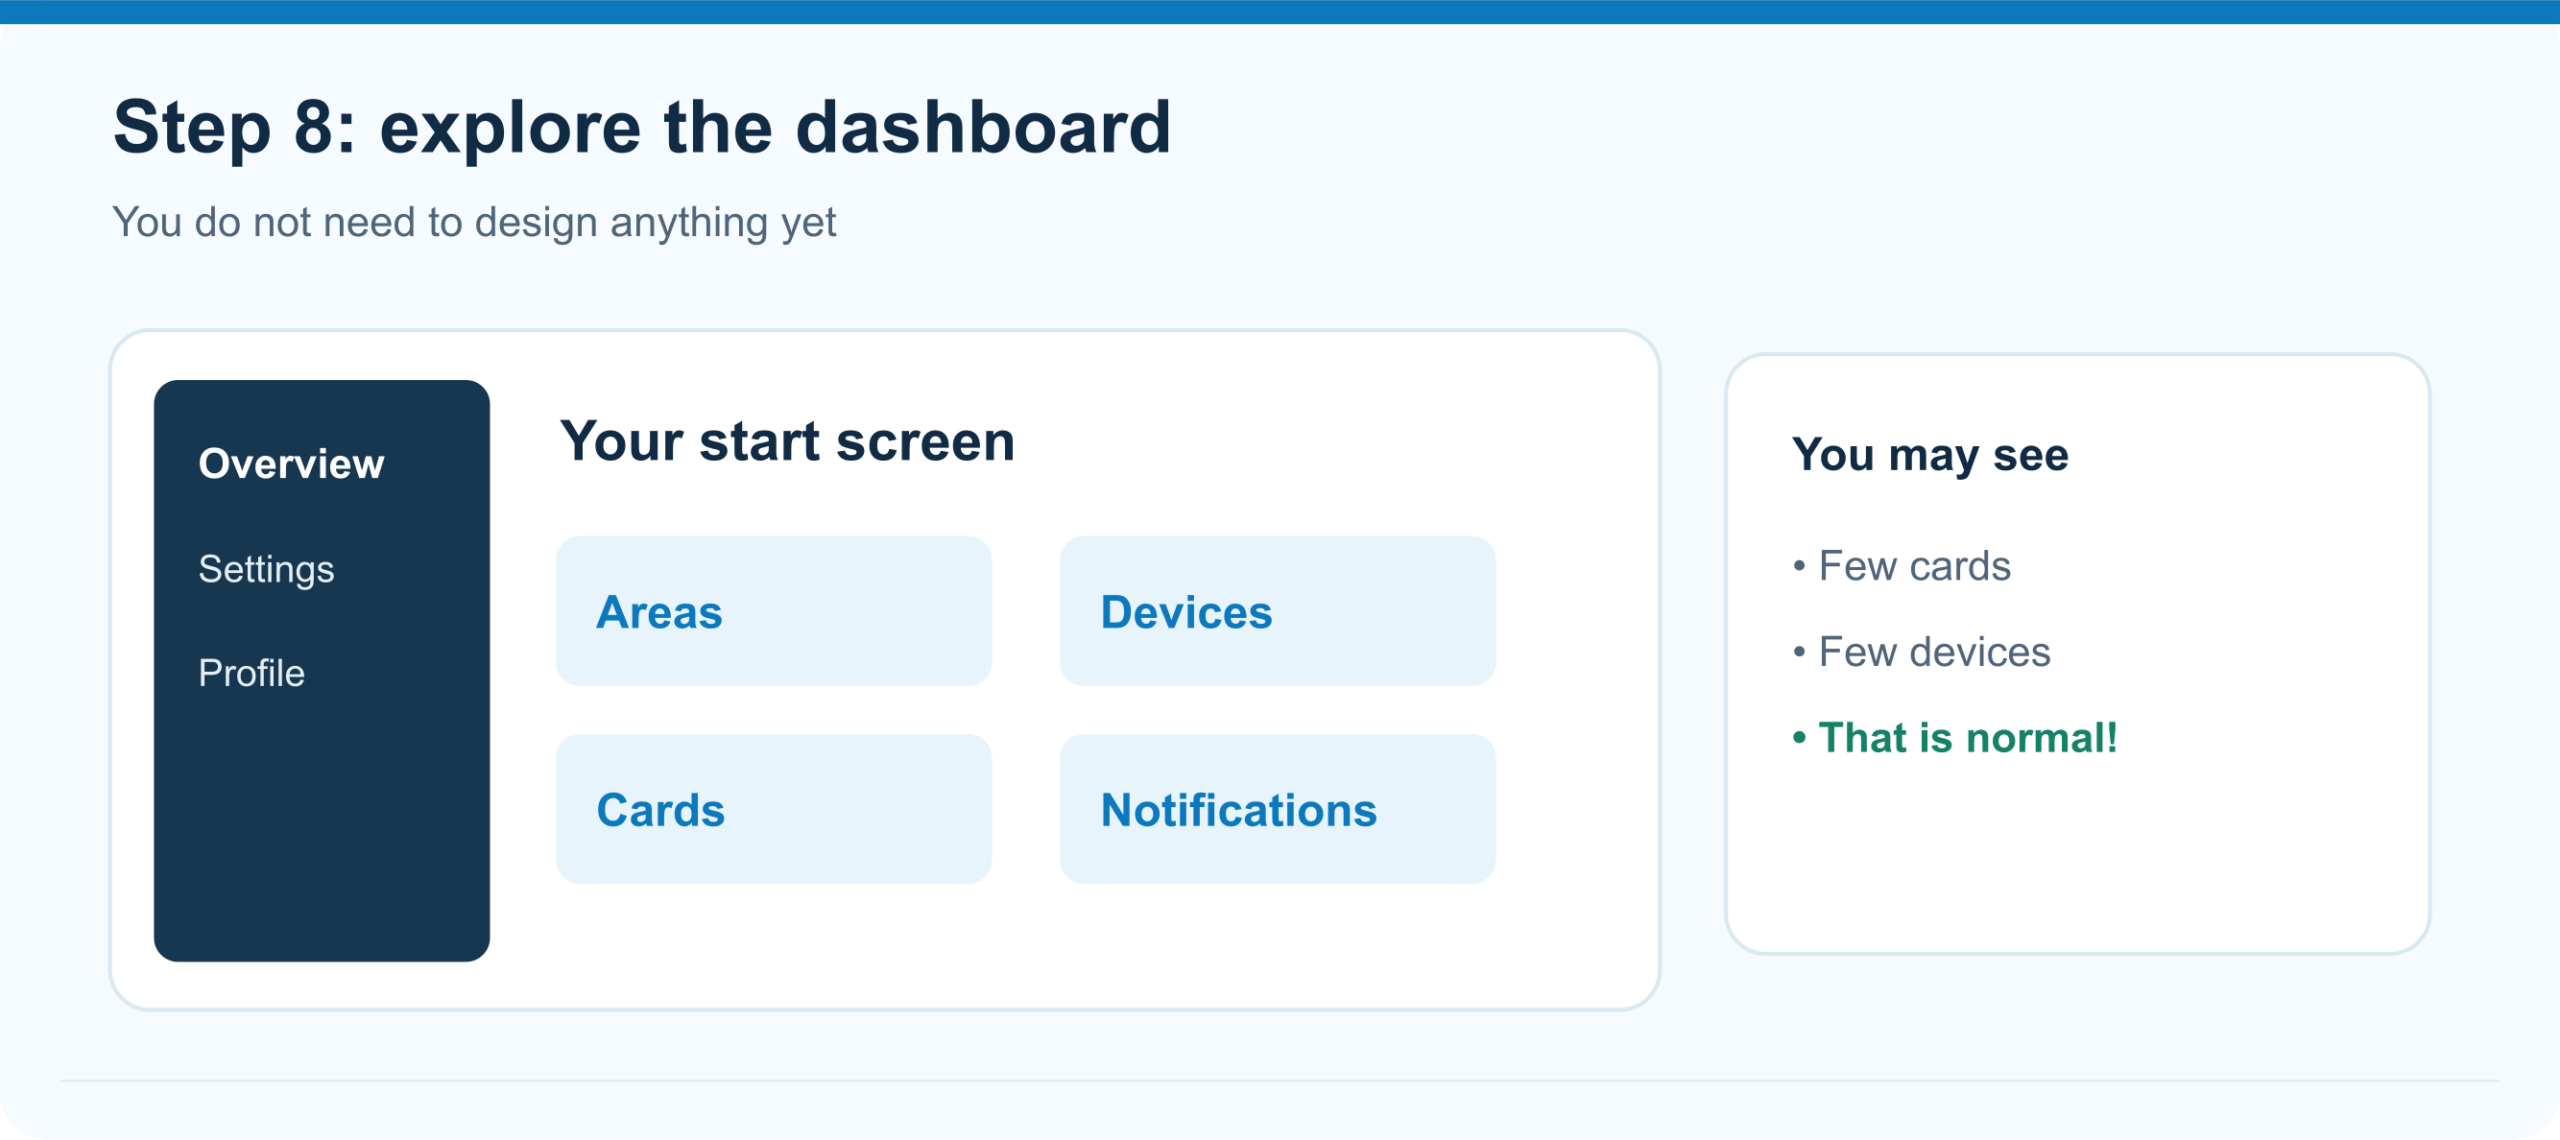
The components on your start screen depend on your installation.
How to do it:
- Click Overview in the sidebar.
- See which cards or components are present. The screen may include rooms, discovered devices and other built-in components.
- If possible, click a room or discovered device to see what Home Assistant shows.
- Return to Overview.
- Do not build a complete custom dashboard today. Add devices first; improve the controls later.
Why not design a dashboard immediately? Without devices, you do not yet know what you want to control or measure. It will be easier to create a dashboard based on things that actually work.
An in-depth guide to Sections, cards and dashboards is already on MechScript: Home Assistant dashboards for beginners.
Check: you can switch between Overview and Settings.
Extra tip — build a dashboard now? No. The built-in dashboard is sufficient for your first days. Set up your devices and rooms first.
Step 9 — Protect your account with an extra check
Your username and password protect your Home Assistant installation. But a password can eventually be leaked or guessed. Multi-factor authentication (MFA, also called 2FA) adds another step: besides your password, you may need a code from an authenticator app on your phone.
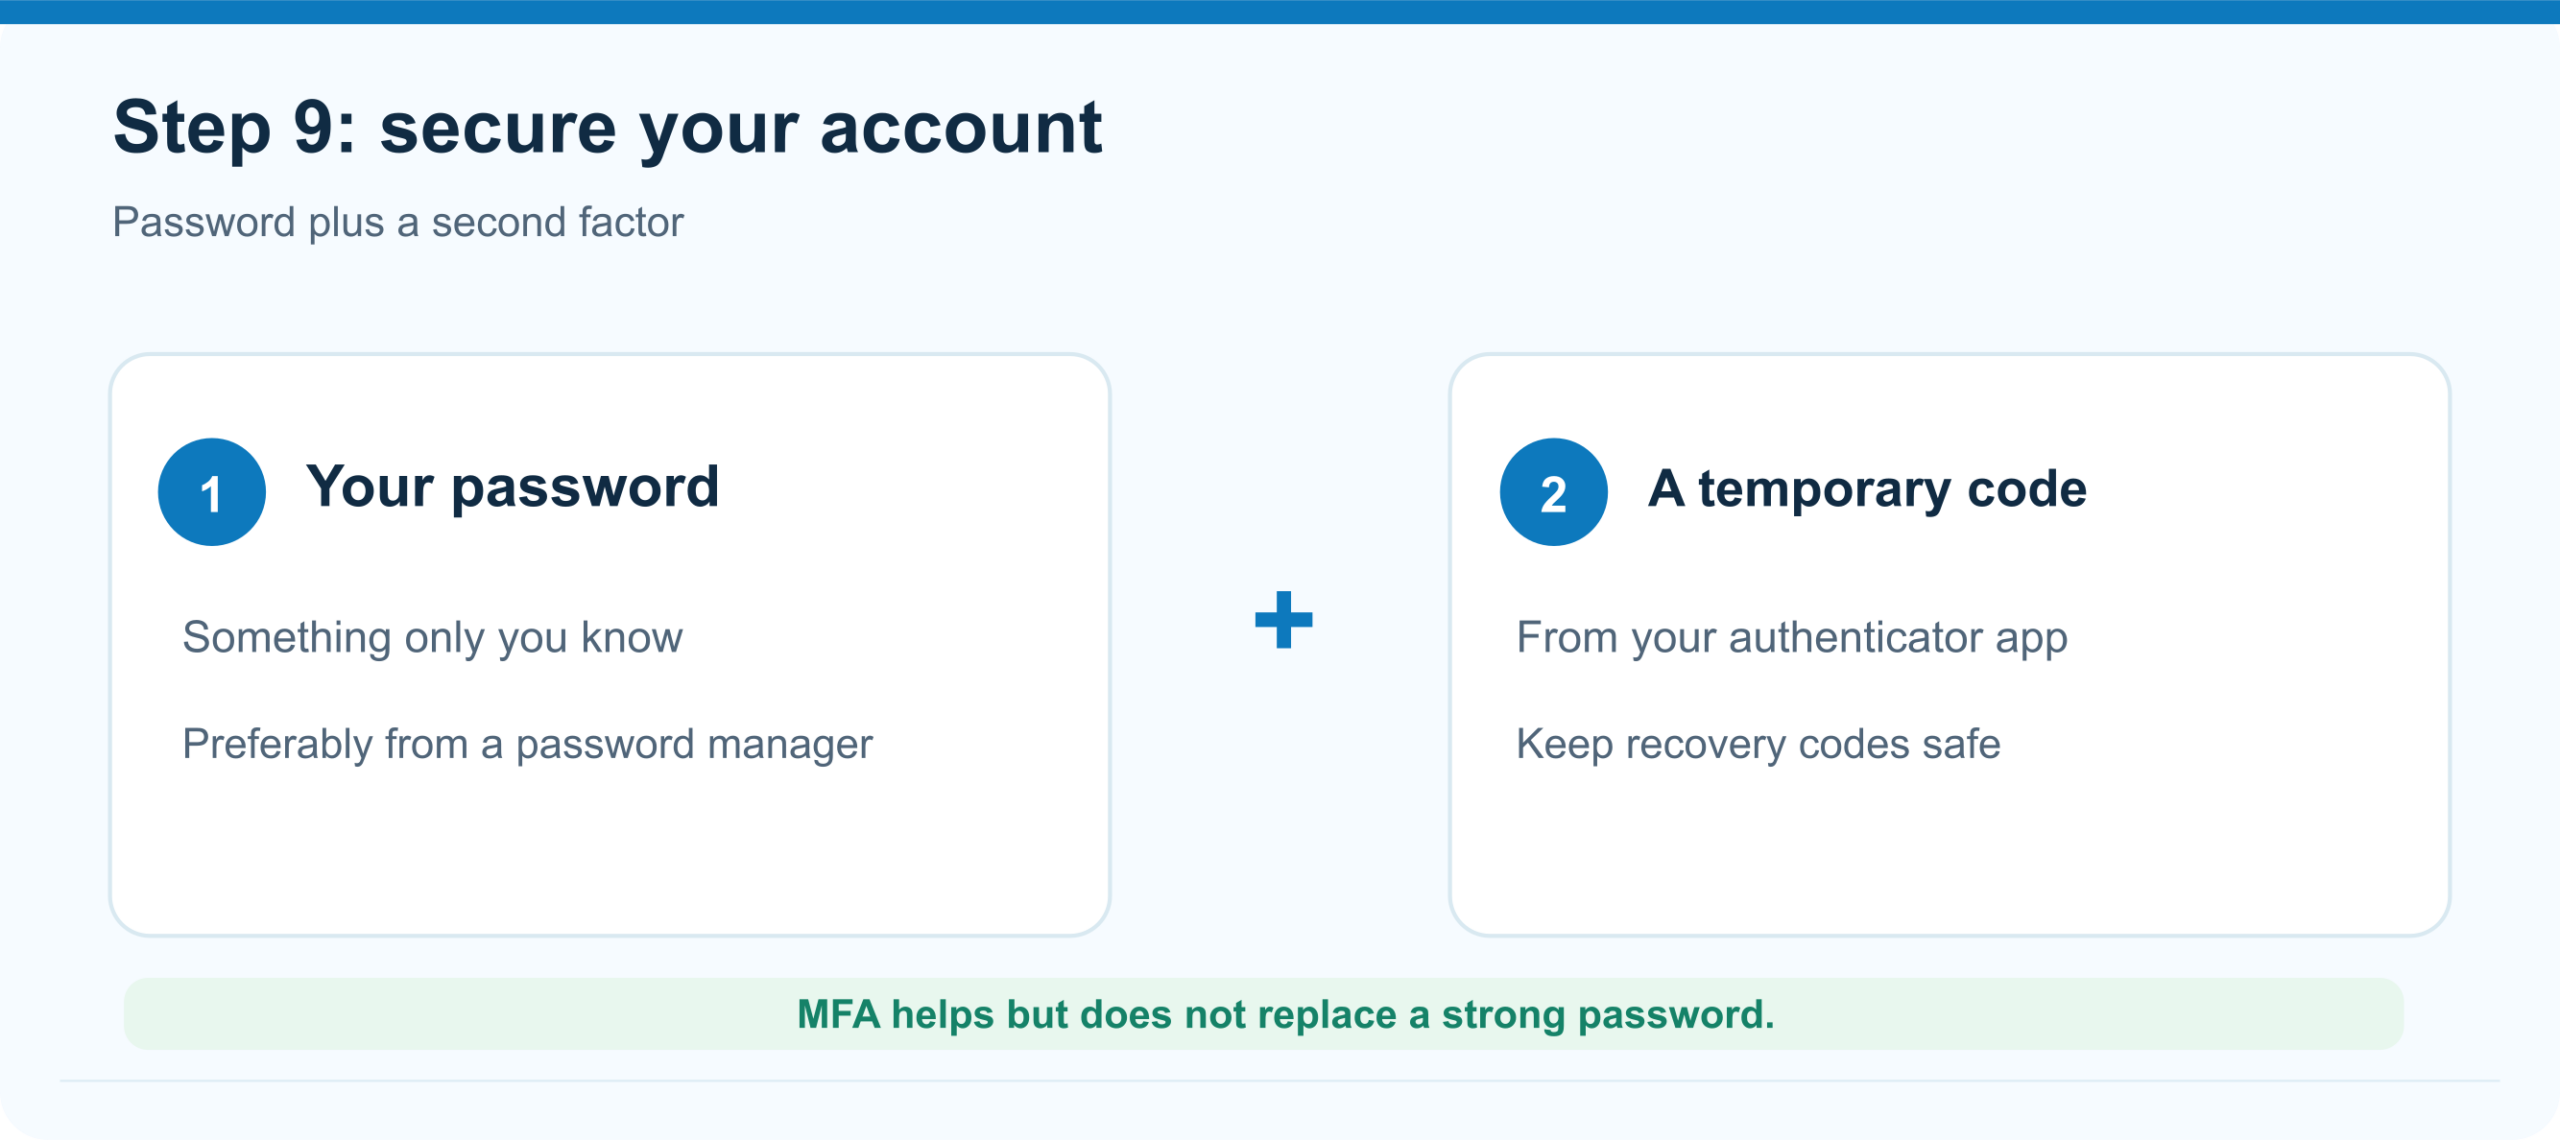
How to do it:
- Open your user profile and go to Security.
- Find Multi-factor authentication.
- Choose the authenticator method if it is available.
- Open a trusted authenticator app on your phone and scan the QR code or enter the secret key.
- Enter the temporary code shown by the app into Home Assistant to test the connection.
- Store recovery details or security keys carefully and check that you can sign in again with the extra code.
Important: do not photograph or publish the QR code or secret key. If you lose your phone without a recovery method, regaining access may be difficult. Arrange reliable backups and safe storage for your login details first.
Remote access is a separate subject. You do not need to open a port on your router for this beginner guide. Making Home Assistant available from the internet is a separate task; do it later with a suitable, secure method.
Check: you know where account security is managed. If you enabled MFA, a new sign-in with the extra code worked.
Extra tip — do you need a second device? Usually you use an authenticator app on your phone for the additional code. Keep any recovery methods in a safe place.
Step 10 — Find troubleshooting and system information
With a newly installed system, there is usually little you can break. Still, it helps to know where to look when something does not work.
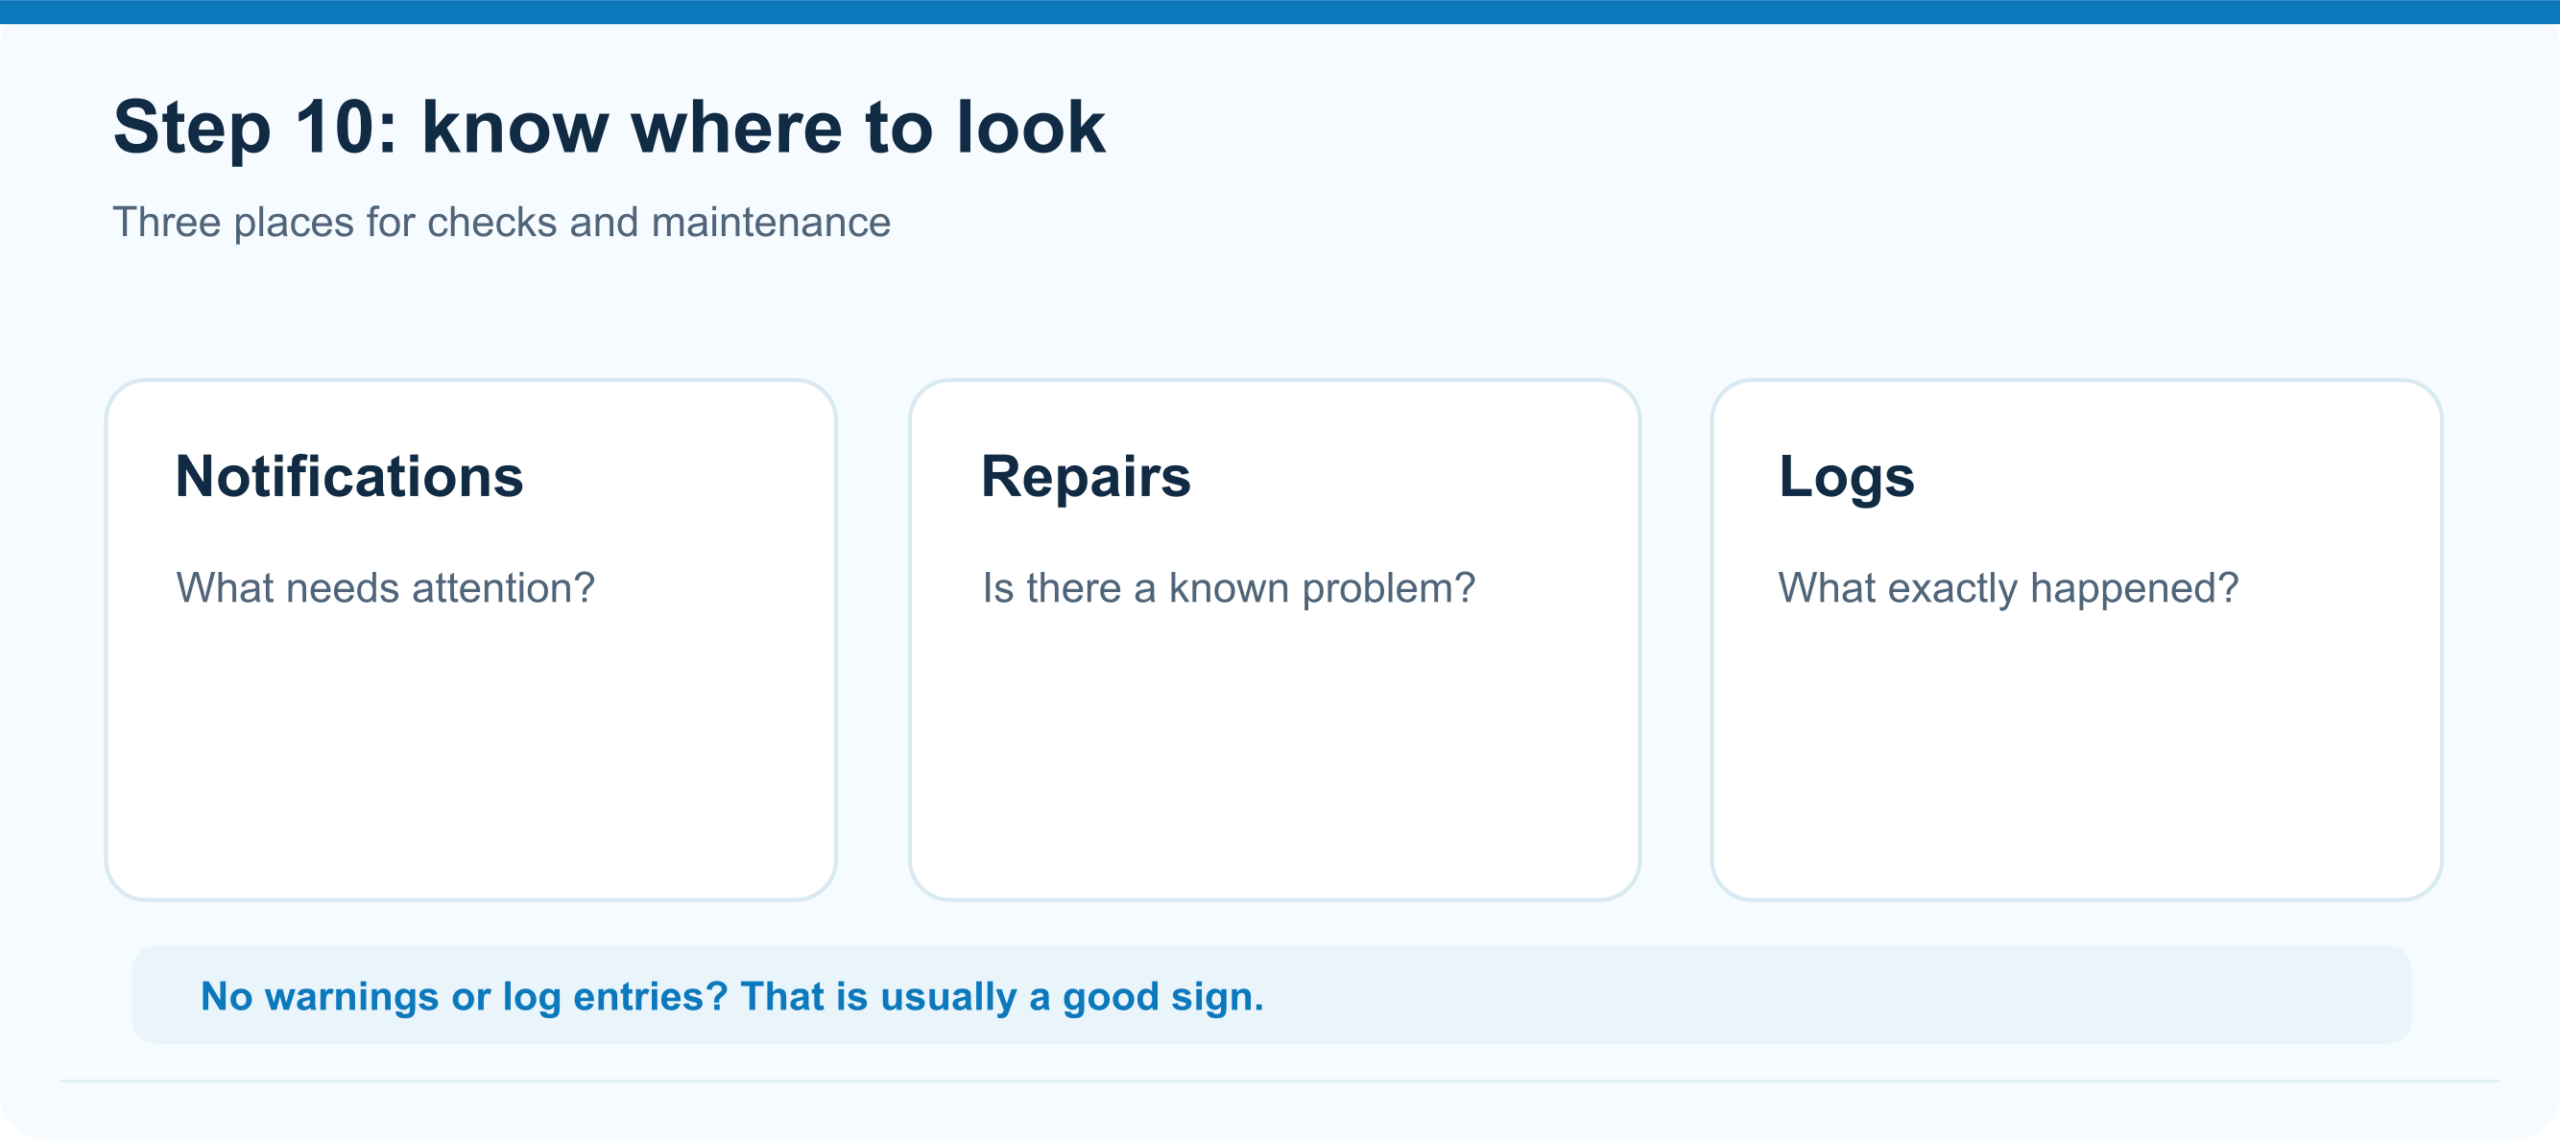
How to do it:
- Go to Settings → System → Repairs.
- See whether Home Assistant reports anything that needs attention. A notification does not automatically mean that everything is broken; read the details first.
- Then check Settings → System → Logs if you are investigating a technical problem. If everything works, you do not have to study the logs.
- Find your installed Home Assistant version in the system information if you need it. This is useful when asking for help later.
- Remember where Backups, Updates and Devices & services are. These are the key administration areas.
A good habit: change just one thing at a time. If something stops working afterwards, it is much easier to find the cause.
Check: you know where to find warnings, logs and updates.
Extra tip — seeing an error? Read its text first. If useful, take a screenshot without personal details and look up the exact message in the official documentation.
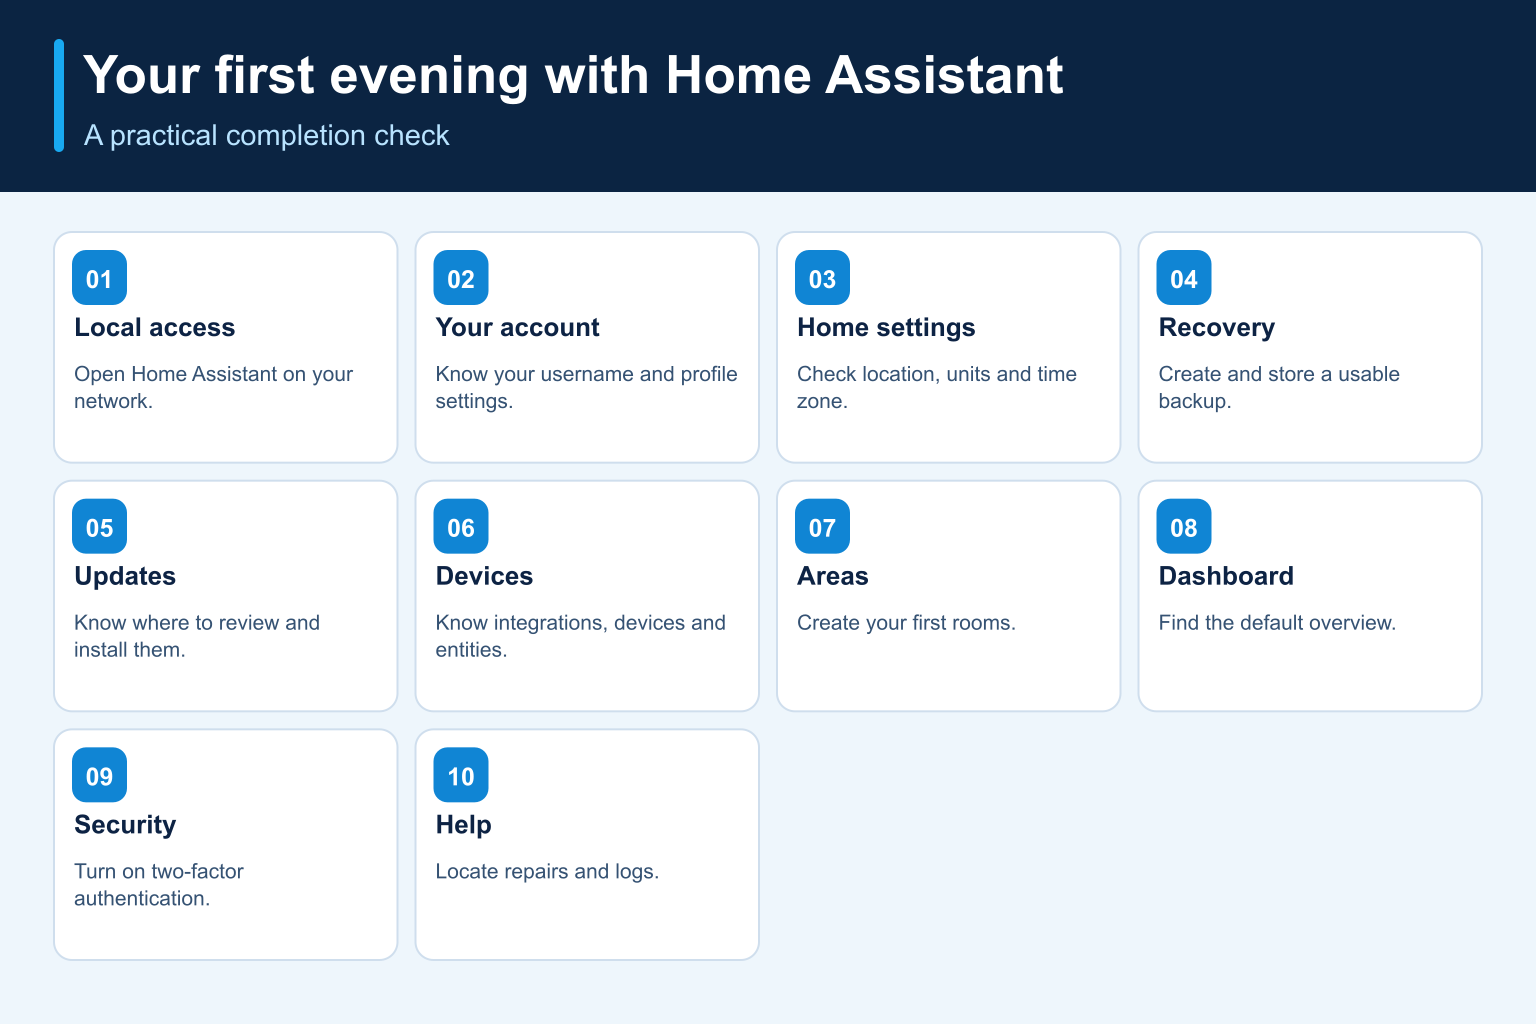
Your first evening with Home Assistant: final check
Go through this short checklist. You do not have to buy any extra equipment to complete it.
| Check | Done when… |
|---|---|
| Local access | Your bookmark opens Home Assistant on your own network. |
| Your account | You recognise your profile and can sign in. |
| Home information | Name, time zone and country are correct. |
| Backup | The first backup succeeded; the emergency kit is stored safely. |
| Updates | You know where to find them; any installation has finished. |
| Integrations | You know the difference between an integration, device and entity. |
| Rooms | You have created a few recognisable areas. |
| Dashboard | You can find the default view. |
| Security | You know where MFA is and have enabled it where appropriate. |
| Maintenance | You know where to find notifications, repairs and logs. |
If you have not finished everything: that is fine. You do not have to complete every setting in one evening. What matters most is that Home Assistant is reachable and your first backup is safe.
Five common beginner questions
Why is my dashboard so empty?
Because Home Assistant does not know many devices yet. This is actually a good starting point. Later, begin with one officially supported smart plug or lamp. Do not add ten devices at once.
Why do I see technical entity names?
For example:
sensor.woonkamer_temperatuur
These are entity IDs: internal names that Home Assistant uses to recognise functions and readings. You do not need to change or memorise them for this guide. A device's readable name matters more for now.
Do I need to install Zigbee, MQTT or HACS now?
No. Those are extensions for particular needs. You can learn a great deal and connect devices without them. Use them when you know why you need them.
Can I open Home Assistant from work or while travelling?
Not automatically. This guide covers use on your own home network. Never simply open port 8123 on your router. Safer options exist, such as a VPN, Home Assistant Cloud or a carefully configured Cloudflare Tunnel.
What if a button has a different name from the one in this article?
Home Assistant is actively developed. A menu may move or be renamed in a new version. Search for the English term or use Home Assistant's own search. Older videos also often say “Add-ons” where the current interface says “Apps”.
What is the best next step?
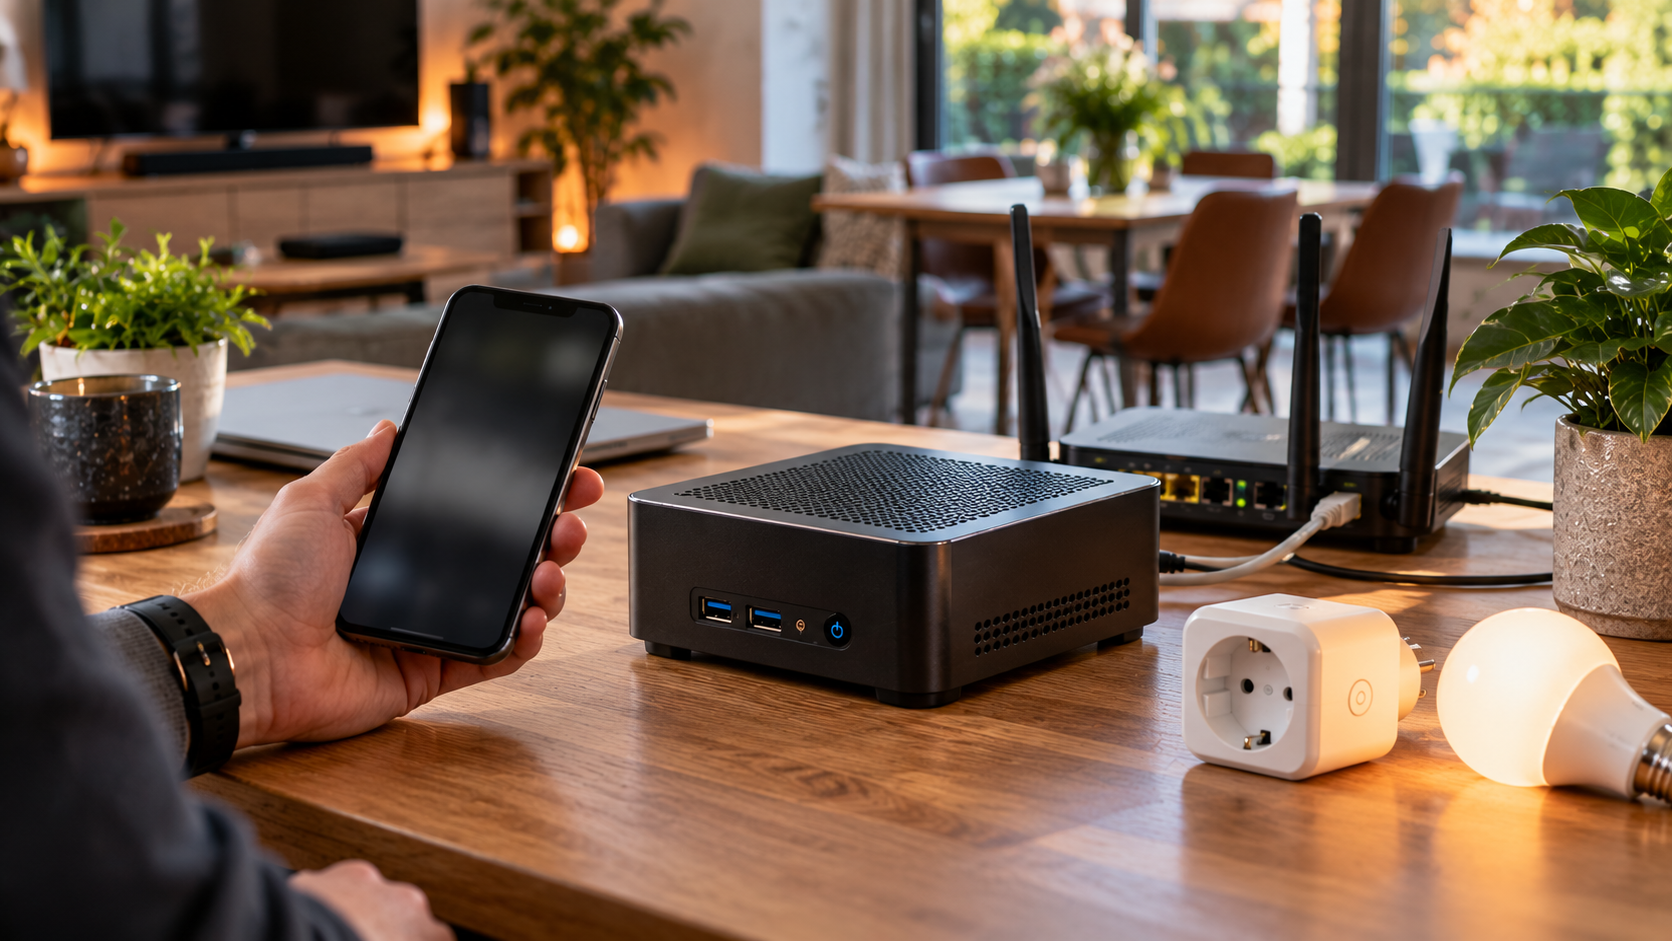
You now have a foundation. Start small: choose one simple device you already own, or a compatible smart plug. Add it, give it a clear name and place it in the right room. Once that works, you have your first real smart-home application.
Continue reading on MechScript:
- Home Assistant dashboards for beginners — once you have devices and readings.
- Scenes, scripts and automations in Home Assistant — when you want to automate your first controls.
- Install Home Assistant on a Raspberry Pi — for Raspberry Pi-specific settings.
- The MechScript knowledge base — more articles about sensors, helpers, security and energy use.
In short: installing Home Assistant was the first step. A good start means understanding what is running, organising your rooms, securing your account and arranging a backup. From there, you can expand the system one step at a time without losing track.
Sources and version
This guide was checked for content on 28 October 2026 against the official Home Assistant documentation and articles available on MechScript. The documentation showed Home Assistant 2026.10.4. Minor differences in button names and screen layout are possible.