
A practical guide for the LG OLED65GX6LA (2020 GX series), covering every important picture setting, SDR, HDR10, Dolby Vision, motion and HDMI.
An OLED television can deliver impressive picture quality, but its factory settings are not automatically the best settings for your living room. A store mode is designed to stand out under bright lighting. At home, a well-configured TV has a different job: black should remain black, faces should look natural, shadow detail should remain visible, and films should not turn into soap operas.
This guide uses the LG OLED65GX6LA as a concrete example. The goal is expressly not to adjust controls for every film or time of day. We choose one fixed all-round SDR configuration and explain how the TV automatically switches to HDR10 and Dolby Vision. These are technically separate picture modes, but you only need to configure each once. The starting points are based on RTINGS measurements, FWD’s test of the exact OLED65GX6LA and AVForums’ LG GX measurements. [1][2][3]
Want to start immediately? For ordinary TV viewing, select ISF Expert (Bright Room) and set OLED Light to 60, Contrast to 85, Brightness to 50, Sharpness to 10, Color to 50, Gamma to 2.2 and Color Temperature to Warm2. Turn off most artificial picture enhancers. The complete table is in chapter 6. These values are a carefully chosen starting configuration, not a calibration of your individual panel.
1. Why OLED works differently from LCD
In an OLED display, every pixel emits its own light. To produce absolute black, a pixel can be switched off completely. This is fundamentally different from a conventional LCD TV, which uses a backlight and liquid crystals to block that light. Even advanced LCDs with local dimming remain dependent on the size and control of their lighting zones.
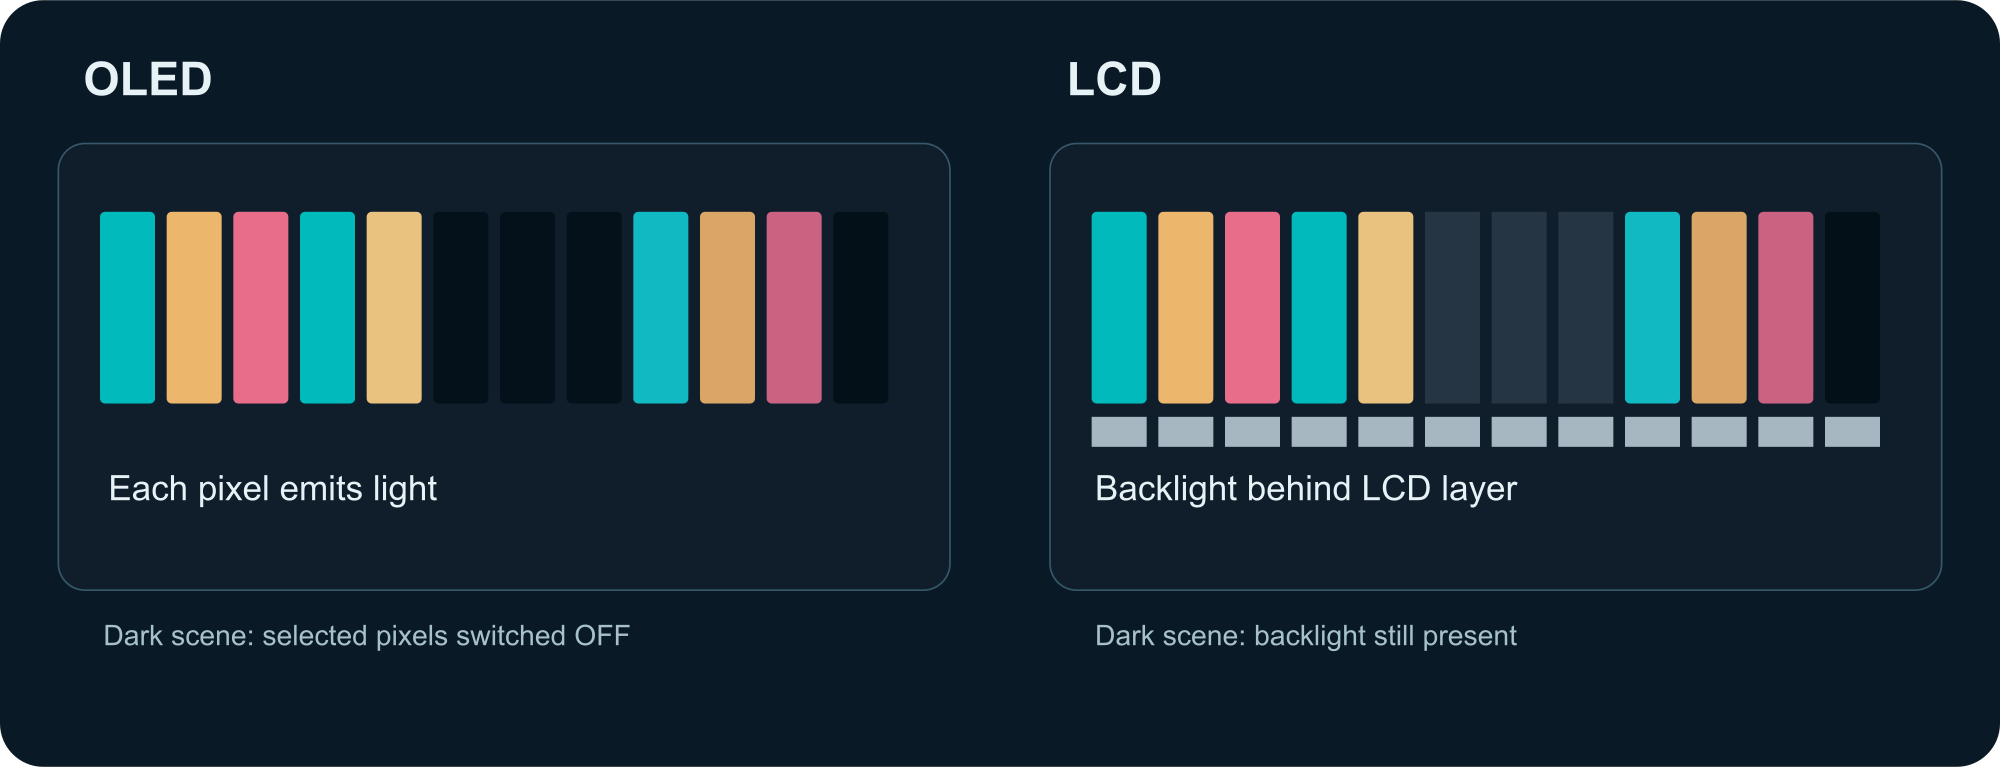
That brings three clear benefits: very deep blacks, high local contrast and a short pixel response time. But the last property also explains a familiar effect: camera pans in films shot at 24 frames per second can look noticeably stuttery on OLED. The panel conceals abrupt transitions less than a slower display does.
The GX has a 4K OLED panel, Alpha 9 Gen 3 processor, Dolby Vision, HDR10, HLG, Filmmaker Mode and HDMI 2.1 capabilities such as 4K at 120 Hz. It displays Dolby Vision but does not support HDR10+. Its screen performance remains strong, although modern top models have become considerably brighter. [2][3]
Brightness is never one fixed number
Laboratory tests usually measure maximum brightness using a white test window covering, for example, 10% of the screen. FWD measured approximately 754 cd/m² on such a 10% window and 144 cd/m² on a full-white image on its OLED65GX6LA. AVForums measured about 660 cd/m² on small HDR windows on a different 65GX sample. The difference does not make either test wrong: panel variation, measurement methods and conditions all matter. [2][3]
A full-white image demands a lot of power from the panel. Automatic Brightness Limiting, usually called ABL, therefore limits average light output across large bright areas. That is normal behaviour, not the same thing as a wrongly adjusted Brightness control.
2. Picture mode: the most important decision
Open the settings menu and you will find modes such as Vivid, Standard, Cinema, Filmmaker Mode and ISF Expert. Each uses a different combination of gamma, color temperature, sharpness and picture processing.
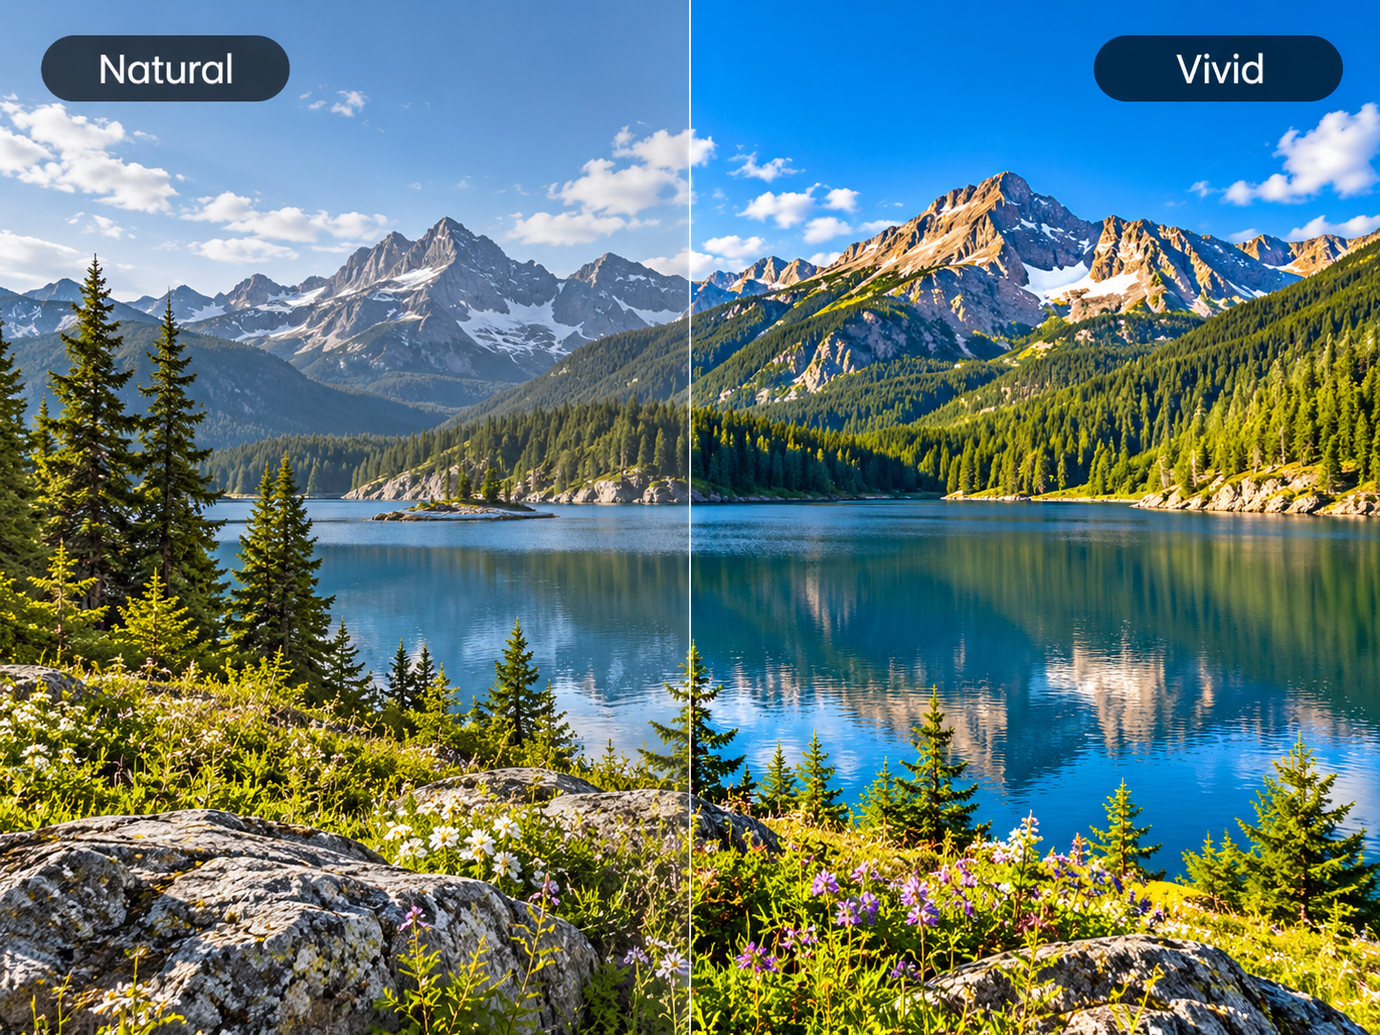
Vivid makes the picture look spectacular in a shop, with extra-intense colors, a cooler white balance and often exaggerated contrast. It is not a neutral starting point. Standard may look pleasant with mediocre TV sources but does not consistently aim for reference colors. Filmmaker Mode tries to limit artificial processing, which can be accurate but may look too dark during the day.
RTINGS recommends Expert (Dark Room) first for GX SDR viewing and considers Expert (Bright Room) almost as accurate. FWD found the ordinary Cinema mode excellent for everyday use in a living room with ambient light. Both recommendations point in the same direction: use an accurate, restrained preset instead of the bright store setting. [1][2]
If you want to configure the TV once and leave it alone, my choice is ISF Expert (Bright Room). It is a reasonable compromise between daylight and evening viewing. The deviation from a fully dark reference environment is deliberate: the most accurate lab setting is not very useful if you cannot see shadow detail while having dinner.
3. What do OLED Light, Brightness, Contrast, Gamma and Color actually do?
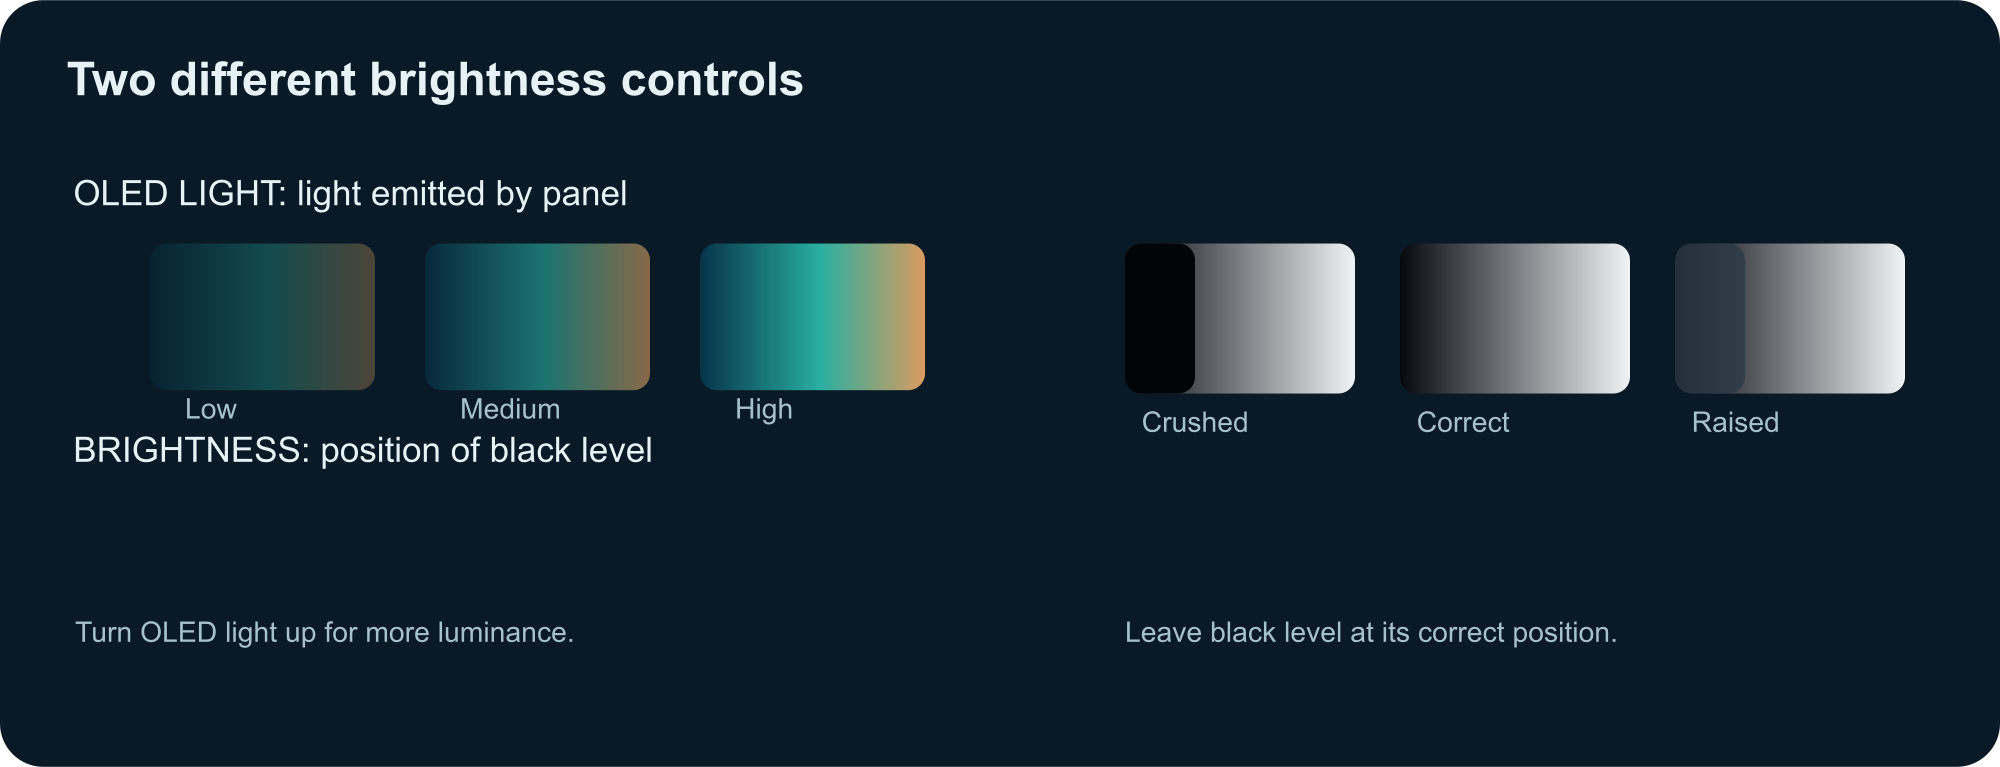
OLED Light: how much light the panel emits
OLED Light changes the panel’s light output. With SDR, you can adjust it to suit your room without immediately shifting the shadow and white limits. A setting of 60 is a practical middle ground here. If the room is always very sunny, 70–80 may be more comfortable; a permanently darkened room may call for less. A numeric setting does not guarantee a particular number of nits: the actual output also depends on picture mode and Peak Brightness.
Brightness: effectively the black level
On this LG, Brightness is not simply a second light-output control. It substantially shifts the lower end of the video signal. Too low causes black crush: dark-grey clothing, hair or walls collapse into black. Too high causes raised blacks: black turns dark grey. That makes 50 a sensible starting point. Do not use this control to make the screen emit more light during the day. [1]
Contrast: what happens at the white end?
Contrast affects video-signal processing near the top of the range. Excessively high SDR values can merge subtle bright details, such as clouds or folds in a white shirt. Too low a setting makes the image look flat. 85 is a well-supported SDR baseline for the GX; with HDR10 the TV normally uses 100. The two formats should not simply receive the same Contrast value. [1]
Gamma: why 2.2 works well in a living room
Gamma determines how midtones between black and white appear. 2.2 is a good choice for a living room with changing ambient light: midtones remain visible. BT.1886 usually suits a darkened viewing environment better and can make darker midtones look deeper.
This does not change the intrinsically black OLED pixel, but it does change the distribution of light and dark grey. If you want one fixed setting, there is no need to agonize: choose Gamma 2.2.

Color 50, Tint 0 and Color Gamut Auto
The Color control adjusts saturation. A value of 60 or 70 may make nature documentaries look impressive, but it makes skin tones and brand colors less reliable. Start at 50 and leave Tint at 0. Color Gamut Auto lets the TV choose the appropriate gamut for incoming material. Forcing a wide gamut permanently with SDR can exaggerate colors unnecessarily.
Warm2 and D65: why correct white can initially look yellow
Most film and television productions are assessed around the D65 white-point standard. On the GX, Warm2 is generally much closer to that target than cooler settings. After years of watching Standard or Vivid, Warm2 may initially look yellowish. That does not automatically mean it is inaccurate. Give your eyes a few days to get used to more neutral whites and skin tones. [1][3]
Sharpness: a higher number does not create more detail
Sharpness 10 is RTINGS’ starting value for this LG generation and the value FWD recommended for the GX. With native 4K, you can compare 0 with 10: if you see white outlines around dark letters or objects, there is too much sharpening. An aggressive setting creates no real extra resolution; it mainly emphasizes existing edges and sometimes compression noise. [1][2]
4. Picture enhancers: when off, and when useful?
Modern televisions contain dozens of algorithms. Their presence does not mean they should be active for every program. The right question is: does this function correct a visible defect in the source, or alter an already good picture?
| Function | Fixed-setting advice | Explanation |
|---|---|---|
| AI Picture Pro | Off | Avoid variable, hard-to-predict picture processing. |
| Dynamic Contrast | Off | Can change tonal relationships from scene to scene. |
| Dynamic Color | Off | Boosts colors even when the source is already correct. |
| Super Resolution | Off | May help poor SD material but also accentuates edges. |
| Noise Reduction | Off | Can erase fine texture in good HD/4K sources. |
| MPEG Noise Reduction | Off | Mainly designed for blocking and compression artifacts. |
| Smooth Gradation | Low | Can soften visible color banding; Off is purer for clean sources. |
| Energy Saving | Off | Prevents an eco setting changing picture luminance. |
| AI Brightness | Off | No automatic sensor correction in the chosen fixed SDR profile. |
| Eye Comfort Mode | Off | Prevents unintended warmer color temperatures. |
Setting Smooth Gradation to Low is a deliberate all-round exception: many streaming sources show some banding in cloudy skies, mist or dark backgrounds. Processing can help, but it is not a free improvement. If you see lost detail, choose Off instead. FWD likewise advises low settings for several filters on its GX test sample; RTINGS uses a more neutral test baseline. [1][2]
Practical example: a heavily compressed football broadcast shows blocking around the players. More Sharpness makes the blocks more obvious. MPEG Noise Reduction on Low might improve that source, but if you want one permanent profile, it makes more sense not to pass all your good 4K content through that filter. This is a trade-off between correcting a poor source and maintaining consistency.
5. SDR, HDR10 and Dolby Vision: one viewing experience, three configurations
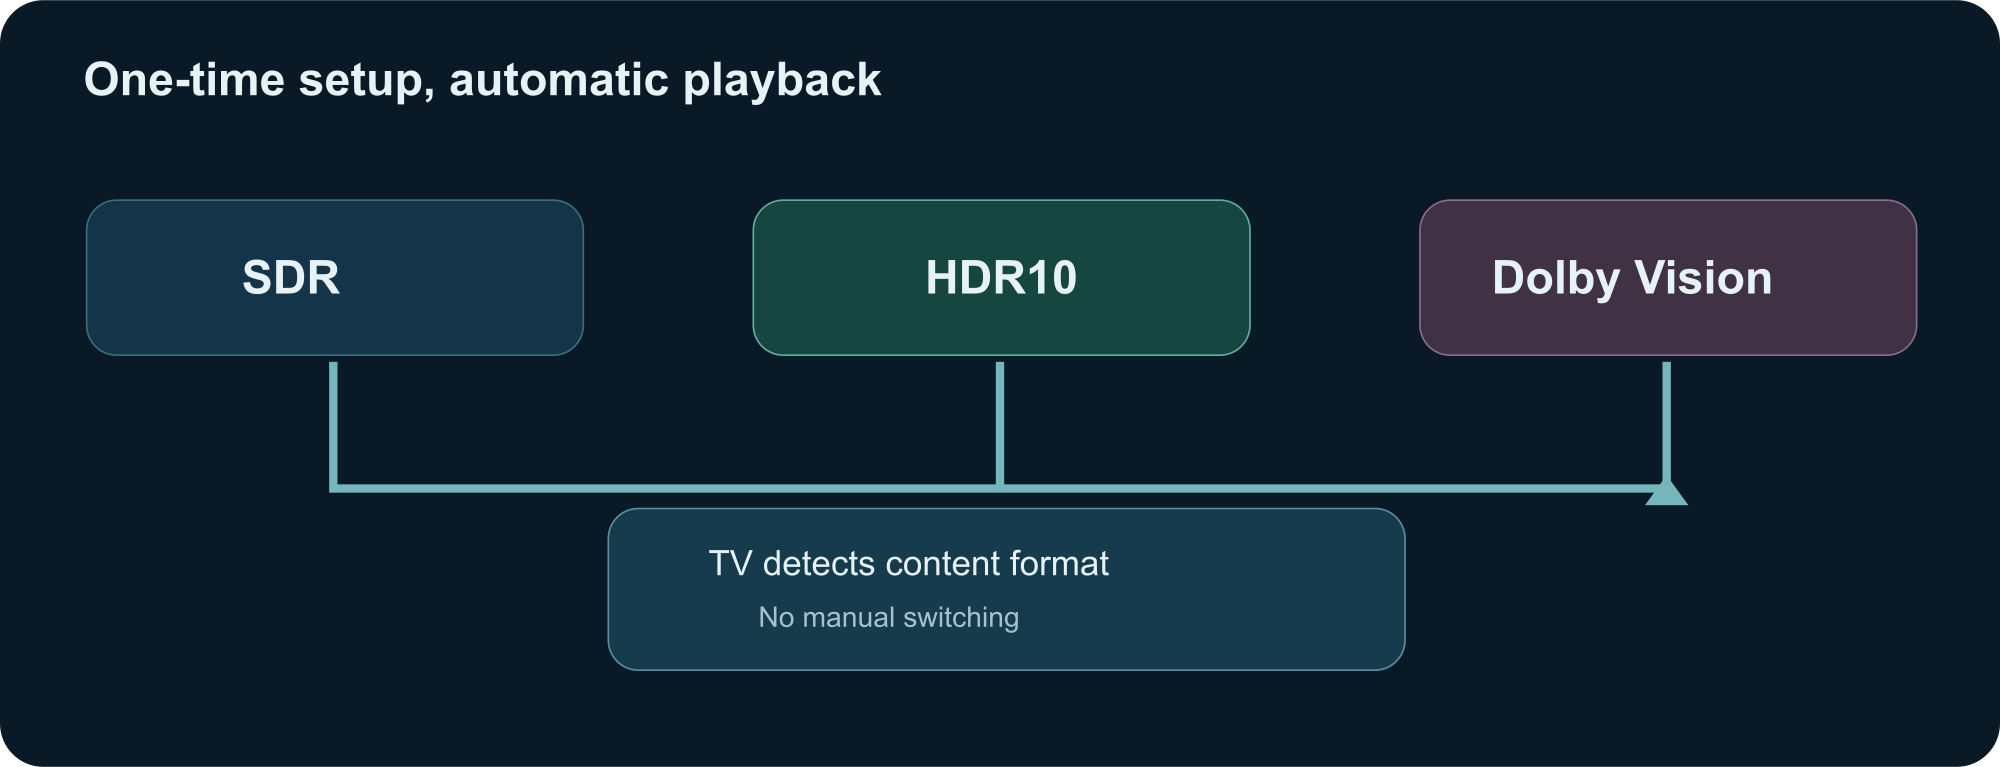
The TV cannot use one identical set of numeric picture values for SDR, HDR10 and Dolby Vision. HDR uses different signal-transfer functions and a wider luminance range. Dolby Vision adds dynamic information. The television identifies the source format and automatically chooses the picture mode you configured earlier. That still gives you a fixed day-to-day viewing experience. [1]
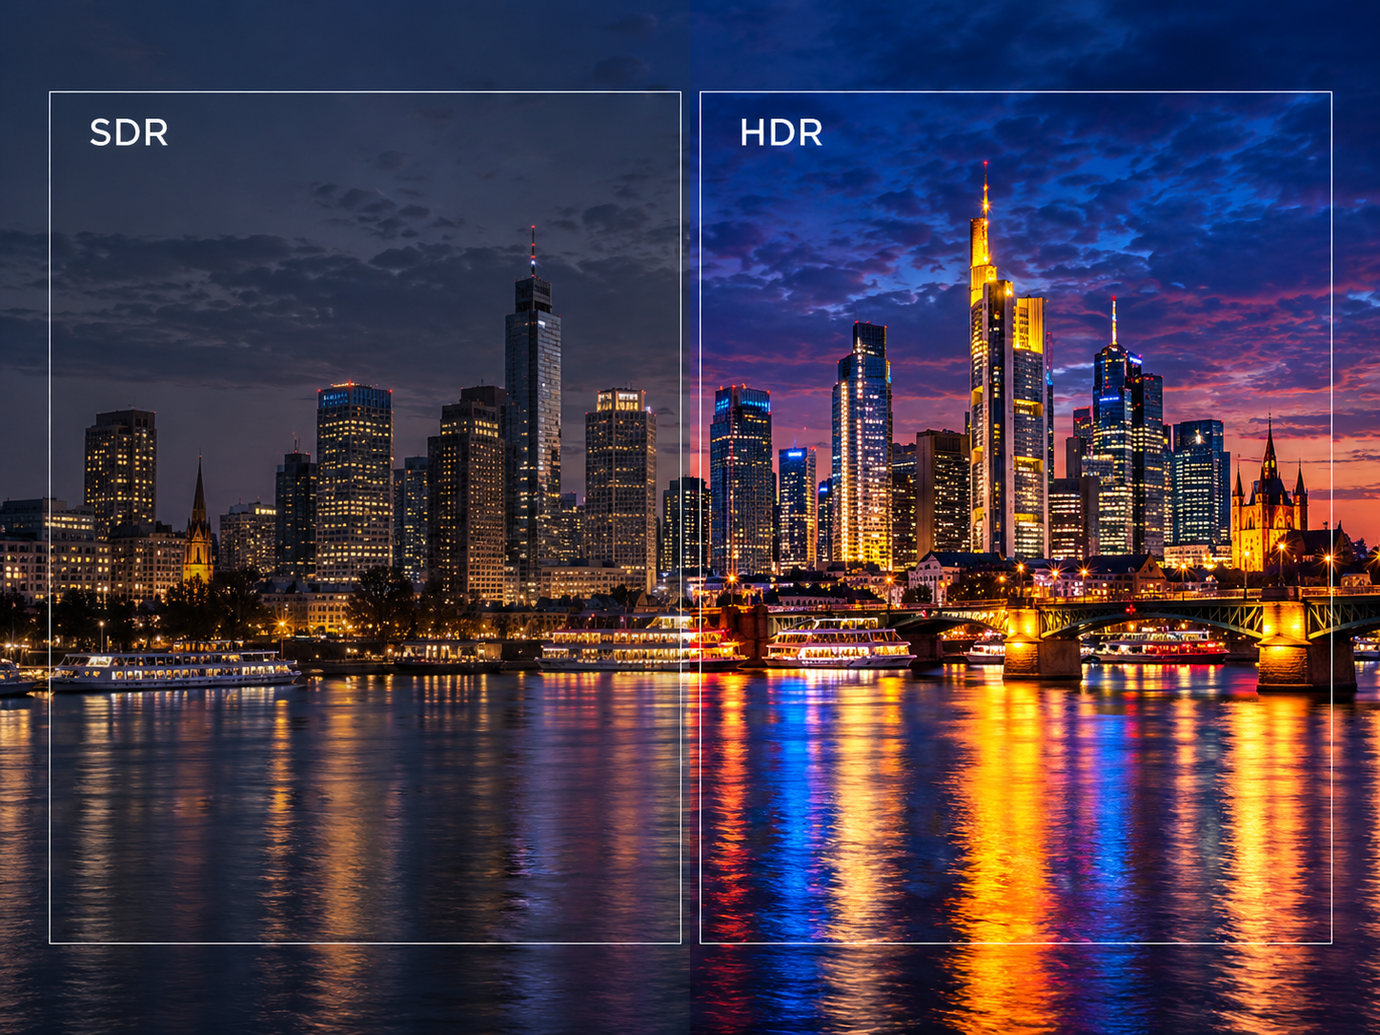
SDR: ordinary television and much streaming video
SDR commonly uses Rec.709 and conventional gamma transfer. Contrast 85, Color 50, Gamma 2.2 and Warm2 are sensible starting points. Choose OLED light output to suit your living room. Here, 60 is the fixed middle ground.
HDR10: let the panel use its available light
HDR10 uses the PQ transfer function and static metadata. On this GX, OLED Light normally switches to 100 for HDR content. Choose HDR Cinema, set Peak Brightness to High if that option is available, and initially leave the other core values at their HDR defaults. Copying the SDR OLED Light value of 60 into HDR would throw away capability. [1][3]
Dynamic Tone Mapping deserves separate attention. It processes HDR10 scenes dynamically to fit detail, brightness and color impression within the panel’s capabilities. Off is my fixed preference when predictable, restrained presentation matters most. On may subjectively look better with difficult HDR masters; FWD describes that positively. Off is not a universal law, but it is an understandable choice if you do not want endless readjustment. [2][3]
Dolby Vision: the source and TV coordinate presentation
With Dolby Vision Cinema, preferably leave the mode’s specific defaults in place. Do not automatically copy all the SDR values—85, 60 and 2.2—across: Dolby Vision uses a different processing path. Cinema is usually the most accurate baseline. Cinema Home can look lighter on a sunny afternoon and, together with AI Brightness, can enable Dolby Vision IQ. RTINGS, however, also found less favourable dark scenes in Cinema Home on their GX sample. [1][8]
HLG, used for some television and sports broadcasts, is another HDR format. Precise mode names and available options may differ by firmware and source. The GX does not support HDR10+; with some HDR10+ sources the player may fall back to HDR10 if that base layer is present.
6. Fixed settings for the LG OLED65GX6LA
Together, the values below form my all-round configuration for a normal living room, used in both daylight and the evening. This table is not a laboratory calibration of your individual TV. Panel variation, viewing distance, incoming light and personal motion preferences still matter.
6.1 General settings
| Setting | Fixed choice |
|---|---|
| Energy Saving | Off |
| AI Picture Pro | Off |
| AI Brightness | Off |
| Eye Comfort Mode | Off |
| Motion Eye Care | Off |
| Aspect Ratio | Original / 16:9 |
| Just Scan | On where available |
| Screen Shift | On |
| Adjust Logo Brightness | Low |
6.2 SDR — the main mode for everyday viewing
| Setting | Fixed choice |
|---|---|
| Picture Mode | ISF Expert (Bright Room) |
| OLED Light | 60 |
| Contrast | 85 |
| Brightness | 50 |
| Sharpness | 10 |
| Color | 50 |
| Tint | 0 |
| Gamma | 2.2 |
| Color Temperature | Warm2 |
| Color Gamut | Auto |
| Peak Brightness | Off |
| Dynamic Contrast / Dynamic Color | Off |
| Super Resolution | Off |
| Noise Reduction | Off |
| MPEG Noise Reduction | Off |
| Smooth Gradation | Low |
| Black Level | Auto, if available |
| Real Cinema | On, if available |
| TruMotion | Cinema Clear |
| OLED Motion Pro | Off |
Why not set Peak Brightness to High for SDR? This function is not the same as OLED Light and can change the luminance characteristics. Off is a solid starting point for restrained SDR presentation. If the room is permanently extremely bright, you can raise OLED Light to 70–80 once or assess a low Peak Brightness setting. That is a deliberate departure from reference presentation, not something you need to change daily. AVForums explicitly noted that Peak Brightness Low or Medium can provide more SDR light on the GX. [3]
6.3 HDR10 — configure once
| Setting | Fixed choice |
|---|---|
| Picture Mode | HDR Cinema |
| OLED Light | 100 |
| Contrast | 100 |
| Brightness | 50 |
| Sharpness | 10 |
| Color | 50 / mode default |
| Color Temperature | Warm2 |
| Peak Brightness | High |
| Dynamic Tone Mapping | Off |
| Dynamic Contrast | Off |
| Super Resolution / noise filters | Off |
| Real Cinema | On, if available |
| TruMotion | Cinema Clear, if available |
| OLED Motion Pro | Off |
These values correspond to the HDR Cinema baseline used by RTINGS and AVForums. There is no need to force options that are greyed out or locked. [1][3]
6.4 Dolby Vision — configure once
| Setting | Fixed choice |
|---|---|
| Picture Mode | Dolby Vision Cinema |
| OLED Light / Contrast | Leave standard HDR values in place |
| Brightness | Default, usually 50 |
| Color / Tint | Mode default |
| Color Temperature | Warm2, if available |
| Artificial noise filters | Off, if adjustable |
| TruMotion | Cinema Clear or Off |
| AI Brightness | Off |
HDR and Dolby Vision options appear only while the TV is receiving that actual signal. Play suitable content before configuring these two modes. Afterwards, use Apply to All Inputs where available; different signal types still retain their own settings. [1]
7. TruMotion: smooth movement without the soap-opera effect
Films are usually 24 fps; European television is often 25 or 50 fps; sports may be supplied at 50 or 60 fps. A fast OLED pixel stops showing the previous frame almost immediately. That reduces pixel smearing, but it can also make the discrete jumps of 24 fps more noticeable.

Real Cinema helps the TV process film cadence correctly, for example by avoiding troublesome 3:2 judder where applicable. TruMotion goes a step further and can calculate intermediate frames. Camera movement can then look smoother, but artifacts may appear around fast objects, subtitles and the edges of people.
On LG televisions, De-Judder (for low frame rates) and De-Blur (for higher frame rates) are particularly relevant. In User mode, you can set them separately. Cinema Clear is my fixed middle ground: often fewer visible jumps without the maximum interpolation of Smooth. For purely cinematic viewing, Off is even closer to the original source. [1][2]
OLED Motion Pro is different: it uses black-frame insertion (BFI). This can improve motion clarity, but darkens the picture and can cause flicker. For one everyday profile, leave it Off. Do not enable several strong motion-processing features at once unless you know which specific problem you are trying to solve.
8. HDMI, streaming, TV set-top boxes and gaming
Streaming apps on the television
Built-in apps such as Netflix, Disney+ and YouTube are processed internally. The content format determines whether the TV uses SDR, HDR10 or Dolby Vision. A 4K subscription does not mean every title contains HDR; conversely, an HDR badge in an app can depend on the title, playback device and subscription.
KPN/Ziggo and external media players
An HDMI set-top box often outputs a fixed selected video format. If a device always outputs HDR, for example, it may convert ordinary SDR content into an HDR container before the TV receives it. Colors and brightness may then look different from the built-in apps. Where possible, select original, match dynamic range or match frame rate so the source passes through the correct signal type. The exact setting name varies by device.
Compatible HDMI devices may require HDMI Ultra HD Deep Color to be enabled per port. If an older device suddenly becomes unreliable, check that setting. For a PC input, the PC label is useful for 4:4:4 chroma and clear small text. [1]
RGB range and black level
A device may output a digital video signal in limited or full range. When source and TV do not match, blacks can look washed out or shadows can become crushed. Choose Auto for Black Level when it works reliably. If you need to set it manually, make sure both ends use the same range. Do not raise Brightness to disguise a mismatch.
Consoles and PCs: a justified technical exception
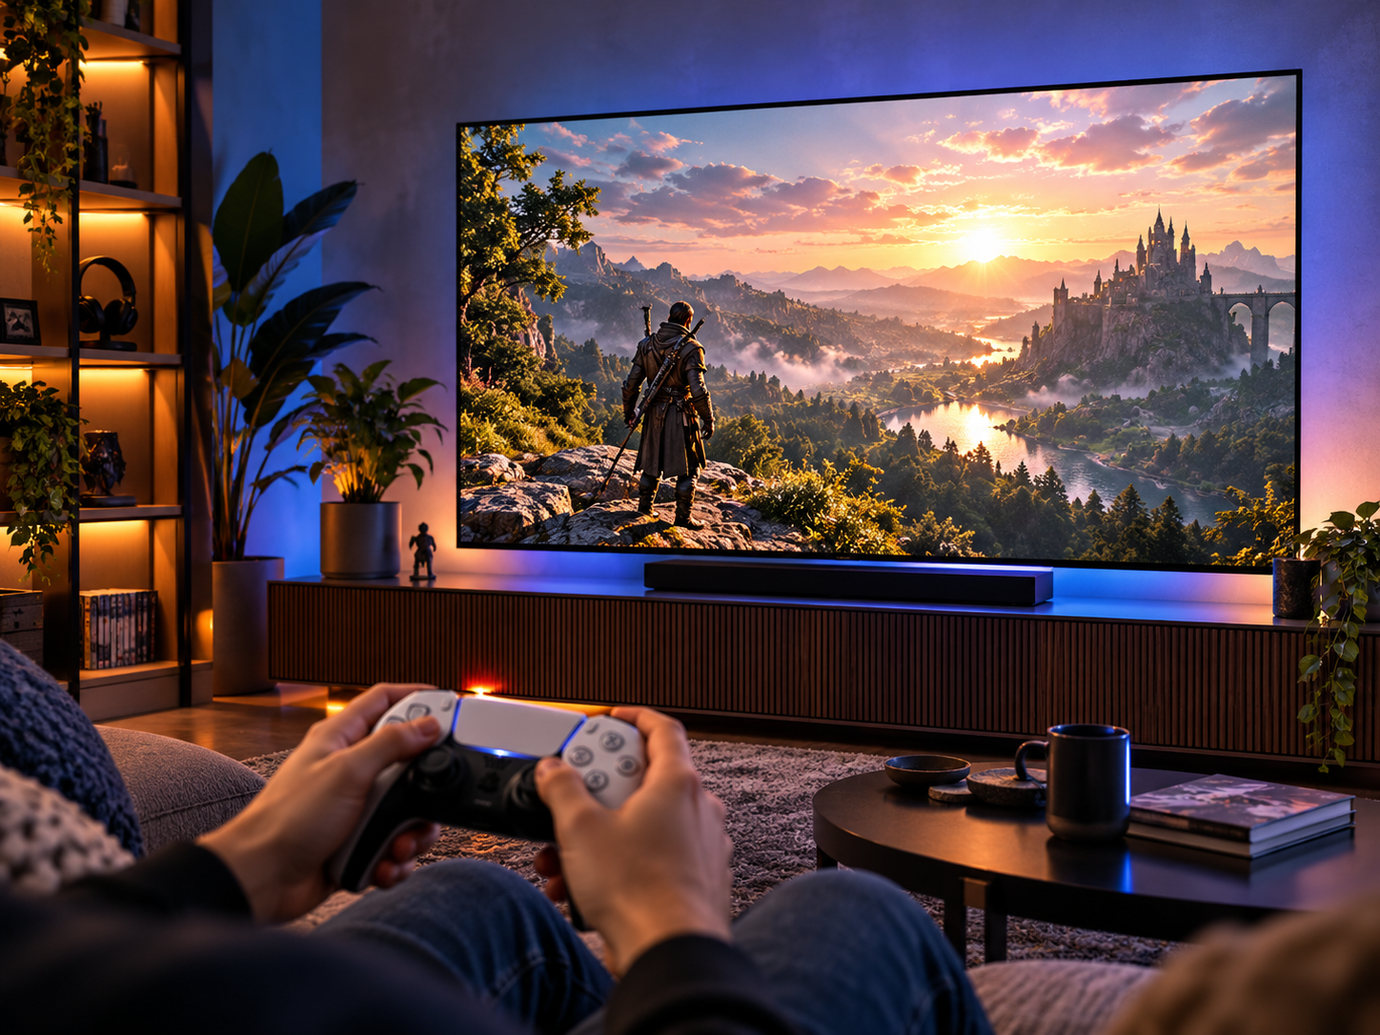
Games need low input lag. A console with ALLM/Instant Game Response should therefore switch automatically to Game. The GX supports 4K120, VRR and HGiG. With HDR games, HGiG is a sensible starting point, but run the console’s HDR calibration only after enabling HGiG on the TV. Game is not the logical standard mode for films. [1][2]
The GX generation can show raised black levels or flicker in dark VRR scenes. LG issued a partial adjustment option; do not randomly change dark-area corrections unless the problem actually occurs. [7]
9. Caring for an OLED: protection without panic
Temporary image retention means part of a previous image remains visible for a while. Permanent burn-in is uneven pixel wear and does not disappear after an ordinary restart. Risk depends mainly on prolonged, repeated display of the same bright static elements, such as channel logos, game HUDs or PC taskbars.
The GX has protective features. Screen Shift moves the image subtly and can spread local load. Adjust Logo Brightness dims detected fixed logos; Low is a good compromise. The TV also runs automatic compensation cycles after sufficient use and once it is in standby. Therefore, do not routinely disconnect it from mains power after every viewing session. [1][4][5]
Manual Pixel Refresher is not a periodic cleaning function to run every week just in case. Let the automatic routines work, and follow an on-screen prompt or LG’s instructions only when there is a real problem. For webOS 5.0, LG gives the path All Settings → Picture → OLED Screen Saver → Pixel Refresher; menu wording may vary by language. [4][5]
One further warning: some online tips recommend disabling automatic panel protection in a service menu. I would not do that. You would trade a potentially small brightness benefit for greater panel-wear risk and unwanted side effects.
10. How to check settings without calibration equipment
Professional calibration uses a colorimeter, test generator and specialist software. Without that equipment, you can still recognize mistakes, but cannot determine exact D65 or gamma deviations. Be cautious with shared two-point or 22-point white-balance values taken from someone else’s TV. Even two GX sets can need different corrections. [1][3]
Test 1 — dark film scenes: find a scene with dark clothing and walls that are not completely black. You should see texture without truly black areas looking grey. Only move Brightness away from 50 after checking the incoming RGB range.
Test 2 — faces in daylight: skin should not look unnaturally orange, red or blue. Warm2 is the starting point. Do not immediately switch to cooler colors just because you are accustomed to them.
Test 3 — clouds, mist and sunsets: look for color banding. If you see distinct stripes, check the source and compare Smooth Gradation Off with Low. A filter cannot repair every color gradient.
Test 4 — white letters against a dark background: look for bright halos around the text. They can indicate excessive artificial sharpening.
Test 5 — camera pans: choose a slow panning shot and compare Cinema Clear with Off. Select one mode you like and then leave it alone; do not watch every film with a finger hovering over the remote.
Common problems at a glance
| Problem | First check | Do not do first |
|---|---|---|
| Too dark during the day | OLED Light / Peak Brightness with SDR | Raise Brightness 50 |
| Black looks dark grey | RGB range, Black Level, source | Set Contrast to maximum |
| Details disappear into black | Source level, gamma, black crush | Change white balance at random |
| Films look like soap operas | TruMotion Smooth / De-Judder | Raise Sharpness |
| Grain / blocks around objects | Compression quality and filters | Put every filter on High |
| HDR looks unnatural | Correct HDR mode, DTM, source signal | Copy SDR values into HDR |
11. Firmware and a one-time setup procedure
At the time this source article was written, LG’s official support page listed version 04.64.00 (13 May 2026) for the OLED65GX6LA, among other versions. According to the change history, it contains minor bug fixes. Check available firmware in the TV’s settings menu; region and rollout may differ. [6]
Then configure the TV in this order:
- Turn off eco features and automatic picture enhancers. This establishes a predictable baseline.
- Start ordinary SDR content. Choose ISF Expert (Bright Room) and enter the SDR values from chapter 6.
- Play actual HDR10 material. Choose HDR Cinema and check the separate HDR settings.
- Play actual Dolby Vision material. Choose Dolby Vision Cinema and keep the DV-specific default values.
- Apply the settings to other inputs where the TV offers that option. Check an external HDMI source separately; not every signal type or device is copied completely.
- Leave automatic panel protection enabled and watch one evening of normal content without further adjustments.
The simplest way to preserve a configuration is to photograph the menus or keep this table. After a factory reset or an accidental change, you will not have to start from scratch.
Conclusion: technically sound and pleasant in practice
There is no universal magic list that makes every OLED panel look identical under every lighting condition. But on the GX, you can get very close to a natural, calm presentation without calibrating every evening. The biggest gains are an accurate base mode, Warm2, correct black level, gamma 2.2 for the living room, restrained artificial sharpening and a restrained motion setting.
For the LG OLED65GX6LA, my fixed choice for SDR is ISF Expert (Bright Room) with OLED Light 60. HDR10 automatically uses HDR Cinema and Dolby Vision uses Dolby Vision Cinema. In practice, you set it up once and then watch. The television handles the switching, not you.
Sources and qualifications
The cited source measurements and manufacturer features were checked for the supplied article. Recommended values of my own, such as OLED Light 60 and Cinema Clear as an everyday compromise, are practical judgments, not claims that your individual panel has been professionally calibrated with those values. The new photography-like images are AI-generated artistic illustrations, not photographs of a specific LG GX television. Simulated comparisons (such as color and HDR) are not photometric or calibrated and must not be treated as evidence of the TV’s actual image. The other three diagrams are conceptual as well.
[1] RTINGS — LG GX OLED Calibration Settings (17 September 2020). https://www.rtings.com/tv/reviews/lg/gx-oled/settings
[2] FWD — Review: LG OLED65GX6LA (GX series). https://fwd.nl/beeld/review-lg-oled65gx6la-gx-serie-oled-televisie/
[3] AVForums — LG GX (OLED65GX) 4K OLED TV Review. https://www.avforums.com/reviews/lg-gx-oled65gx-4k-oled-tv-review.17543/
[4] LG — 2020 webOS 5.0: Setting up the OLED Screen. https://kr.eguide.lgappstv.com/manual/w20/atsc/Contents/settings/picture/oledpanelsettings_k_u_b/enga/w50__settings__picture__oledpanelsettings_k_u_b__enga.html
[5] LG Support — How to Fix Reoccurring Pixel Refresher Notifications. https://www.lg.com/np/support/product-help/CT40009243-20154159731408
[6] LG — OLED65GX6LA support, firmware and manual. https://www.lg.com/fr/support/support-produit/cs-OLED65GX6LA.ADRB/
[7] Tweakers — LG update for VRR issue with raised black levels (16 March 2021). https://tweakers.net/nieuws/179306/lg-komt-met-update-voor-vrr-issue-met-verhoogde-zwartwaarden-op-oled-tvs.html
[8] What Hi-Fi? — LG OLED65GX review, including Dolby Vision IQ and Cinema Home. https://www.whathifi.com/reviews/lg-oled65gx