
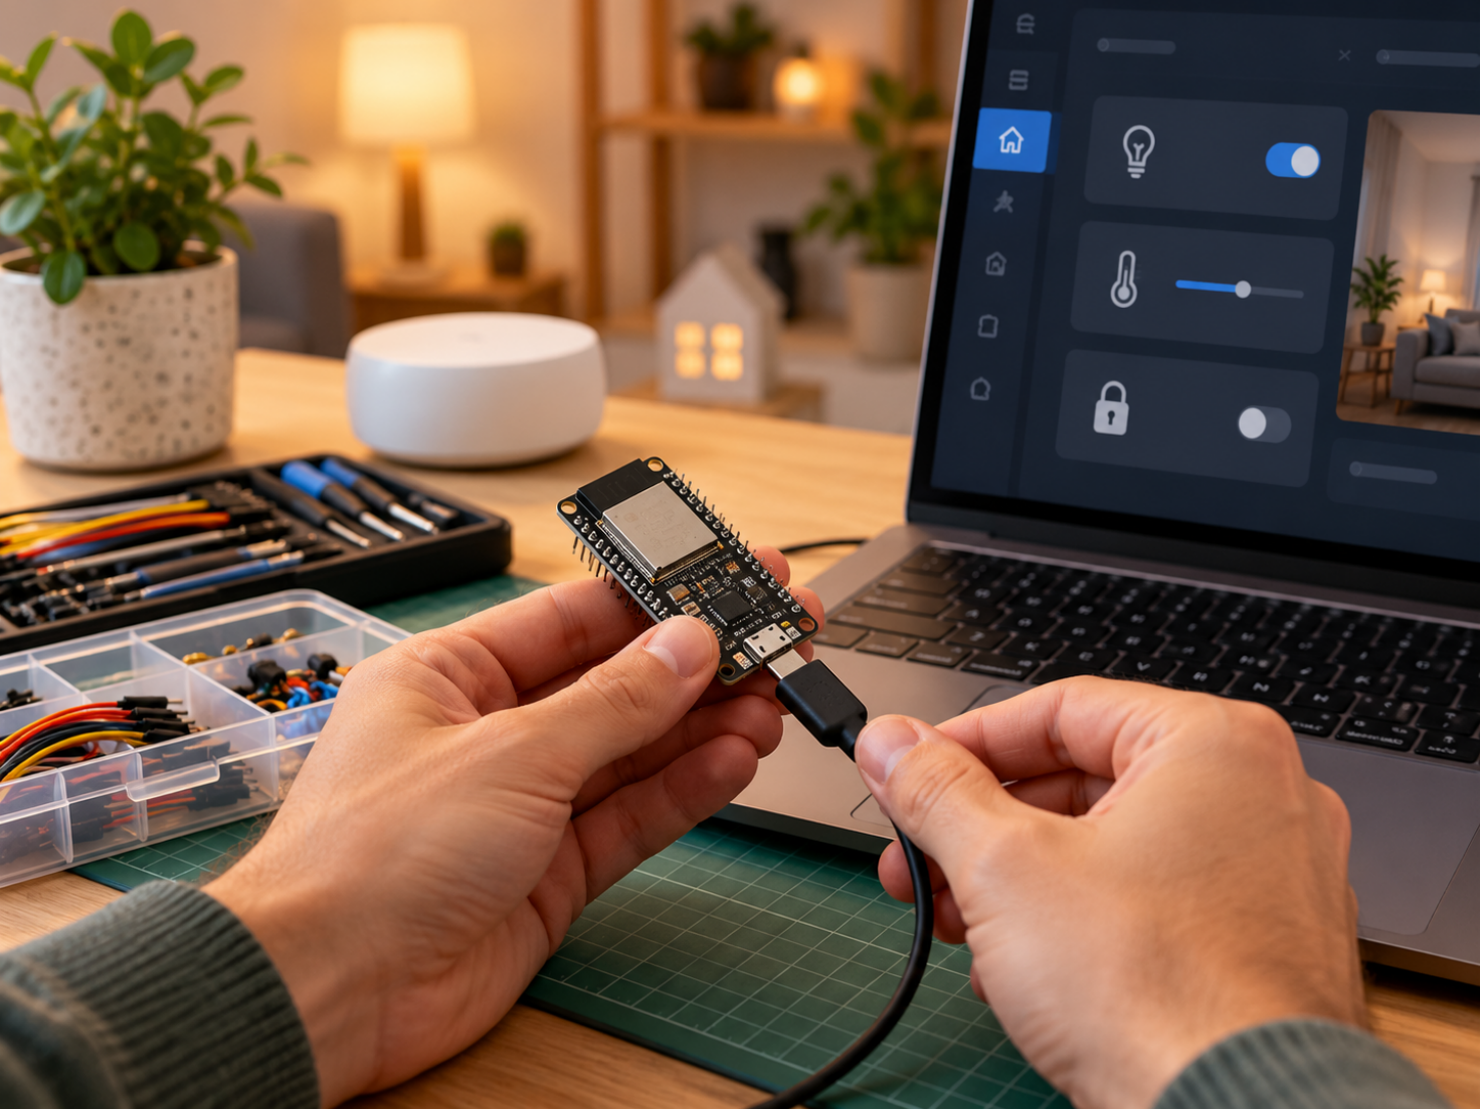
A practical starter guide: from your first ESP32 to a working sensor in Home Assistant. It covers choosing hardware, installation, YAML, OTA updates, logs, troubleshooting and safe ways to expand.
What you should be able to do after reading this article
After this guide, you will know what ESPHome is, which hardware makes sense for a first project, how to flash an ESP32, what basic YAML looks like, and how to connect your first temperature-sensor or switching project to Home Assistant.
The material is aimed at beginners but substantial enough to serve as a foundation for real projects. There is no unnecessary theory—just what you need to get started successfully.
1. What is ESPHome?
ESPHome is firmware that you install on a small microcontroller such as an ESP32 or ESP8266. It turns inexpensive hardware into a smart device that can communicate locally with Home Assistant.
Instead of traditional programming, you mainly describe what you want in YAML: Wi-Fi, a name, sensors, switches, buttons or a display. ESPHome then builds firmware from that description and puts it on the device.
Its great strength is the combination of simplicity and control. To a beginner, it often feels like working with building blocks. At the same time, advanced users have enough flexibility to create serious projects.
- Local operation without a mandatory cloud.
- Native integration with Home Assistant.
- Support for a wide range of sensors and modules.
- OTA updates, so you can make changes wirelessly later.
- Affordable experimentation with your own ideas.
How it works in broad terms
You create a configuration file → ESPHome checks the YAML → compiles firmware → flashes it onto the board → Home Assistant sees the device and creates entities for it.
2. Why use ESPHome?
Because it fills the gap between ready-made smart devices and programming everything yourself. There are plenty of commercial sensors, but sometimes you want something that does not exist, fits better, or is simply more local and less expensive.
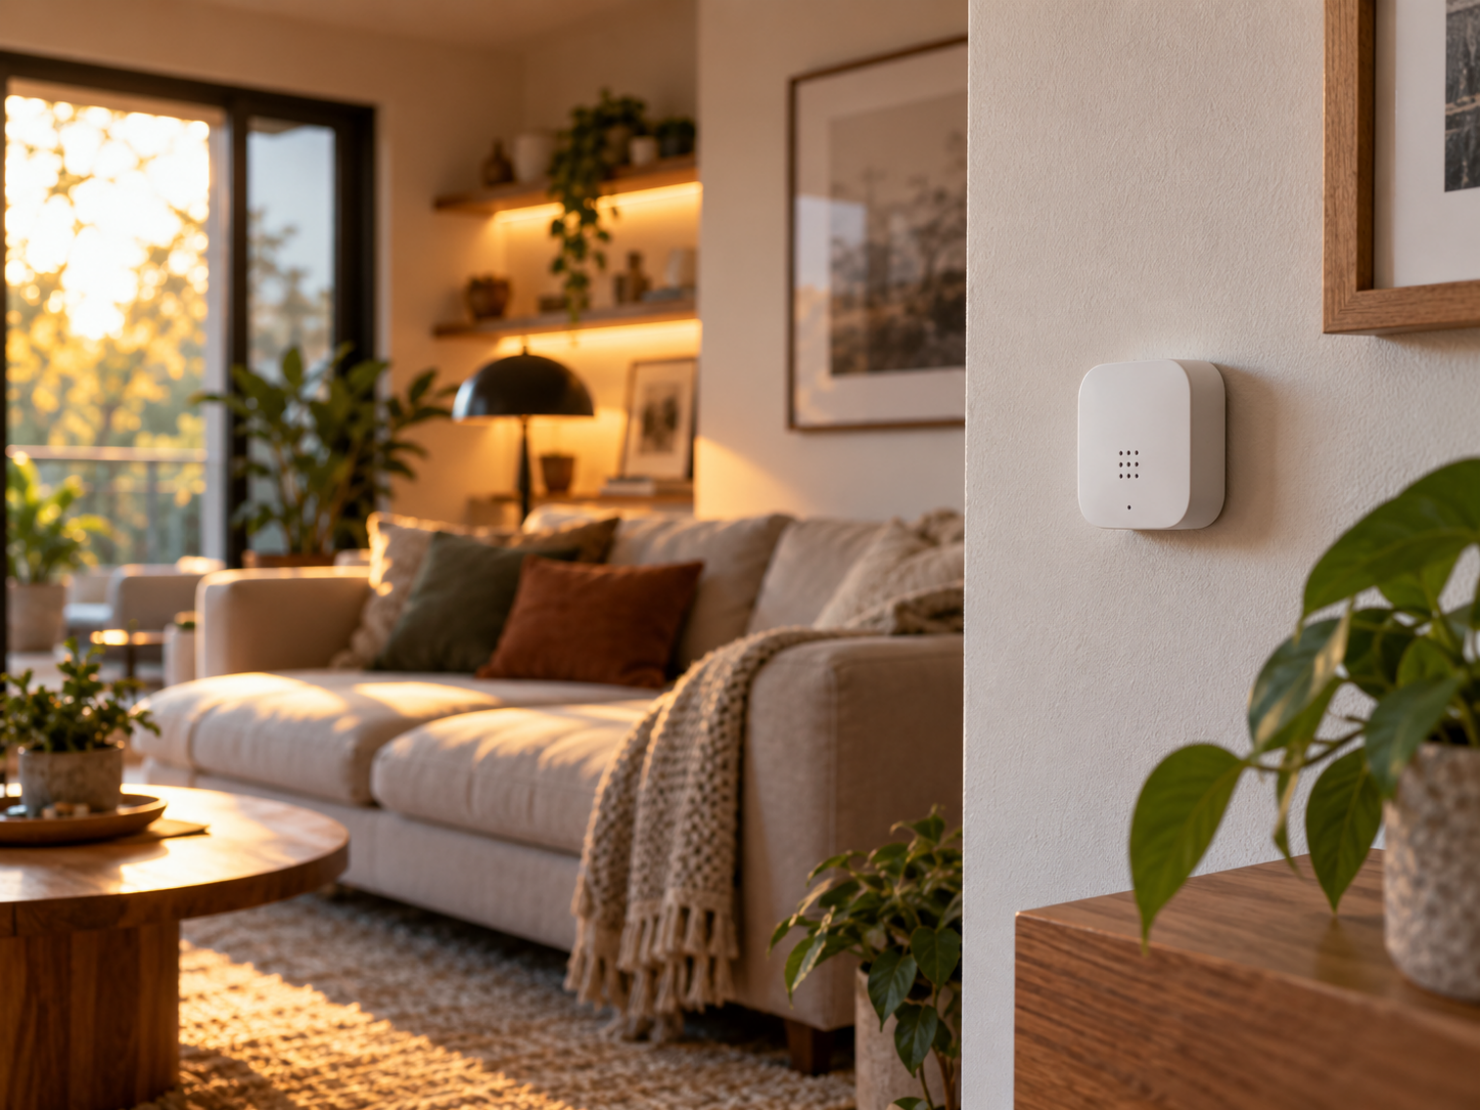
- You want a temperature sensor in a particular room.
- You want to control ventilation or a relay without a cloud.
- You want a Bluetooth proxy in exactly the right place.
- You want a custom water-leak sensor, button or door contact.
- You want to understand what your smart home does instead of only using an app.
ESPHome is educational, too. You learn not only how Home Assistant works, but also how sensors, power, GPIOs and automation fit together.
3. What can you build with it?
The list is long, but these are the most logical first applications for beginners:
- A temperature and humidity sensor.
- A button or door contact.
- A PIR or mmWave presence sensor.
- A smart relay for a low-voltage project.
- A light sensor or water-leak sensor.
- A Bluetooth proxy for Home Assistant.
- A simple display for status information.
Importantly, do not start with the most complicated project. A first sensor that actually works is more valuable than a large project that stalls because of power, pin choice or incorrect YAML.
A simple temperature and humidity sensor is almost always the best first project. It teaches you the whole chain: hardware, wiring, YAML, logs and entities in Home Assistant.
4. ESP32 or ESP8266?
For a beginner, the ESP32 is usually the better choice. The ESP8266 still works well for simple projects, but the ESP32 is newer, has more room and is more flexible. You also often get Bluetooth on board, which can be useful later for proxies or detection.
In short: if you are starting now, buy an ESP32 DevKit. That prevents you from hitting limits after only one or two projects.
| Item | Recommended for starters | Why |
|---|---|---|
| Board | ESP32 DevKit | Broad support, enough memory, Wi-Fi and Bluetooth. |
| Power/USB | Good USB data cable | Many beginners accidentally use charge-only cables. |
| Prototyping | Breadboard and jumper wires | Test quickly without soldering. |
| First sensor | DHT22, SHT3x or BME280 | Easy, useful and educational. |
| Useful extra | Small storage box with Dupont wires | Staying organized prevents mistakes. |
Short advice: buy one or two ESP32 DevKit boards, a breadboard, a set of jumper wires and a simple sensor. You do not need more for a serious start.
5. What do you need to begin?
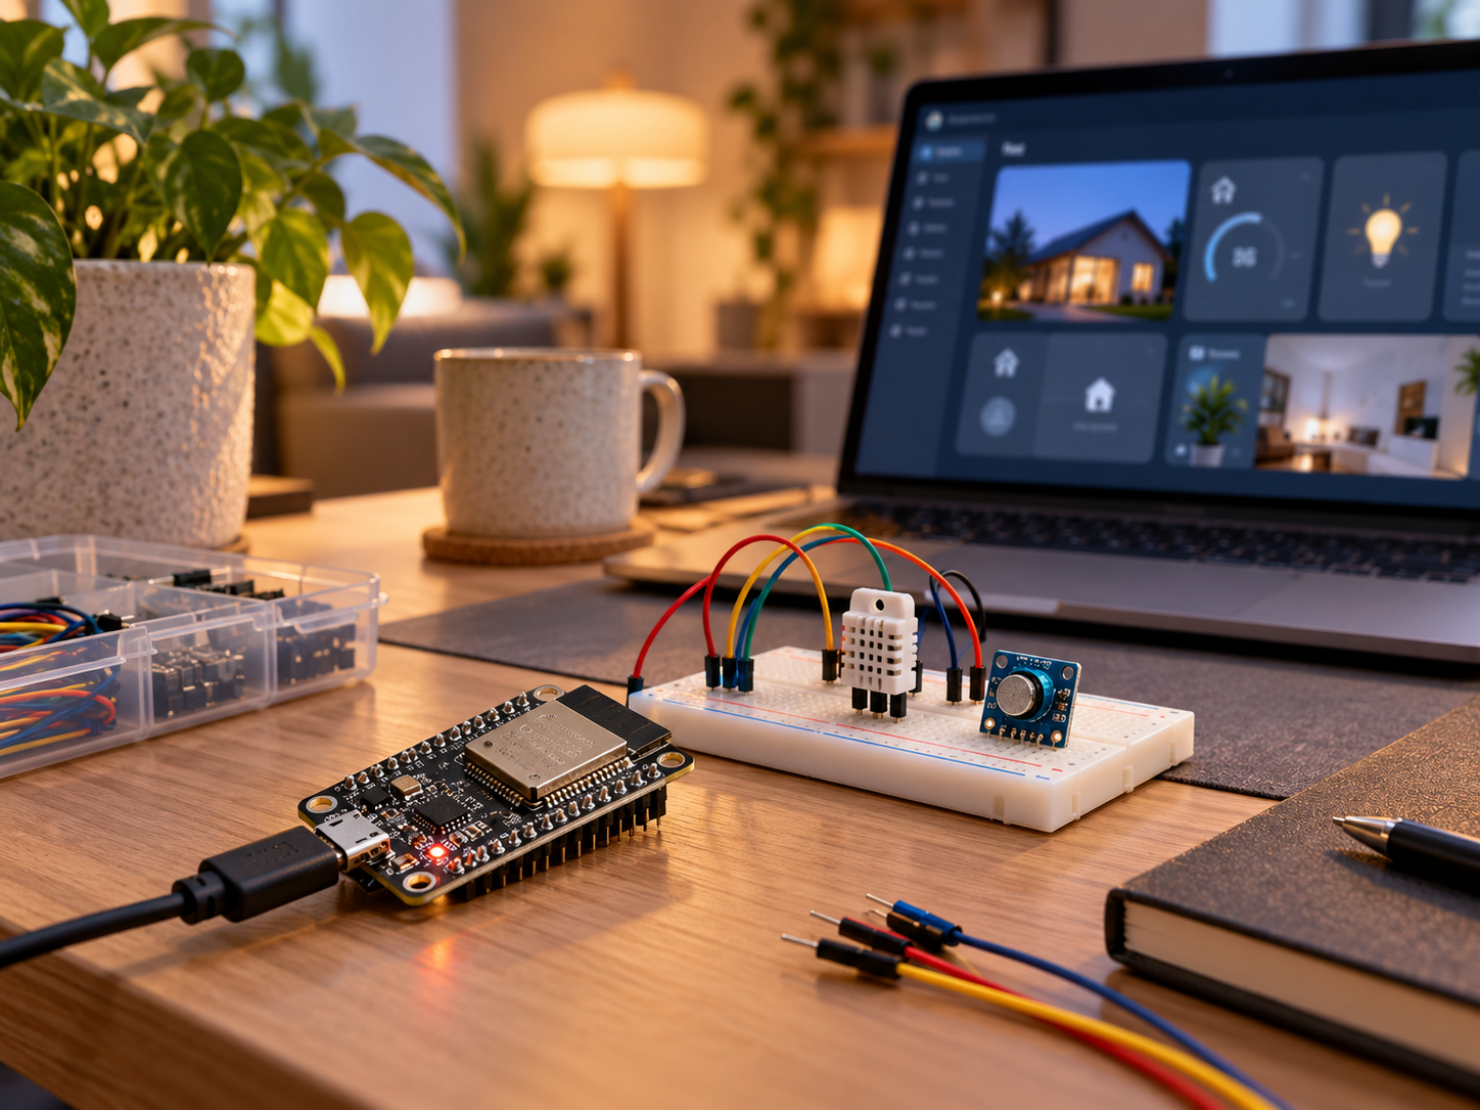
- An ESP32 board.
- A USB cable that carries data.
- Home Assistant with the ESPHome Device Builder add-on or integration.
- Wi-Fi at home.
- A simple sensor and, optionally, a breadboard.
- The patience to test calmly, one step at a time.
Pay particular attention to the USB cable. It sounds trivial, but this is a classic: many “my ESP32 does nothing” problems turn out to be caused by a charge-only cable with no data lines.
6. Installing ESPHome in Home Assistant
The most logical route for a Home Assistant user is the official ESPHome Device Builder. It lets you create devices, validate configurations, compile firmware and update devices from within your Home Assistant environment.
- Install ESPHome Device Builder.
- Open ESPHome and choose a new device.
- Give the device a logical name.
- Select the correct board type, usually ESP32.
- Enter the Wi-Fi details.
- Perform the first flash over USB.
- Let Home Assistant discover the new device.
From that point onward, you will usually no longer need raw serial tools. The whole point is that ESPHome provides a clear workflow.
7. What does basic YAML look like?
Many beginners are intimidated by YAML, but with ESPHome it is manageable. The basic file consists of a few standard blocks.
Example 1 — minimal basic configuration
esphome:
  name: woonkamer-sensor
  friendly_name: Woonkamer sensor
esp32:
  board: esp32dev
wifi:
  ssid: !secret wifi_ssid
  password: !secret wifi_password
logger:
api:
ota:
captive_portal:esphome: the device name and friendly name.esp32: which board you use.wifi: network details.logger: log messages for debugging.api: the link to Home Assistant.ota: wireless updates once the device is running.captive_portal: emergency help if Wi-Fi setup does not work properly.
Those few blocks already give you a basic device. You can then add components: sensors, buttons, switches, outputs and much more.
8. Your first real project: temperature and humidity
This is the project I would recommend to almost every beginner. Why? Because you immediately see what ESPHome does, without high risk or unnecessary complexity.
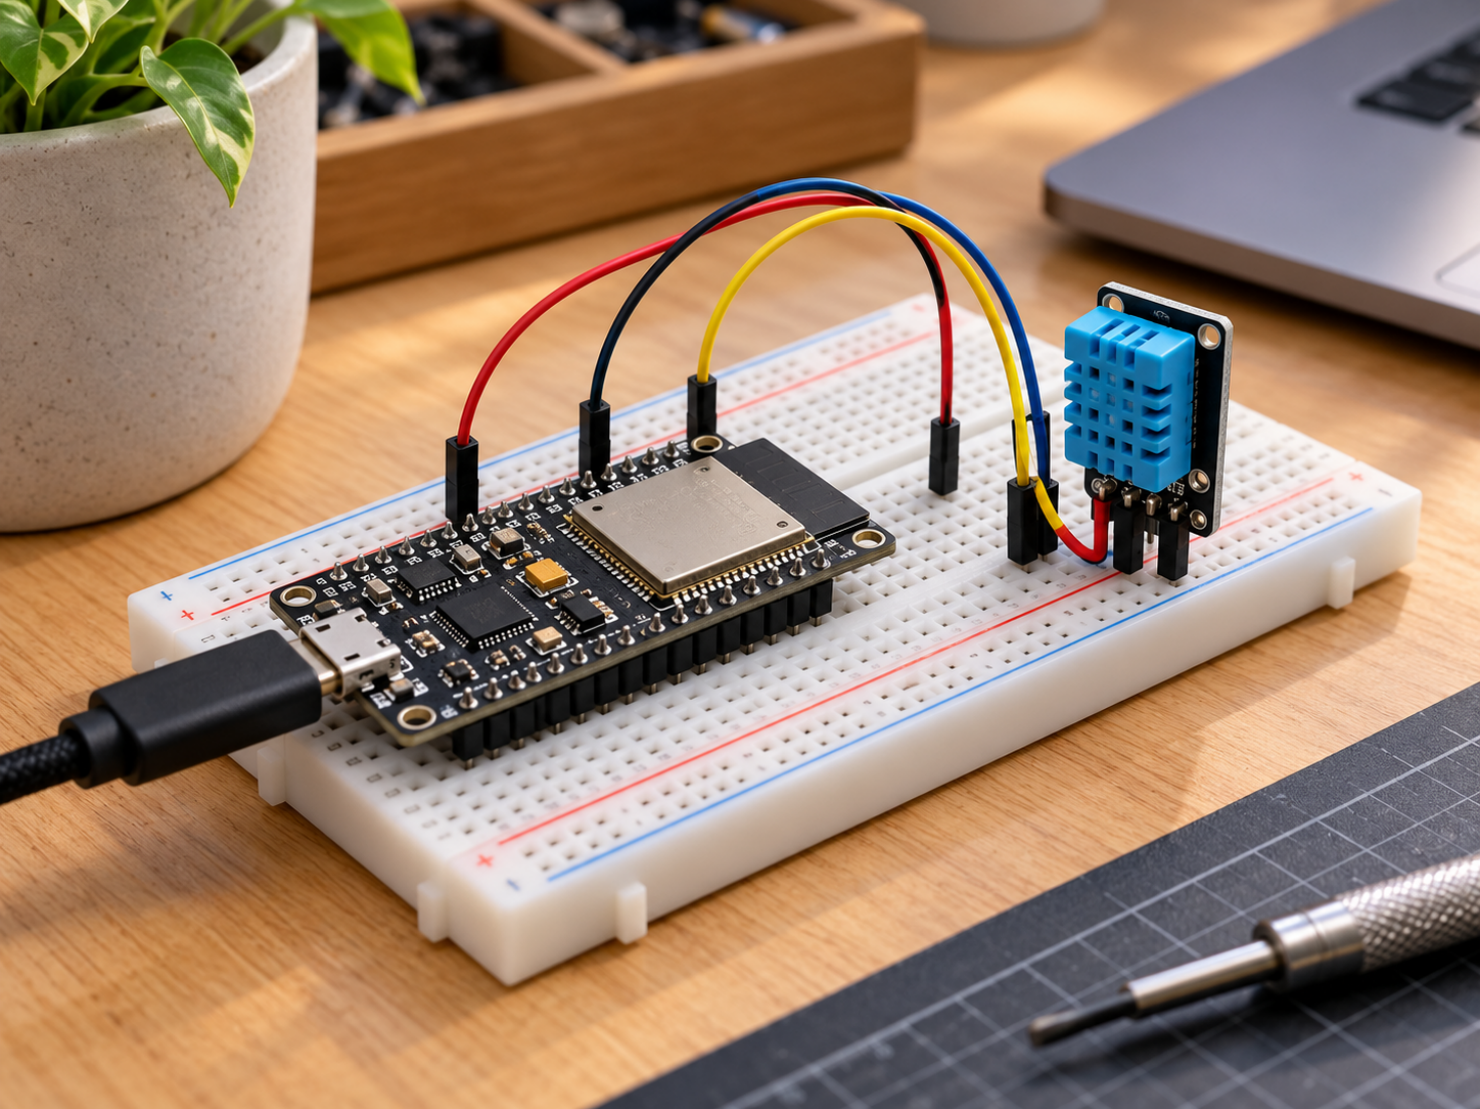
Steps
- Connect the sensor to 3.3 V or 5 V according to its documentation.
- Connect GND to GND.
- Connect the data pin to a usable GPIO, for example GPIO4.
- Add the sensor to your YAML.
- Compile, flash and open the logs.
- Check whether Home Assistant automatically discovers the entities.
Example 2 — simple DHT22 configuration
sensor:
  - platform: dht
    pin: GPIO4
    model: DHT22
    temperature:
      name: "Woonkamer temperatuur"
    humidity:
      name: "Woonkamer luchtvochtigheid"
    update_interval: 30s
Then open the logs. If you see valid temperature and humidity readings, you are on the right track. If you see errors, fix them before moving on.
9. Buttons, binary sensors and relays
After a sensor, the next step is usually a binary sensor or a relay. A binary sensor is simply on/off, open/closed or pressed/not pressed. Think of a door contact or push button.
A relay goes one step further: it lets the ESP switch something rather than only measure it. This is interesting for a beginner, but take care: 230 V is quite different from low voltage.
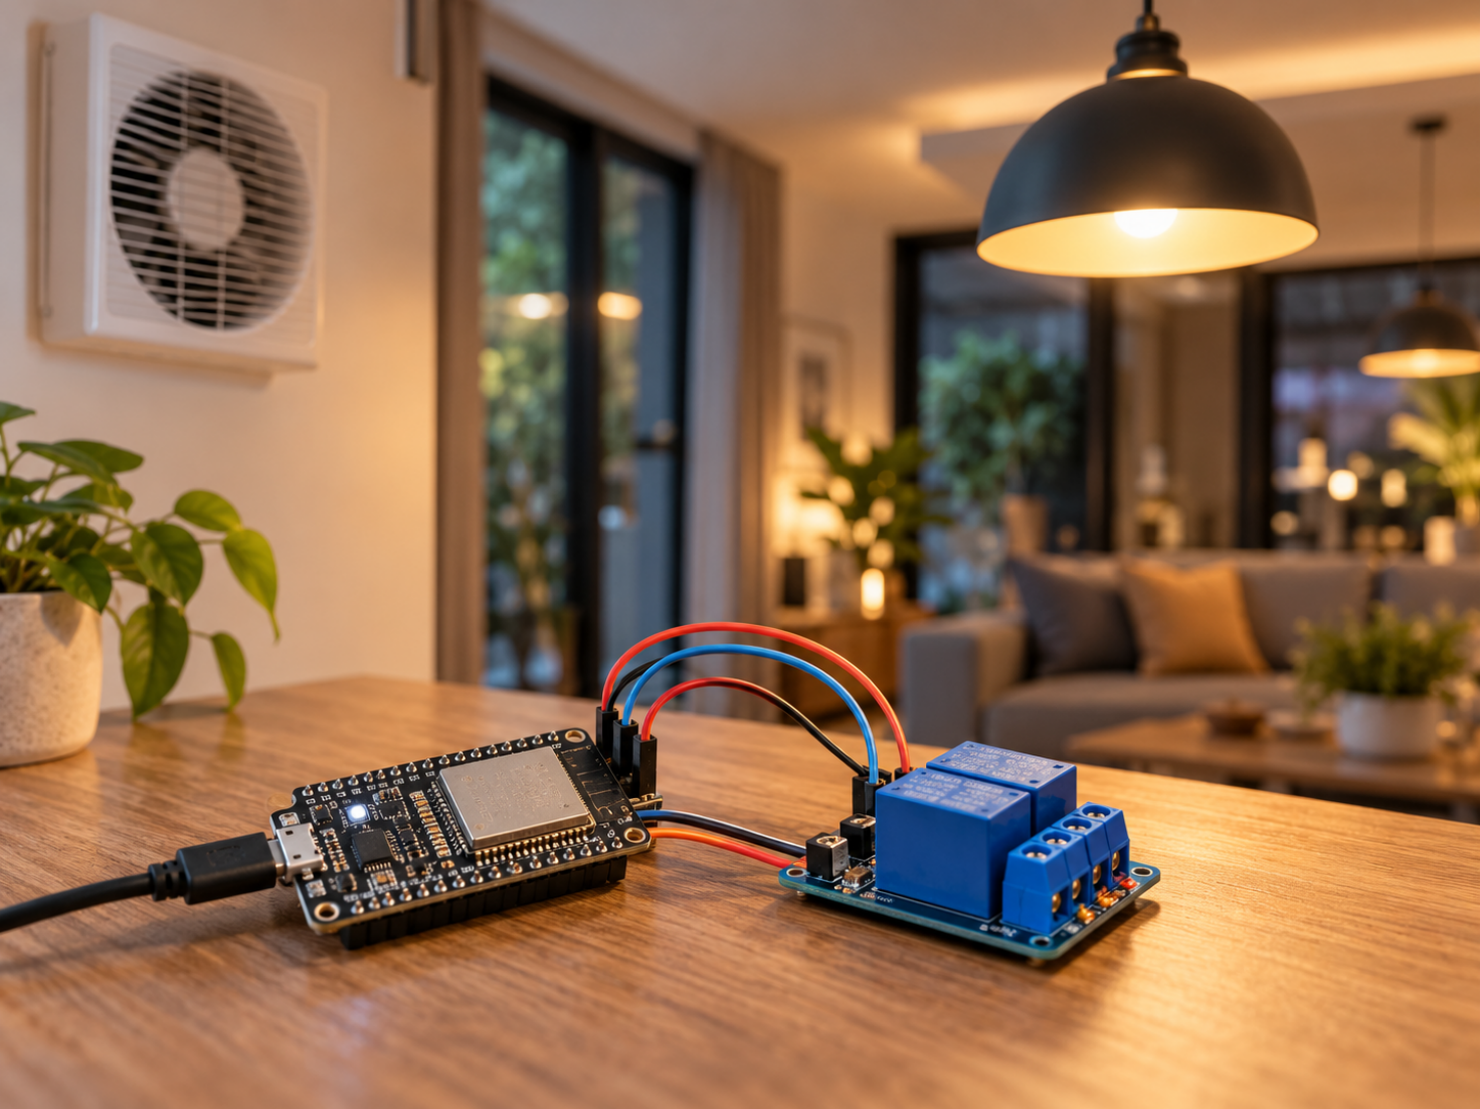
Example 3 — simple GPIO switch for a relay module
switch:
  - platform: gpio
    pin: GPIO16
    name: "Test relais"
    restore_mode: ALWAYS_OFF
Safety: use 230 V only if you understand what you are doing. A beginner’s guide should focus on low-voltage projects and understanding, not risky experimentation with mains electricity.
10. Native API or MQTT?
For most Home Assistant users, the native ESPHome API is the best choice. It works directly, feels the most integrated and requires less additional infrastructure than MQTT.
- Use the native API if the ESPHome device is mainly intended for Home Assistant.
- Use MQTT only if you deliberately work with an MQTT architecture or have specific reasons to do so.
That does not mean MQTT is bad. It means only that many beginners add needless complexity by trying to “understand” MQTT immediately when the native connection already does exactly what they need.
11. OTA updates, logs and secrets
Once your first USB flash succeeds, you will rarely want to return to a cable. That is what OTA is for: over-the-air updates through Wi-Fi.
Logs are also your most important troubleshooting tool. If a sensor does not work, you chose the wrong pin or Wi-Fi does not connect, you will usually see it directly in the logs.
- OTA makes small changes fast and safe.
- Logs help you troubleshoot systematically.
- Use
secrets.yamlfor your Wi-Fi password and other sensitive values. - Give devices sensible names immediately, or you will create chaos later.
Example 4 — secrets.yaml
wifi_ssid: "JouwWiFi"
wifi_password: "SterkWachtwoord"
A clear name such as badkamer-sensor is much nicer later than esp32-test-3. Think ahead, even if you have only one device today. The Dutch sample names remain unchanged here so the code is identical in both language versions.
12. Filters, calibration and update interval
Not every sensor needs to send a new value to Home Assistant every second. Reasonable update intervals and filtering often make your system calmer and more useful.
- Temperature: 30–60 seconds is often fine.
- Humidity: usually not a second-by-second concern either.
- Filters can remove noise.
- An offset is useful if a sensor consistently reads a little high or low.
Calibrate sensibly. Correct a consistent deviation, but do not try to make a bad sensor look good with numbers. Sometimes the hardware is simply not good enough or is poorly placed.
13. Automations: on the ESP or in Home Assistant?
This is an important design decision. Some logic belongs locally on the device; some belongs centrally in Home Assistant.
- On the ESP: simple, fast or fail-safe logic.
- In Home Assistant: house-wide logic, combinations of several entities, dashboards and notifications.
For example, a local button may switch an output on the same device directly, even if Home Assistant is temporarily down. But a complex “switch only when nobody is home and the electricity price is low” scenario is better handled centrally in Home Assistant.
Rule of thumb: anything that must work autonomously, quickly or as a fallback can live closer to the hardware. Anything house-wide, complex or context-dependent fits better in Home Assistant.
14. Common beginner mistakes
- Using the wrong USB cable.
- Choosing the wrong board type.
- Using an unsuitable GPIO.
- Underestimating power requirements.
- Choosing a first project that is too large or complex.
- Not reading logs and continuing to guess blindly.
- Wanting to use MQTT for everything straight away.
- Poor naming and not using secrets.
The good news is that almost all these mistakes are normal. The bad news is that if you do not recognize them, you can spend a long time looking for a simple problem.
15. How to troubleshoot systematically
Problems are easier to solve if you follow a fixed sequence:
- Check whether the board receives power.
- Check whether the USB cable supports data.
- Check whether the board has been flashed correctly.
- Check the Wi-Fi connection.
- Read the logs.
- Check the pin connections.
- Check that ESPHome actually supports the sensor and that it is configured correctly.
- Change only one thing at a time.
Do not jump between cable, YAML, sensor and power all at once. Otherwise, you will never know what actually solved the problem.
16. Where do you go next?
Once your first sensor runs, a whole world tends to open up. You can expand into sensors for each room, ventilation control, Bluetooth proxies, status LEDs, buttons, displays or retrofit projects with relays and inputs.
- Build a neat enclosure for your first sensor.
- Make a second device for another room.
- Try a binary sensor or button.
- Experiment with a Bluetooth proxy.
- Only then move on to more complex relay or automation projects.
That way, you gain experience without getting lost in too many things at once.
The best first step: a neat ESP32 with a simple sensor that runs reliably in Home Assistant. That is a much better foundation than a half-working mega-project.
17. Beginner’s checklist
- Bought an ESP32 DevKit.
- Tested a good USB data cable.
- Installed ESPHome.
- Created a new device.
- Selected the correct board.
- Configured Wi-Fi and secrets.
- Completed the first flash over USB.
- Discovered the device in Home Assistant.
- Added a sensor or switch.
- Checked the logs.
- Tested an OTA update.
- Named the device and entities clearly.
If you have checked off this list, you have not merely “played a little with ESPHome”; you have laid a real foundation to build on.
ESPHome is not a throwaway gadget. For many Home Assistant users, it is the bridge to truly custom solutions. That is why it pays to start calmly and carefully, with a good first project.
This guide was written as a practical website/PDF publication for beginners who want immediate results while also understanding the fundamentals properly.