
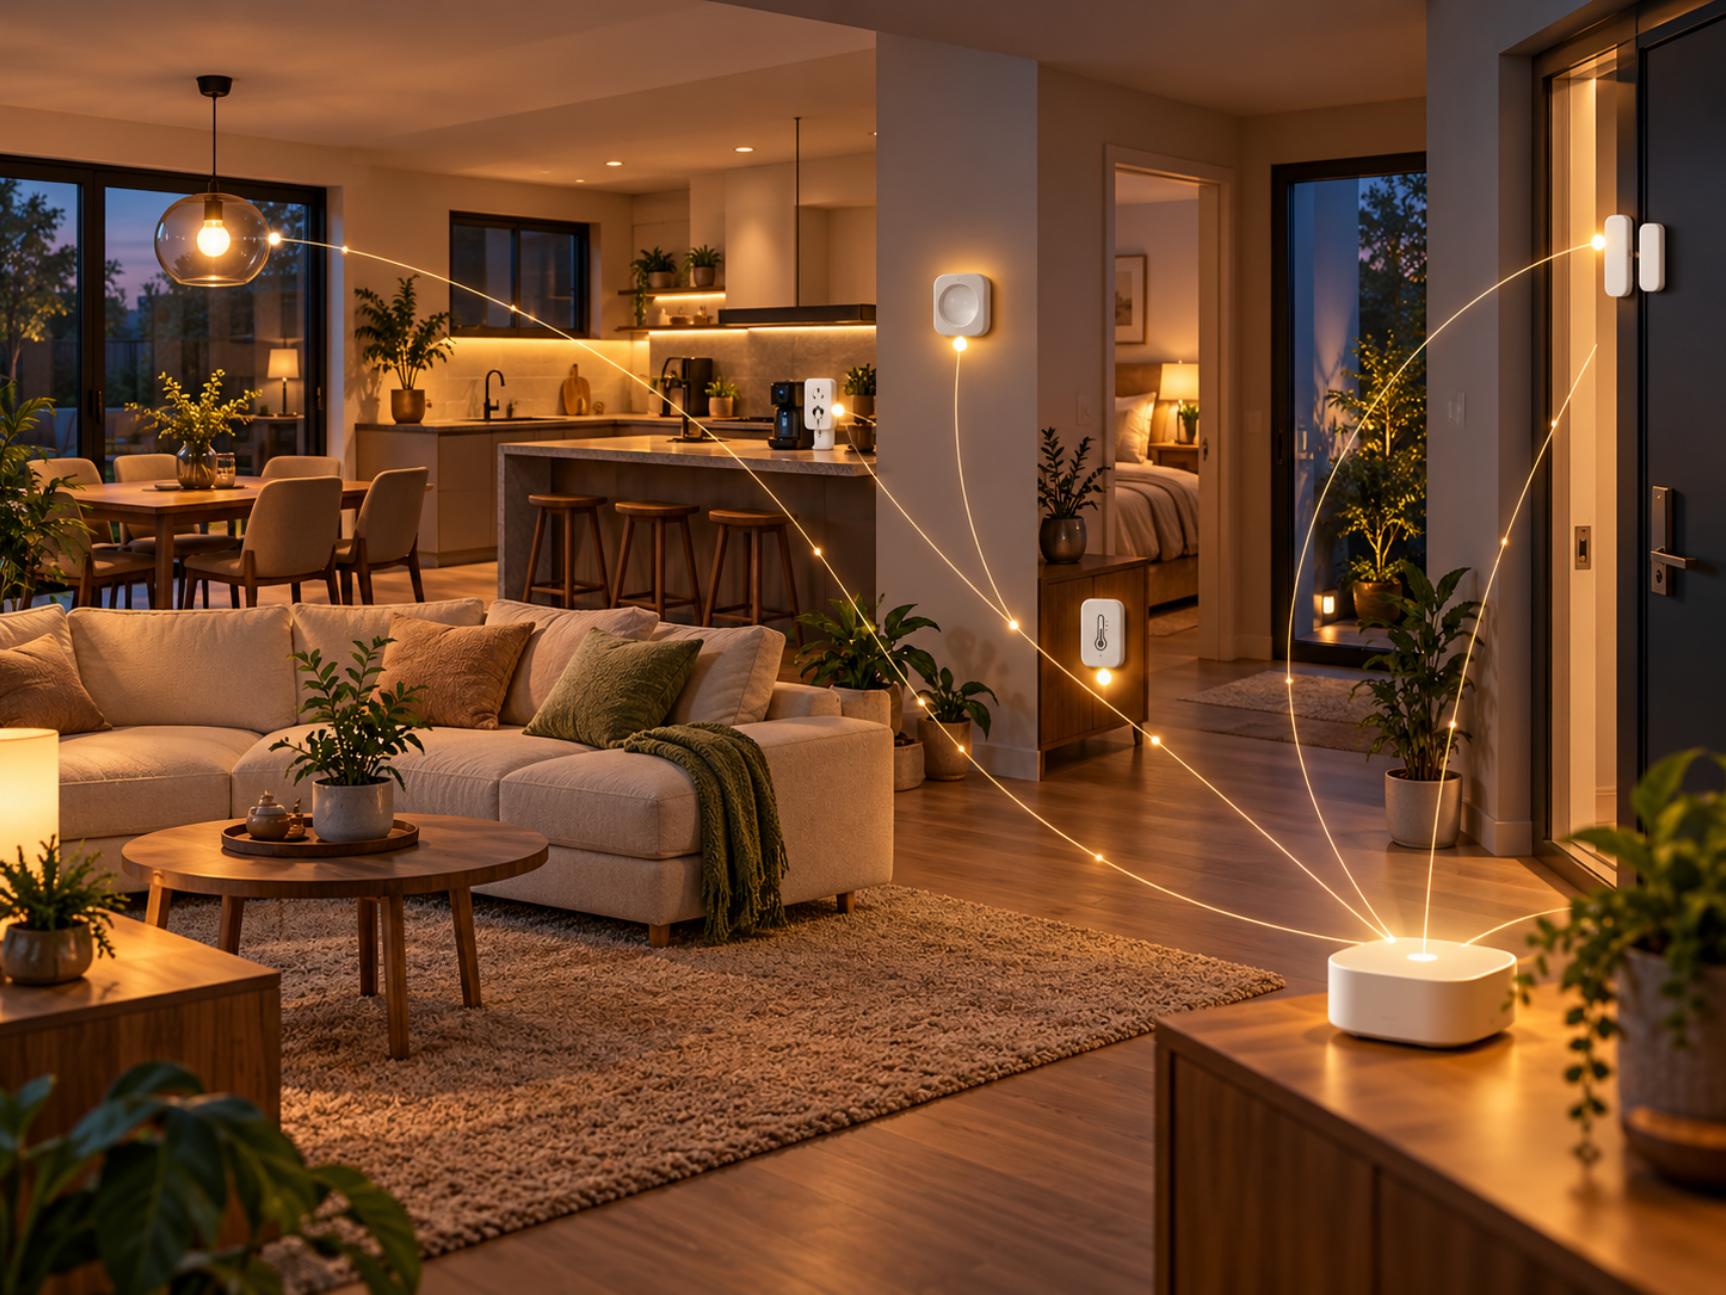
A stable Zigbee network is not built around the most expensive stick. It starts with a well-positioned coordinator and a backbone of mains-powered routers. That foundation lets sensors, buttons and lights remain reachable throughout the home. This brand-neutral guide also applies to Home Assistant, ZHA and Zigbee2MQTT.
Zigbee is a low-power wireless protocol suited to sensors, buttons, door contacts and many lights. Unlike many separate Wi-Fi devices, a Zigbee mesh can relay messages through other devices. That is both its strength and its pitfall: one sensor may work well, but an entire home needs sound forwarding paths.
How does a Zigbee mesh work?
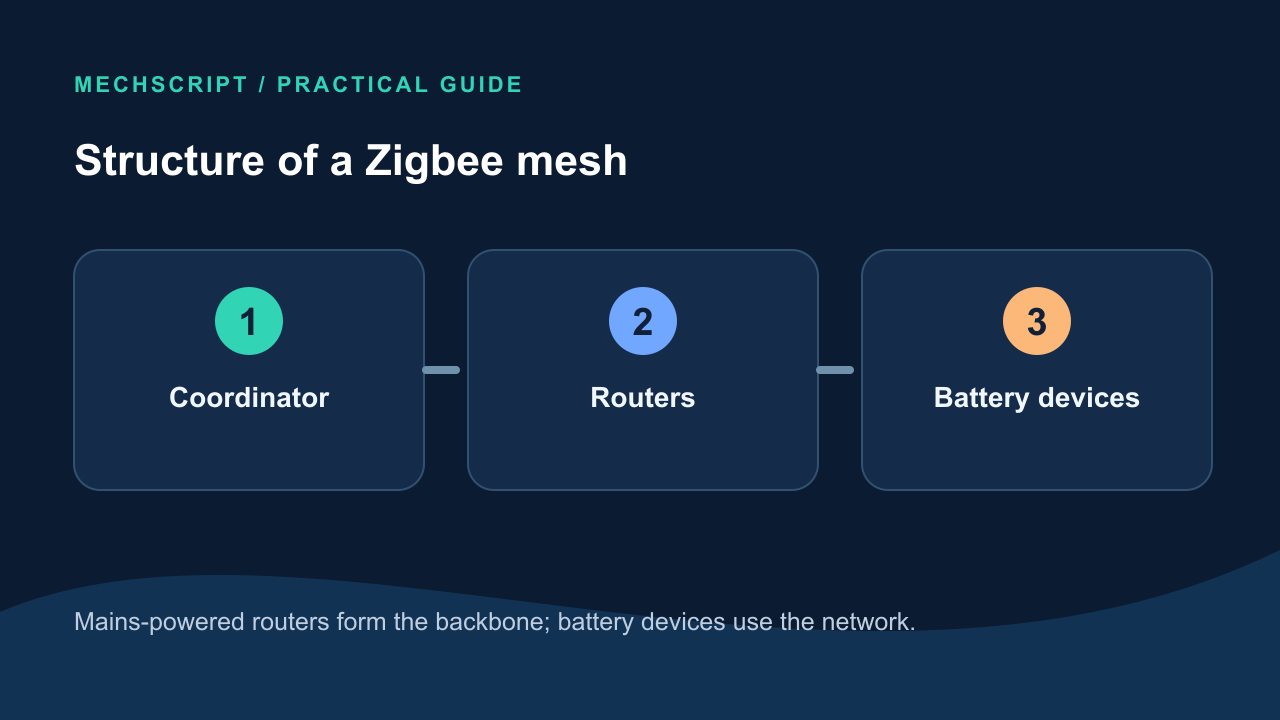
Every Zigbee network has one coordinator: the radio that forms the network. Routers forward messages; they are usually mains-powered plugs, in-wall modules or lights. End devices, such as battery-powered motion sensors and door contacts, sleep much of the time and normally do not forward messages for other devices. In everyday use, a Zigbee repeater usually means a router.
The coordinator may be a stick, gateway or built-in radio. It need not reach every corner directly. Routers stay awake and relay traffic. Battery devices sleep to conserve power and are normally not repeaters. Their position and the quality of the router they attach to matter more than distance to the coordinator alone.
Treat battery devices as users of the network, not as its foundation. A single sensor beside the coordinator may work perfectly, but a whole home needs a good mesh.
Give the coordinator space
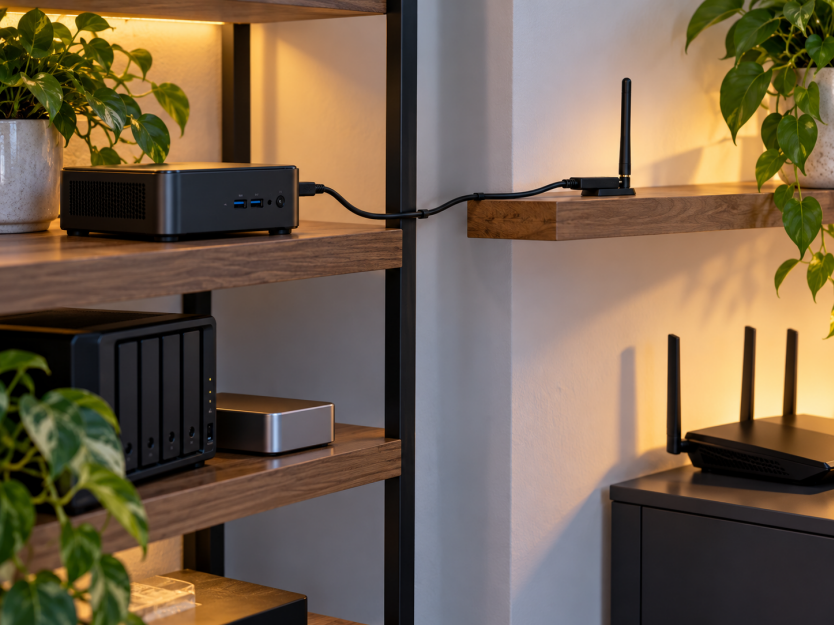
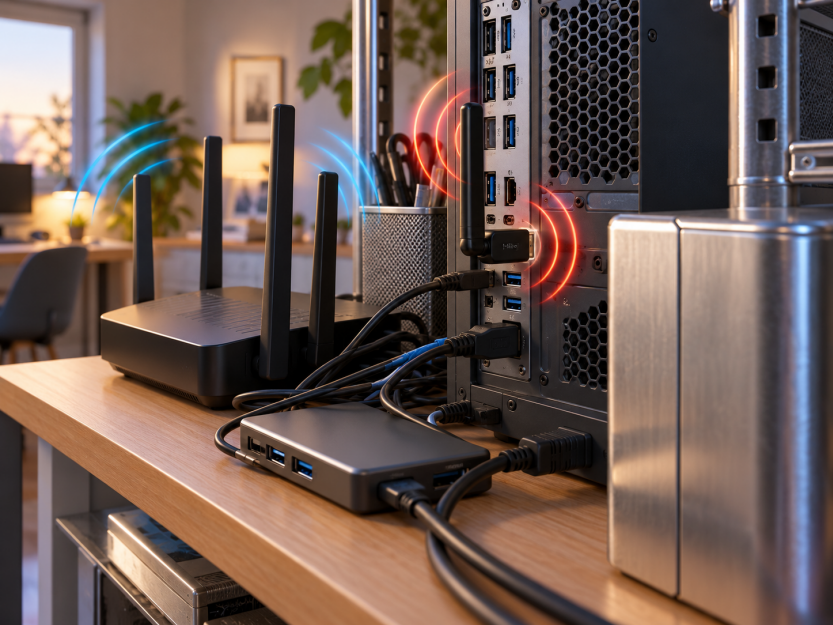
Placing a Zigbee stick directly behind a NUC, mini PC or Raspberry Pi among USB 3 equipment, metal and a Wi-Fi router is a common source of interference. Choose a supported coordinator and preferably position it away from its host with a USB extension cable. Keep it clear of routers, switches, NAS devices, external SSDs and metal cabinets. An open position often helps more than a higher advertised transmit power.
A good starting point is a modern coordinator supported by your platform, not buried in a cabinet and not pressed against an access point or USB 3 hub. The source PDF contrasts that free position with the classic bad arrangement: stick, metal computer case, fast USB ports and router all together. Check the physical placement before buying more expensive radio hardware.
Build the router backbone first
Place mains-powered routers in central rooms, between floors and toward difficult locations such as an attic or shed. Avoid hiding them behind a thick sofa or inside a closed TV cabinet. Reinforced concrete, steel and meter cabinets weaken the signal.
Other useful positions are close to groups of battery devices so they can choose a strong parent. In a large home, several distributed routers are usually more dependable than one central 'mega stick'. Coverage is not just about transmitter power: sight lines, obstacles and local interference define the actual route. A detached house built of wood and brick behaves differently from a concrete apartment; inspect the whole device-to-coordinator path.
A practical starting point is two to five well-distributed routers. Let the network settle, then add battery devices. Not every mains-powered Zigbee product is a good router; a few dependable ones are better than a random collection of lights.
Do not start by pairing a box full of sensors. Establish the fixed mains-powered backbone, let it settle and expand room by room. A router near the edge of the mesh toward an attic or shed may help more than another device right beside the coordinator.
Watch for interference and channel conflicts
Zigbee shares the 2.4GHz band with Wi-Fi and other radio equipment. USB 3.0 can also cause interference. Keep the coordinator away from access points and USB 3 hubs. Pick a Zigbee channel that does not unnecessarily overlap your busiest 2.4GHz Wi-Fi channels. Channels 15, 20 and 25 are common examples, not universally correct answers. Do not change the channel of an established installation without a reason: some devices may need to be paired again.
Interference may appear as slow responses, instability or difficult pairing. Avoid external SSDs and large metal surfaces around the stick as well as access points. Inspect your own Wi-Fi environment before choosing a channel. Blindly changing an existing mesh's channel can create new problems, so moving the coordinator physically is often the safer first experiment.
Pair devices in the right order
- Put the coordinator in its final position.
- Add fixed routers first and check their coverage.
- Then pair sensors, buttons and other battery devices, preferably at their final location or close to the router they should use.
- Give devices clear names and rooms in Home Assistant or Zigbee2MQTT.
Pairing everything beside the coordinator at once can leave a sensor with an awkward route when it is moved to another room.
For battery devices, 'pair where the device will live' is often better than pairing everything on the desk. Pairing close to the router the device will use is another option. Not every mains-powered product routes equally reliably; product quality and compatibility still matter when expanding.

Troubleshoot one change at a time
If a device occasionally drops out, first check coordinator placement, the number of routers and concrete or metal obstacles. Then check whether the battery device was paired where it lives and whether Wi-Fi or new USB equipment is causing interference. A battery device that rarely reports is not automatically faulty. Change one thing at a time and observe stability; do not restart the whole house immediately.
| Common mistake | Why it fails | Better approach |
|---|---|---|
| Buy everything as Wi-Fi | Many separate clients and apps; the mesh advantage is lost. | Use Zigbee deliberately for sensors, buttons and suitable lighting. |
| Too few routers | Battery devices have weak or indirect paths. | Build a mains-powered router backbone first. |
| Cram coordinator into the server | USB 3, metal and router interference. | Move it into the open on an extension cable. |
| Pair everything at once | The network has no calm base structure. | Routers first, then end devices. |
| Change Zigbee channel blindly | Some devices may respond badly or need re-pairing. | Change it only for a specific reason. |
| Forget device positions | Troubleshooting becomes needlessly hard. | Use clear names and rooms in Home Assistant or Zigbee2MQTT. |
A short diagnostic checklist: is the coordinator placed well, are there enough routers, does concrete or metal block the route, does the battery device simply report infrequently, was it paired where it lives, and did Wi-Fi or USB hardware recently change? Check one cause at a time. A supposedly 'bad sensor' may actually have a weak route.
Getting started and sources
- Choose a modern coordinator well supported by your platform.
- Position it away from router and host; for a stick, preferably use a USB extension cable.
- Add a few mains-powered routers at strategic positions first.
- Then pair door contacts, motion sensors and buttons.
- Check coverage and stability before expanding further.
- Name devices clearly and keep track of their locations.
For further reading, the source PDF cites Home Assistant ZHA documentation on coordinators, routers, end devices, channels and interference, plus Zigbee2MQTT documentation on supported coordinators and adapters (consulted October 2026). Reliability comes not from one miracle device but from a calm rollout, suitable placement, enough good routers and patience.
The essentials are a calm rollout, sensible placement, enough reliable routers and patience when expanding the mesh.