
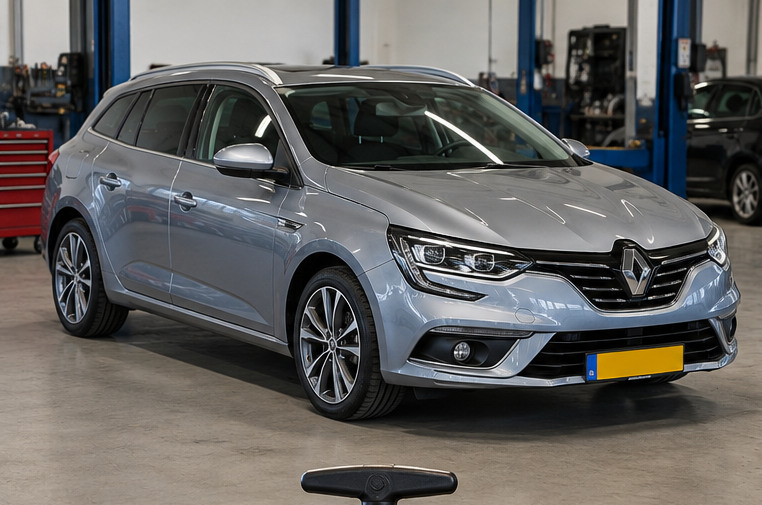
A practical guide to changing brake fluid, bleeding ABS/ESP, placing the electronic parking brake in service mode, and diagnosis with DDT4All or a standalone OBD tester.
26 technical chapters
For DIY mechanics
With illustrated work steps
Before you begin: brakes are safety-critical. The basic procedure is possible with suitable tools, but missing VIN-specific workshop data, air in the ABS unit, or an uncertain parking-brake ECU are reasons not to improvise. This is not a Renault factory document.
Images: the illustrations show technical principles. They are not to scale and do not necessarily depict the exact hardware in your car. Menu labels shown on test equipment are fictional examples.
01 Which vehicle does this guide cover?
This guide focuses on the Renault Mégane IV Grandtour (XFB/K9A), with particular attention to the 1.5 dCi and 1.5 Blue dCi. The Bose trim designation does not identify the fitted ABS hydraulic unit or electronic parking brake. Nor are the 1.5 dCi 110 and Blue dCi 115 automatically identical in technical terms.
Before starting, check the build year, engine type, parking-brake arrangement and marking on the brake-fluid reservoir cap. For every diagnostic or bleeding function, confirm which control unit and software version are actually in the car. This guide provides a safe working process; where an exact workshop specification for the vehicle is unavailable, that is stated explicitly.
Three separate procedures: (A) changing fluid through the brake calipers; (B) actively bleeding the ABS/ESP hydraulic unit; and (C) placing the electronic parking brake in service mode for work on the rear calipers. If you are doing only A, B or C is normally unnecessary.
02 How the hydraulic braking system works
The brake pedal operates the tandem master cylinder through the brake booster. Brake fluid carries hydraulic pressure through the ABS/ESP hydraulic unit and brake lines to the pistons. The pads clamp the discs. The system has two safety-separated circuits; a leak can disable part of the braking action, but not without consequences for pedal travel and brake balance.
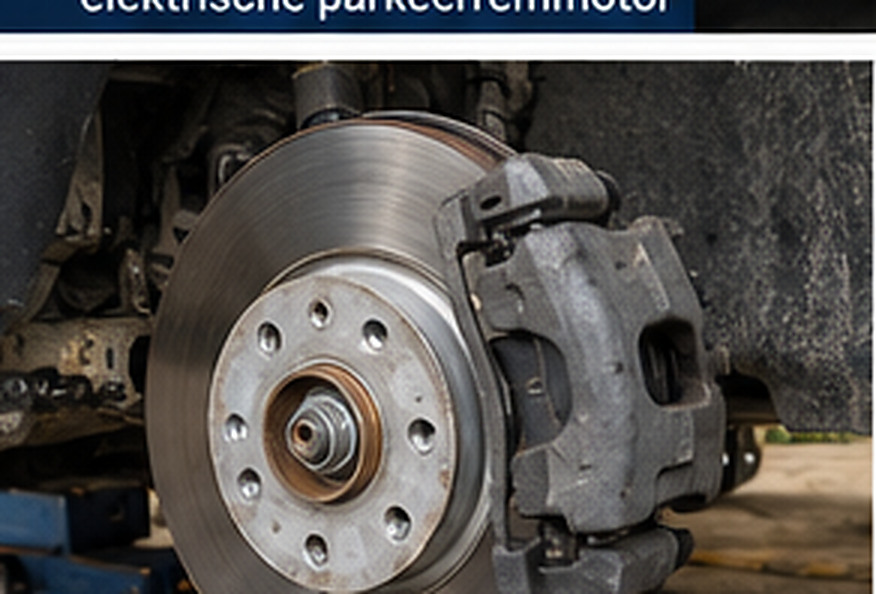
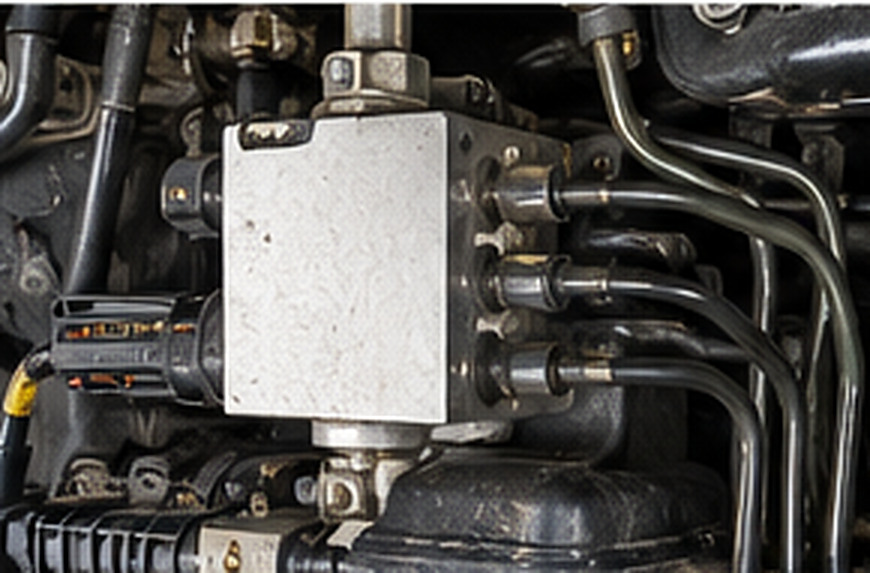
The ABS unit contains electrically operated inlet and outlet valves, a hydraulic pump and internal passages. During normal braking, the valves remain in their default state. ABS/ESP control activates them to vary the pressure at one or more wheels. Those normally closed internal passages matter when air is trapped in the hydraulic unit.
On some variants, the clutch draws DOT fluid from the same reservoir. Changing the fluid in the four wheel-brake circuits is therefore not automatically the same as bleeding the clutch circuit.
03 Why brake fluid ages
Common DOT 4 fluid is glycol-based and hygroscopic: it gradually absorbs moisture through diffusion, hoses, seals and maintenance operations. Its boiling point falls and the risk of corrosion rises. High brake temperatures can then form vapour locally. Vapour is compressible, increasing pedal travel while reducing the pressure transmitted.
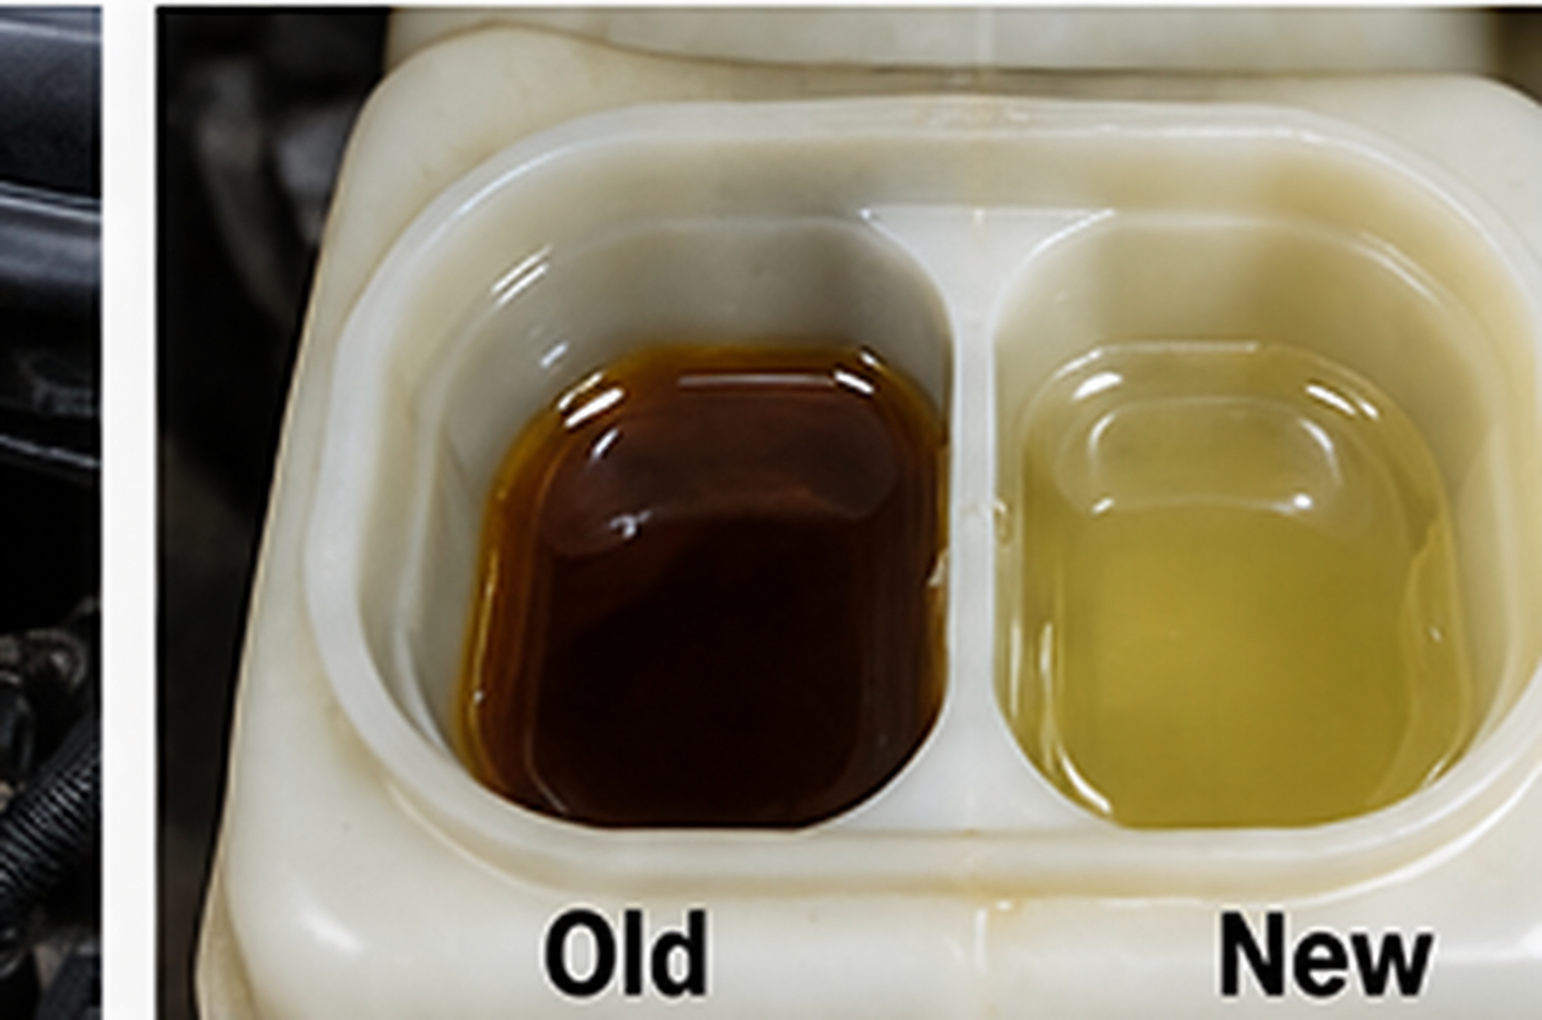
Aged fluid can encourage internal corrosion and sticking of small valves in the ABS modulator. Colour alone tells you little: pale yellow fluid may contain too much water, and dark fluid cannot be condemned without further diagnosis. Do not replace only the fluid in the reservoir and call that a complete change; old fluid will remain in the lines and calipers.
04 When should it be changed, and how do you establish the interval?
Renault refers owners to the maintenance document for the individual car for its official interval. The often-mentioned two-year interval is a useful conservative practical guideline, but is not presented here as a universal official Renault instruction. Age is generally more important than mileage; cars driven very little still absorb moisture.
Change it sooner if the service history is unknown, after hydraulic repairs, if it is contaminated or the wrong fluid has been used, after extensive mountain descents, or following an inadequate boiling-point measurement. Watch for a falling level: a small drop may be related to pad wear, but a rapid or repeated fall may indicate a leak.
Record the date, mileage, product name, specification, quantity, method used and any diagnostic codes on a maintenance sheet.
05 DOT 4, DOT 4 LV and ISO 4925 Class 6
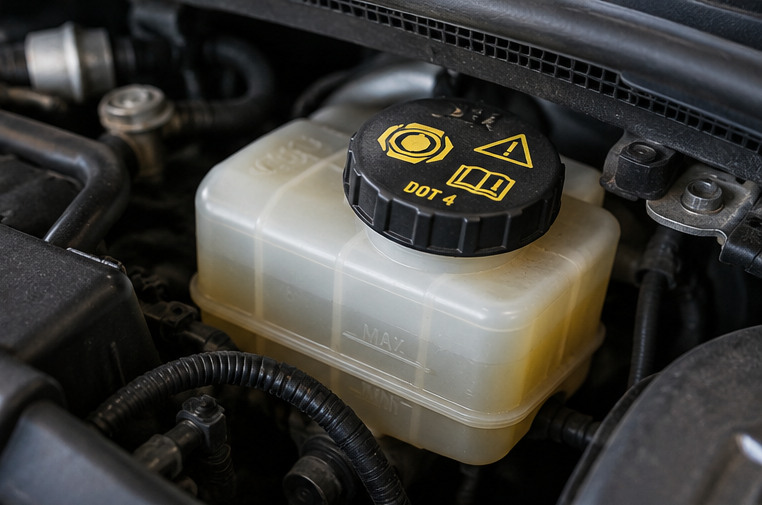
Parts information marks a Mégane IV reservoir cap as DOT 4. Do not rely on a catalogue photograph alone: read the cap on your own car and its maintenance document. Modern ABS/ESP systems may benefit from low-cold-viscosity DOT 4, usually labelled DOT 4 LV / ISO 4925 Class 6. It is still DOT 4, with additional viscosity requirements.
| Fluid | Practical meaning | For this guide |
|---|---|---|
| DOT 3 | Glycol-based, with lower minimum boiling-point requirements. | Do not choose it in place of specified DOT 4. |
| DOT 4 | Glycol-based and widely used. | Use only if the approved specification is correct. |
| DOT 4 LV / Class 6 | Low-viscosity DOT 4 at −40 °C. | A technically interesting option for ESP, provided it meets the vehicle specification. |
| DOT 5 | Silicone-based. | Do not use. |
| DOT 5.1 | Glycol-based, a different performance class. | Do not choose it on your own if Renault specifies DOT 4. |
Use only a fresh, unopened bottle. Glycol fluids being miscible does not automatically make them the same approved fluid. As a concrete technical example, the product sheet for ATE DOT 4 SL.6 specifies a maximum cold viscosity of 700 mm²/s and compliance with ISO 4925 Class 6. That does not confirm Renault approval for every Mégane IV.
06 Required tools and materials
- Fresh brake fluid with a specification confirmed for your VIN. In practical terms, buy 1 litre for a normal change, with some extra if desired; this is a purchasing estimate, not a stated system capacity.
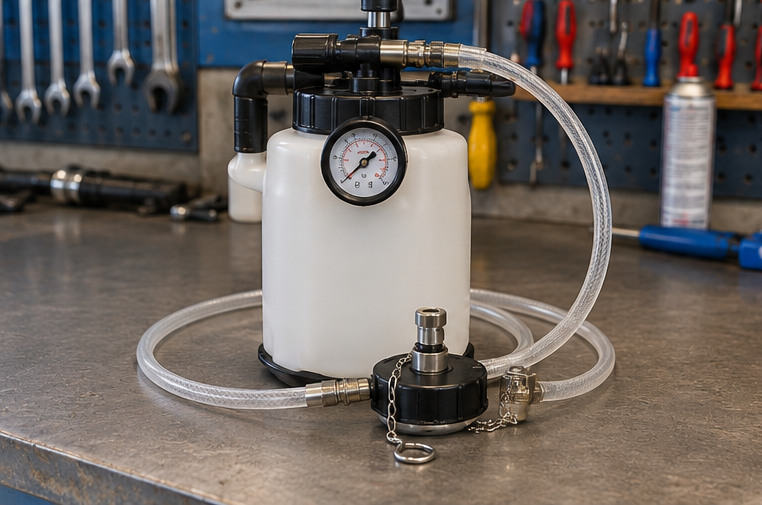
- A pressure bleeder with a suitable, well-sealing Renault reservoir cap, or an appropriate alternative bleeding kit.
- Transparent brake-fluid-resistant hose and a closed collection bottle; dispose of old fluid as chemical waste.
- A ring spanner fitting the actual bleed nipple, brake cleaner, protective cloths, nitrile gloves and safety glasses.
- Safe lifting equipment and axle stands if wheels must be removed; a torque wrench for the wheel bolts.
- Optionally, a diagnostic tester with Renault-specific service functions, a battery charger/power stabiliser and a suitable OBD interface.
Avoid using an adjustable wrench on small bleed nipples. Clean them first and check that the spanner fits without play.
07 Four ways to bleed brakes
| Method | How it works | Consideration |
|---|---|---|
| Pressure bleeder | Pressurises the reservoir in a controlled way; fluid exits through the nipples. | Preferred for a routine fluid change; requires a constant supply. |
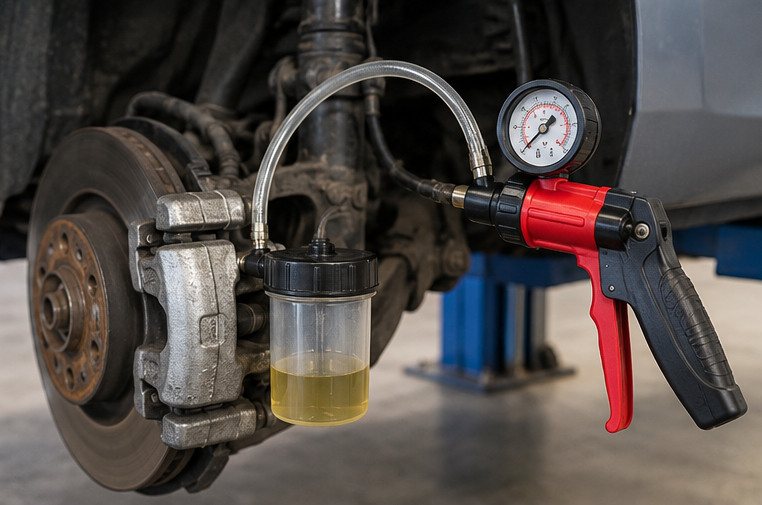
| Vacuum bleeder | Draws fluid from the nipple. | May draw apparent air bubbles along the nipple threads. |
| Two-person pedal method | The pedal builds pressure while a helper operates the nipple. | Greater scope for operating errors and excessively deep pedal strokes. |
| Diagnostic-guided ABS purge | A diagnostic tool operates the pump and valves according to the ECU procedure. | Only when necessary and supported; not a substitute for a normal fluid change. |
08 Preparing the car: safely and cleanly
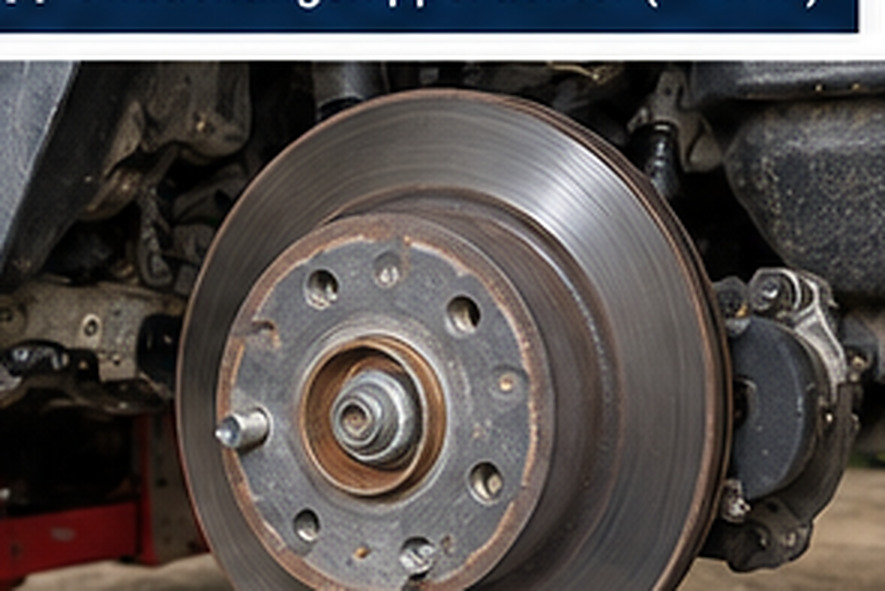
- Park on a level surface, stop the engine, allow hot components to cool and fit wheel chocks. Whenever the EPB is released, use an independent means of preventing the car from rolling.
- Turn off the ignition and diagnostic session before conventional bleeding. Follow Renault's specified jacking points if moving or raising the car.
- Protect paint and plastics from splashes; clean spilt fluid immediately according to the product instructions.
- Clean the area around the reservoir before opening the cap.
- Check the calipers, hoses, lines, nipples, ABS warning lamps and existing pedal resistance. Repair leaks first.
- Take photographs of the reservoir, tools and nipples beforehand so that reassembly is easy to check.
Do not begin if there is already a brake problem. If brake fluid is leaking, the red brake warning lamp is on or the pedal sinks, establish the cause first. A fluid change is not a repair.
09 Handling the brake-fluid reservoir correctly
The reservoir is in the engine compartment on the master cylinder. Exact access differs between variants. Check the MIN and MAX markings and the fluid type on the cap.
- Clean the cap and its surroundings, keeping them dry and free of dirt.
- Remove only part of the old fluid from the upper part of the reservoir. Never let the supply openings run dry.
- Immediately top up with new fluid to a safe level.
- Fit the pressure adapter airtight and check hoses, seals and fluid supply for leaks.
- Keep sufficient fluid in both the pressure device and reservoir throughout the procedure.
Where the clutch shares the reservoir, its take-off may sit higher than the master-cylinder openings. Running dry can therefore also introduce air into the clutch circuit.
10 Checking the bleeding order
There is no safe reason to follow a general “farthest wheel first” rule blindly. Publicly available Renault workshop information for older Mégane versions, for example, specifies the diagonal order right rear → left front → left rear → right front. That does not prove that the same order applies to every ABS block in the Mégane IV.
For a Mégane IV, obtain the bleeding order using the VIN/ABS part number from Renault Dialogys/Actis or a current vehicle-specific workshop database. Write it on the work sheet before starting. If those details are unavailable, this guide does not prescribe an unverified fixed order.
Some older general instructions instead say right rear → left rear → right front → left front. Such differences are exactly why vehicle-specific verification is necessary.
11 Practical procedure: changing fluid with a pressure bleeder
Preconditions: the braking system has no known trapped air or hydraulic defect, the correct Renault bleeding order has been confirmed, and a suitable pressure bleeder is available.
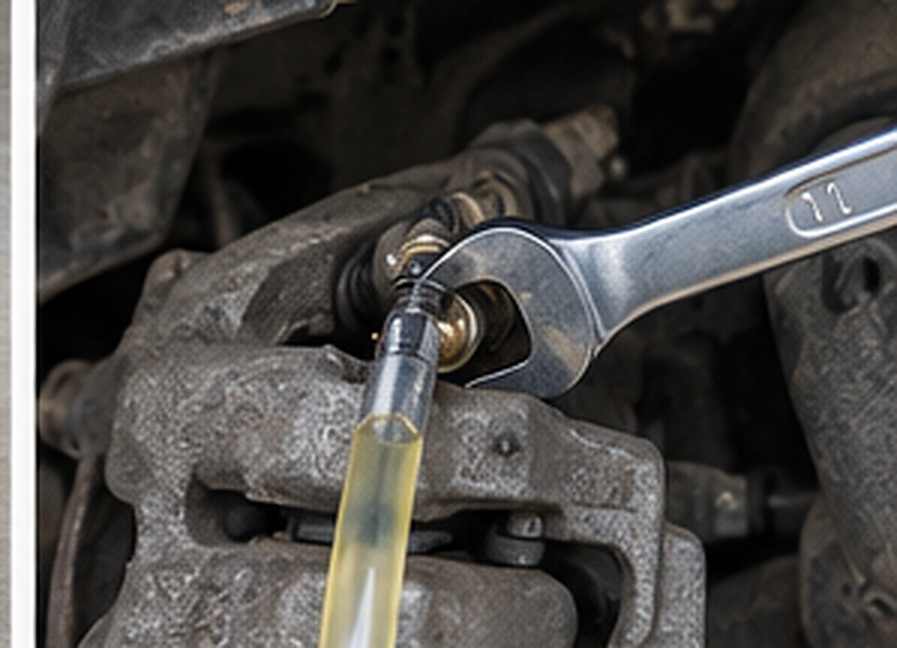
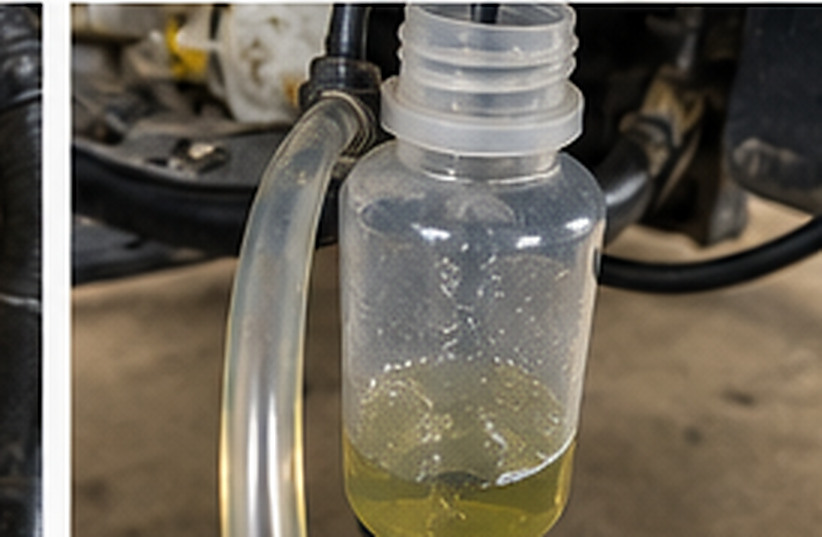
- Fill the bleeder with the correct fresh fluid and bleed its supply hose according to the device instructions.
- Attach the adapter to the reservoir and first check for leaks.
- Set the working pressure according to the specifications for the car and adapter. Around 1–1.5 bar is used with some universal DIY devices, but is not stated here as a validated Renault Mégane IV pressure. The lowest permitted value among the car, reservoir adapter and device takes precedence.
- Remove the dust cap from the first wheel's bleed nipple; clean the nipple and position the correct spanner.
- Push the transparent hose firmly onto the nipple and lead it to the collection bottle.
- Carefully open the nipple only as far as necessary. Let the fluid flow and keep both the device tank and reservoir supply filled continuously.
- Monitor how much fluid has been drained and assess whether the old fluid has been displaced. A colour difference is an indication, not conclusive proof by itself.
- Close the nipple while the hose is still attached. Tighten to the caliper-specific torque; do not overtighten.
- Repeat at the other wheels in the verified order.
- First release system pressure in a controlled way according to the bleeder instructions; only then remove the adapter.
- Set the reservoir to the correct level, refit the original cap and check every nipple for leaks.
Stop immediately if the reservoir might run dry, the adapter leaks, foam continues to emerge or the pedal is not firm afterwards. Do not test-drive. Diagnose the problem and, if needed, have the system bled professionally.
12 Practical procedure: bleeding with two people
The pedal method can work on an intact system but is more prone to mistakes than a pressure bleeder. An older master cylinder can be damaged if the pedal is pushed much farther than it normally travels.
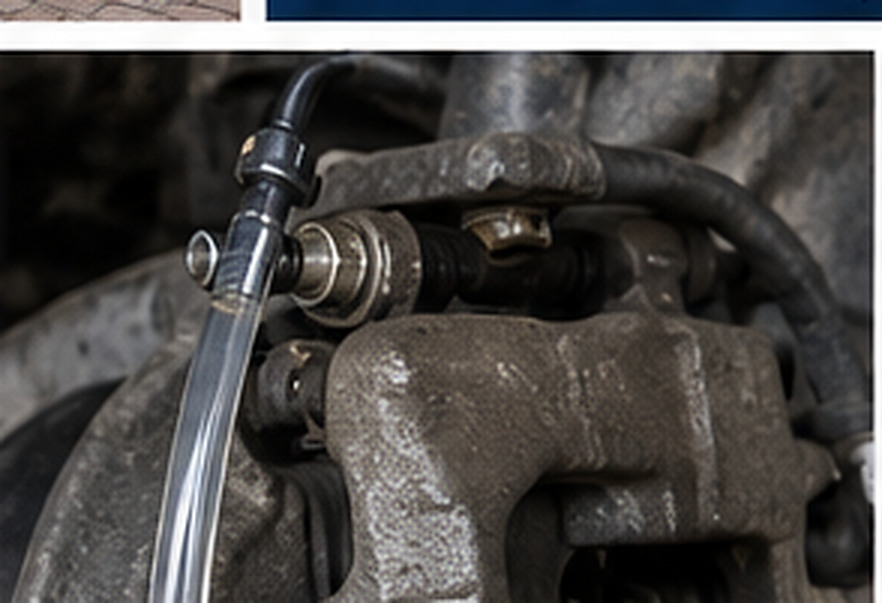
- Fit a transparent hose to the clean bleed nipple and place the other end in a suitable collection bottle.
- Have the helper press the pedal gradually and hold it; avoid hard, rapid or full strokes to the floor.
- Open the nipple briefly to let fluid out. The pedal falls; the helper continues to hold it down.
- Close the nipple before the helper lets the pedal rise.
- Check the fluid level, top up in time and repeat carefully.
- Complete the verified wheel order. Close the nipples properly and check pedal feel and for leaks.
If there may be air in the ABS modulator, this manual method is not a substitute for the prescribed diagnostic procedure.
13 Final checks before the first metres
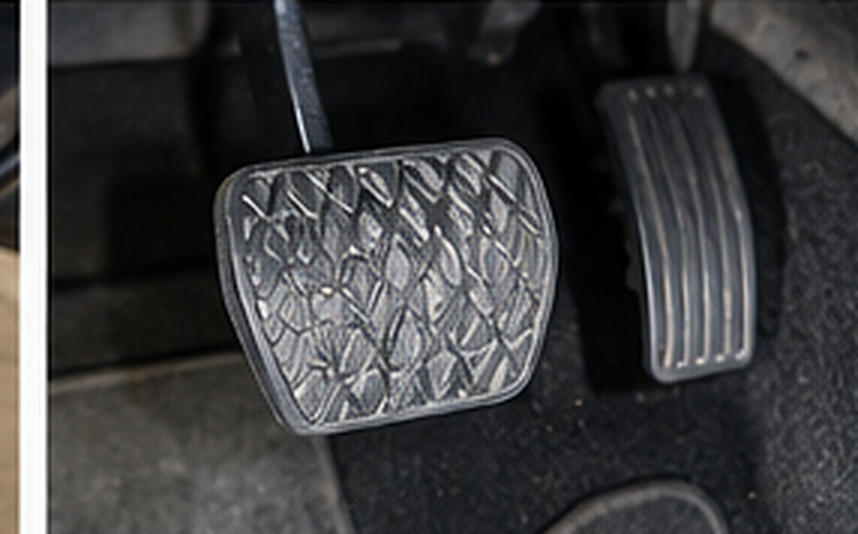
- Check all four nipples, rubber caps, brake lines and the area around the reservoir.
- Make sure the fluid level is correct; do not automatically fill above MAX when the pads are heavily worn.
- With the engine off, press the pedal several times. Check that it becomes firm and does not sink abnormally under sustained pressure.
- With the engine running, a brief normal change in pedal feel due to brake assistance is possible; sinking deeply is not normal.
- Check ABS, ESP, parking-brake and other warnings. Resolve their causes; do not clear fault codes blindly.
- First test on private, closed ground at very low speed. Only proceed to normal traffic when all checks are satisfactory.
- Inspect again for moisture around nipples and hoses.
A pedal that slowly sinks, inadequate braking force or an active brake-system fault means: do not drive onto a public road.
14 Why ABS/ESP has a separate bleeding function
During ordinary bleeding, fluid mainly flows through the standard hydraulic paths. The ABS modulator may contain passages that open only when the ECU operates its valves. If the reservoir runs completely dry, the hydraulic unit is replaced or certain circuits are opened, air can remain trapped there.
A dedicated service function operates solenoid valves and the pump in a defined programme while hydraulic bleeding equipment is attached. It is not the same as activating the pump in an arbitrary actuator-test menu. The steps, nipples and order may differ between ABS units.
General Renault workshop documents for older systems mention command code SC006, for example. Treat this solely as a historical example; it is not confirmed for the Mégane IV.
15 When is an ABS purge actually needed?
| Situation | Normal approach |
|---|---|
| Preventive fluid change, reservoir never run dry | Conventional flow-through replacement is normally sufficient. |
| Brake pads or discs changed, hydraulic system kept closed | That work alone does not require bleeding. |
| Brake hose or caliper replaced | Bleed the opened circuit according to Renault's procedure; use the ABS function only when indicated. |
| Reservoir ran completely dry | Air may have reached the hydraulic unit; establish the formal diagnostic/bleeding procedure. |
| ABS hydraulic block replaced | Renault-specific filling and bleeding procedure with a suitable diagnostic tool. |
| Pedal still spongy after proper bleeding | Inspect for a leak, air or defect; perform an OEM-guided active purge if needed. |
16 Bleeding ABS/ESP with a suitable diagnostic tester
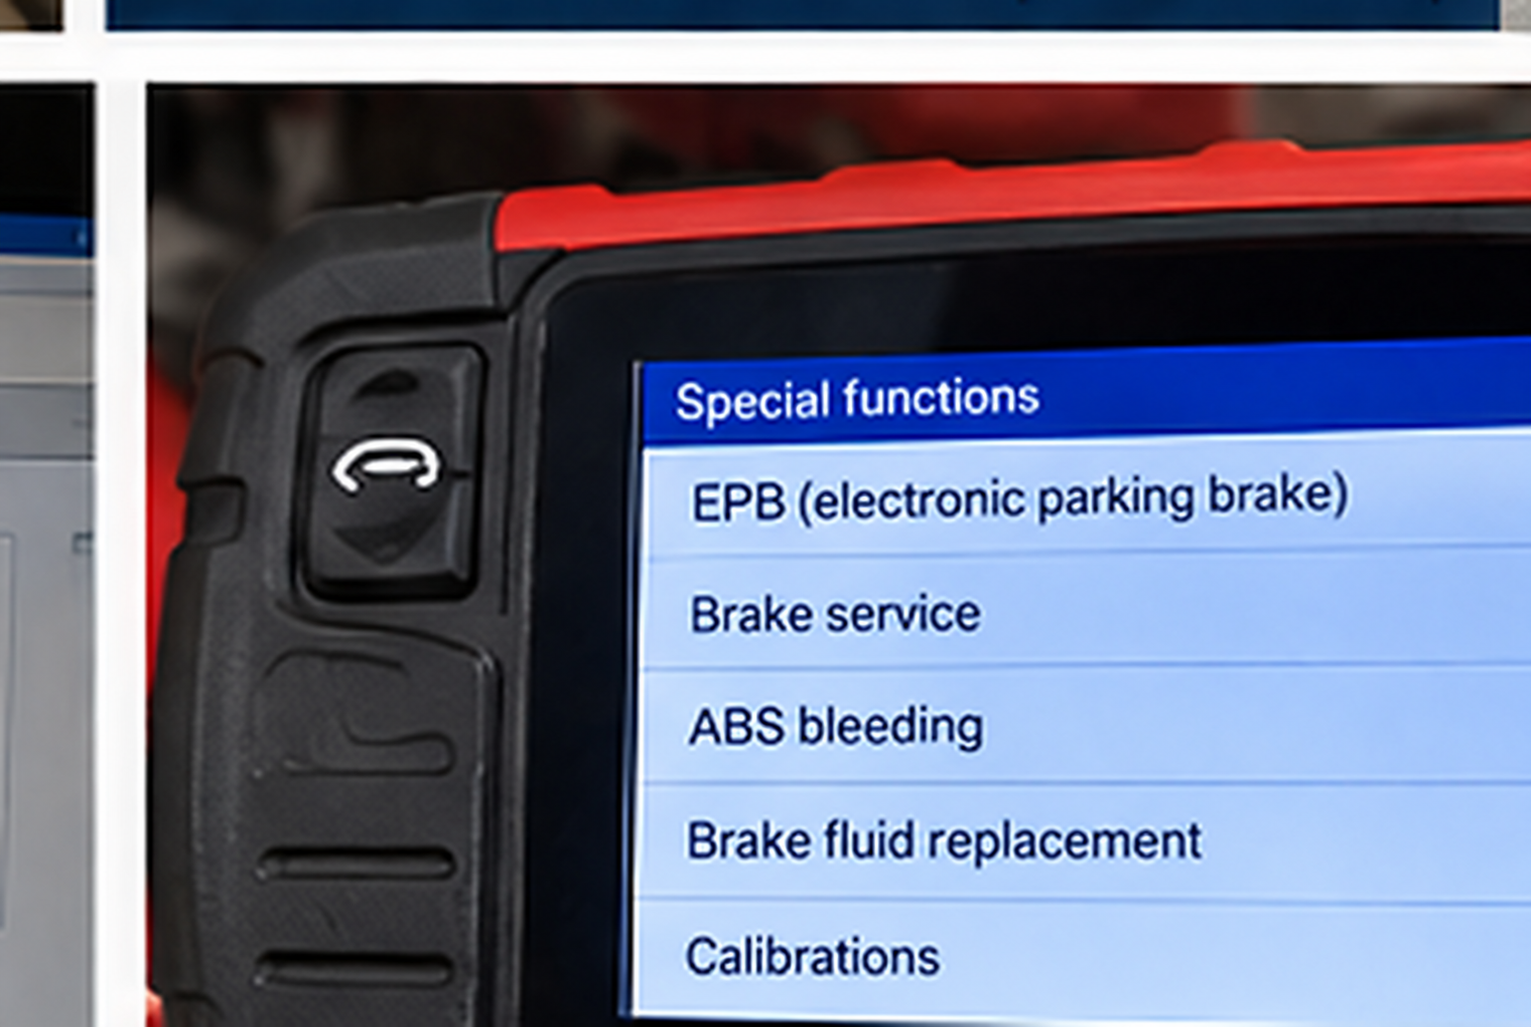
An ECU-specific diagnostic tester may offer a service-menu function such as ABS Bleeding, Brake Hydraulic Unit Bleeding or a Renault equivalent. Exact support depends on serial number, software package and ABS unit. The mere presence of a button in the interface does not prove that its function is validated for your car.
- Confirm the vehicle/VIN and ECU identification; read all active ABS/ESP faults.
- Consult the vehicle-specific workshop manual, including pressure, order and any need for a second person.
- Connect the pressure bleeder and collection hoses, ensuring a constant fluid supply.
- Use the tester-guided hydraulic bleeding function; follow its instructions for the pedal, nipples and pump phases exactly.
- Check the result and, if prescribed, complete the final conventional bleeding steps.
- Read the fault codes again. Perform a function and braking test only after a safe static final check.
DDT4All is not automatically suitable for this purpose: without a clearly validated ECU routine, this guide recommends Renault CLIP or a demonstrably supported professional tester for the hydraulic unit.
17 DDT4All: purpose, interface and compatibility
DDT4All is open-source diagnostic software for vehicle ECUs, including over CAN. Supported interfaces include certain ELM327, vLinker, VGate and OBDLink adapters. Support depends on the hardware chip, firmware, transport and ECU.
The software can offer identification, measured values, DTCs and ECU-specific screens. Using an unconfirmed write function in Expert Mode is unsafe: some commands change configuration or start actuator tests. On the first connection, read and document; do not write anything.
Hardware advice: a reliable wired OBD interface is generally more predictable than a cheap ELM327 clone. Use a suitable battery power stabiliser during longer diagnostic sessions. Never run an actuator routine over a diagnostic connection that repeatedly drops out.
18 Installing DDT4All and connecting safely
- Download it from the official project: github.com/cedricp/ddt4all. Verify the release, instructions and requirements.
- On Windows, install your adapter's serial drivers so that its COM port appears. Follow the project manual for other operating systems.
- Connect the OBD interface and switch on the ignition according to the appropriate diagnostic process for this Mégane, without starting the engine.
- Run interface detection/connection testing. Stop if there are timeouts or unstable power.
- Select the Mégane IV vehicle family and check the actual ECU identification instead of blindly choosing a file name.
- Take screenshots of ECU hardware and software versions and read fault codes before maintenance actions.
- Enable Expert Mode only for a genuinely verified, necessary maintenance command.
The database name in DDT4All is not the same guarantee as identification reported by the ECU itself. Do not use configuration commands or resets merely to enter a maintenance mode.
19 DDT4All: placing the electronic parking brake in service mode
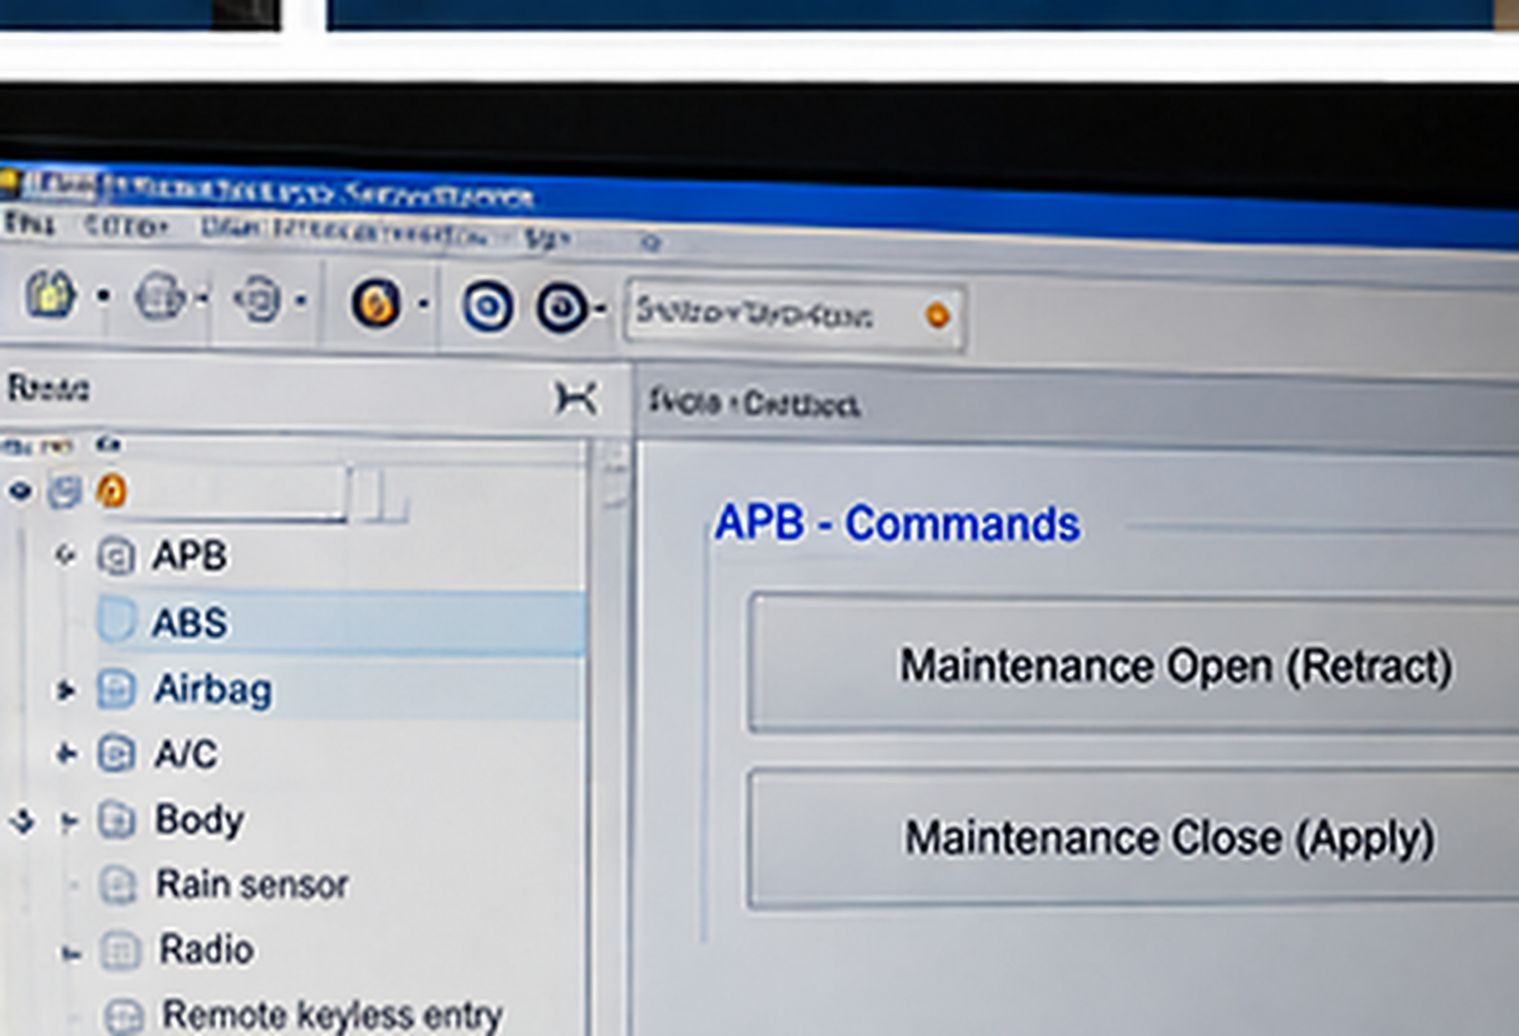
On Mégane IV variants with an electronic parking brake (EPB/APB), service mode is relevant when retracting the rear brake mechanism for pad or disc work. It is not required solely for changing brake fluid. Practical accounts mention APB 15-40 V53 or APB 15-49 on certain ECUs and a Configuration → Plant Process screen with Maintenance Open and Maintenance Close routines.
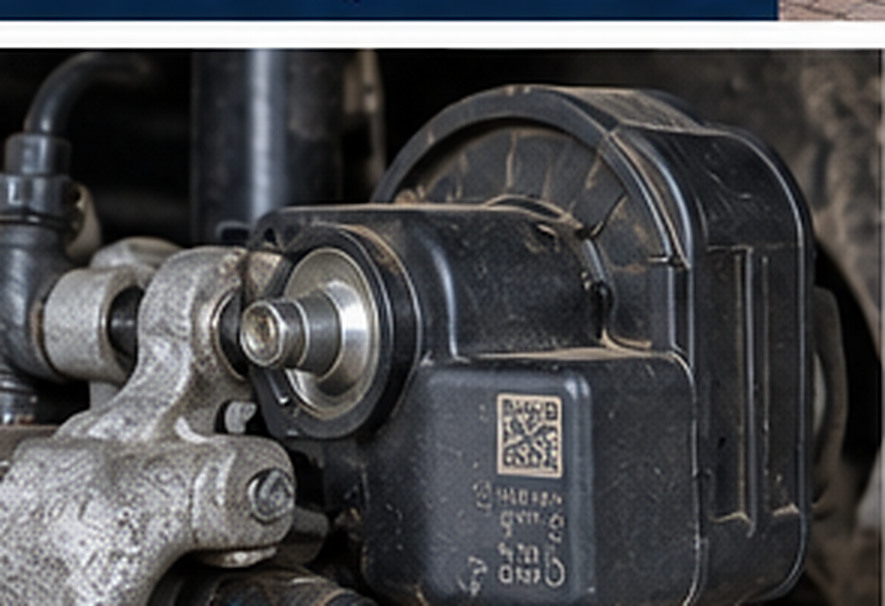
Before proceeding: park on level ground, chock the wheels, ensure sufficient battery power, keep people clear of moving parts, use the ECU-specified ignition state, release the parking brake through its normal control and do not combine this with a hydraulic repair.
- Confirm that the car actually has an EPB; some variants have a manual handbrake lever and no APB ECU.
- Identify the car's own APB ECU. Verify that the selected DDT definition matches its ECU version.
- Find only the maintenance routine; do not execute Configuration Write, Hard Reset or calibration.
- Confirm from ECU documentation what Maintenance Open does and start it only when all preconditions are met. Listen for the motors retracting the rear brakes.
- Check the maintenance status reported by the ECU. Do not disconnect the battery while an actuator is moving.
- Only then perform the physical brake work according to suitable workshop instructions.
- Once fully reassembled, run the Maintenance Close routine confirmed for your ECU, followed by any prescribed initialisation and functional check.
Important nuance: DDT4All menus and user experiences do not prove that every Mégane IV works identically. On some EPB systems, the diagnostic function only retracts the spindle motor; the hydraulic piston must then be moved back carefully according to the specific caliper procedure. Never force a piston against an active spindle.
20 Standalone OBD tester with a display: EPB and ABS
A universal diagnostic device from, for example, Autel, Launch or iCarsoft uses its own menus. It may identify vehicle details automatically or manually. Functions such as EPB Service, Brake Pad Replacement and ABS Bleeding exist on some models/software packages but are not automatically available for every Mégane IV ECU.
- Before buying, check the manufacturer's current coverage table for the combination of brand + Mégane IV + build year + function.
- Connect the tester with stable power, identify the vehicle and read fault codes.
- For rear brakes, open the specific EPB service function and follow only the steps given by that tester.
- For the hydraulic unit, select only a supported active ABS bleeding procedure, with the required pressure bleeder.
- Confirm that the procedure finished normally, close service mode again and clear only historical fault codes after their cause has been resolved.
A generic OBD-II scanner that reads only emissions-related engine codes cannot reliably control EPB motors. Such equipment is inadequate for this part of the guide.
21 Operating the electronic parking brake without a diagnostic tester
According to Renault's own owner manual, the electronic parking brake can be released manually through its normal switch while the ignition is on and the brake pedal is pressed. This is not the same as putting the motors into full workshop service mode.
Mégane IV owner forums also discuss combinations of brake pedal, accelerator pedal and parking-brake switch to start an internal maintenance procedure. The exact complete sequence and ECU-dependent validity cannot be reliably verified for every variant. This guide therefore does not present it as a universal DIY action.
Safe choice: if the correct EPB maintenance routine is needed and you have no confirmed method, use a suitable tester or workshop. A car with its EPB released must not rely on that parking brake alone to prevent rolling.
22 What to do if something goes wrong during the change
| Problem | Likely cause | Correct response |
|---|---|---|
| Bleed nipple is seized | Corrosion, dirt or a damaged hex head. | Do not force the job to completion; use appropriate tools and a repair plan. Avoid snapping it off. |
| Continuous bubbles with vacuum bleeding | Air may be drawn in past the nipple threads. | Check the connection; switch to the pressure method. |
| Pressure bleeder loses pressure | The adapter leaks or the reservoir/hose is not sealed. | Stop, depressurise and reconnect without leaks. |
| Reservoir ran dry | No supply or incorrect filling. | Stop; determine whether air entered the master cylinder or ABS unit. |
| Brake fluid on paintwork | Spillage at the reservoir or nipple. | Rinse/clean immediately according to the product safety data sheet. |
| Nipple or hose leaks afterwards | Damage, incorrect tightening torque or a faulty part. | Do not drive; repair it and bleed again. |
23 Faults afterwards: causes and diagnosis
Spongy pedal: air in a wheel circuit, master cylinder, lines or ABS modulator; expanding hoses or mechanical problems are also possible. Establish the cause first and correct it according to Renault's procedure.
Pedal slowly sinks under constant pressure: possible internal leakage in the master cylinder or an external hydraulic leak. Do not confuse this with a modest initial change caused by brake assistance when the engine starts.
ABS/ESP warning light: read the actual DTC, including subcode and freeze-frame data. Wheel-speed sensor, power-supply or hydraulic problems need not be related to the fluid change.
EPB fault after maintenance: check whether service mode was closed, connectors were refitted, the correct function was used and actuators are not blocked. Stop if an actuator continues to run abnormally or fault states occur.
24 Testing brake fluid: what do you actually measure?
Cheap pen-shaped brake-fluid testers try to estimate water content from electrical conductivity. Additives, fluid type, contamination and contact conditions affect the result. Use such a pen for screening, not as proof that replacement is unnecessary.
A professional instrument that determines the actual boiling point of a controlled sample provides a more directly useful technical indication. Always state the measurement method and reference threshold for the fluid used. A sample taken only from the reservoir does not tell the whole story about the most thermally stressed part of the system, near the calipers.
If in doubt or if the maintenance history is unknown, replace the fluid preventively to the correct specification rather than extending the interval on the basis of a single inexpensive test pen.
25 Cost, working time and economic considerations
Where the system is accessible and the nipples are not seized, a regular fluid change is a manageable maintenance task. If this is your first DIY attempt, allow ample time for preparation and checks. Consumables include fluid, collection materials and possibly an adapter; a pressure bleeder and OBD diagnostic equipment are reusable investments.
The real consideration is not just the purchase price but the quality of bleeding. A diagnostic ABS purge or a difficult EPB fault may require specialist knowledge and equipment. Saving money on fluid and diagnostic time is not worth ending up with a non-functioning braking system.
26 Printable job sheet and checklist
| Item | Record |
|---|---|
| Vehicle / VIN | ______________________________ |
| Build year, engine, brake ECU | ______________________________ |
| Date / odometer reading | ______________________________ |
| Product + DOT / ISO standard | ______________________________ |
| Fluid from a newly opened container? | ☐ Yes ☐ No |
| Bleeding order verified? | ☐ Yes Source: _____________ |
| Pressure according to vehicle specification? | ☐ Yes Value: ____________ |
| Four bleed nipples closed/dry? | ☐ Yes |
| Reservoir at the correct level? | ☐ Yes |
| Static pedal firm / not sinking? | ☐ Yes |
| ABS / ESP / EPB free of faults? | ☐ Yes |
| Safe function test completed? | ☐ Yes |
| Next check / interval | ______________________________ |
The essence: With an intact hydraulic system, the correct DOT specification, a leak-free pressure bleeder and a verified wheel order, a normal fluid change can be structured properly. DDT4All/EPB service mode is not a standard step. Air in the ABS unit calls for a demonstrably supported diagnostic bleeding procedure.
About the illustrations in this edition
The 15 supplied images are AI-generated photographic illustrations, not original Renault photographs or genuine diagnostic screenshots. Dimensions, component shapes, labels, brand and type markings, bleed nipples and displayed diagnostic menus may differ or may not exist. Never use an illustration to establish tightening torques, pressure settings, bleeding order or ECU commands.
Example DDT4All or universal-tester screens serve only to show the kind of menu a reader might expect. Actual commands may be used only after ECU identification and the procedure have been verified. Where a procedure could not be confirmed, this guide deliberately stays with the technical principle instead of prescribing an exact button sequence.
Sources and verifiability
Renault owner documentation and manufacturer data sheets have been given priority. Procedures from older Renault workshop manuals or owner forums are explicitly not presented as Mégane IV factory specifications. No commands have been invented where ECU dependence remains unclear.
- Renault – Mégane IV owner manual, electric parking brake
- Renault – VIN-based maintenance plan and intervals
- Renault – brake-fluid level and maintenance documentation
- DDT4All – official project and safety warnings
- ATE – DOT 4 SL.6 technical data sheet (PDF)
- Older Renault Mégane generation – bleeding order and SC006, NOT confirmed for IV
- Mégane IV forum – DDT4All Maintenance Open / Close (user experience)
- Mégane IV forum – discussion of service mode and pistons
Mechscript.nl · Technical publication · 18 October 2026 · Check current vehicle-specific workshop information before performing the work. These are not official Renault workshop instructions. The author is independent of Renault.